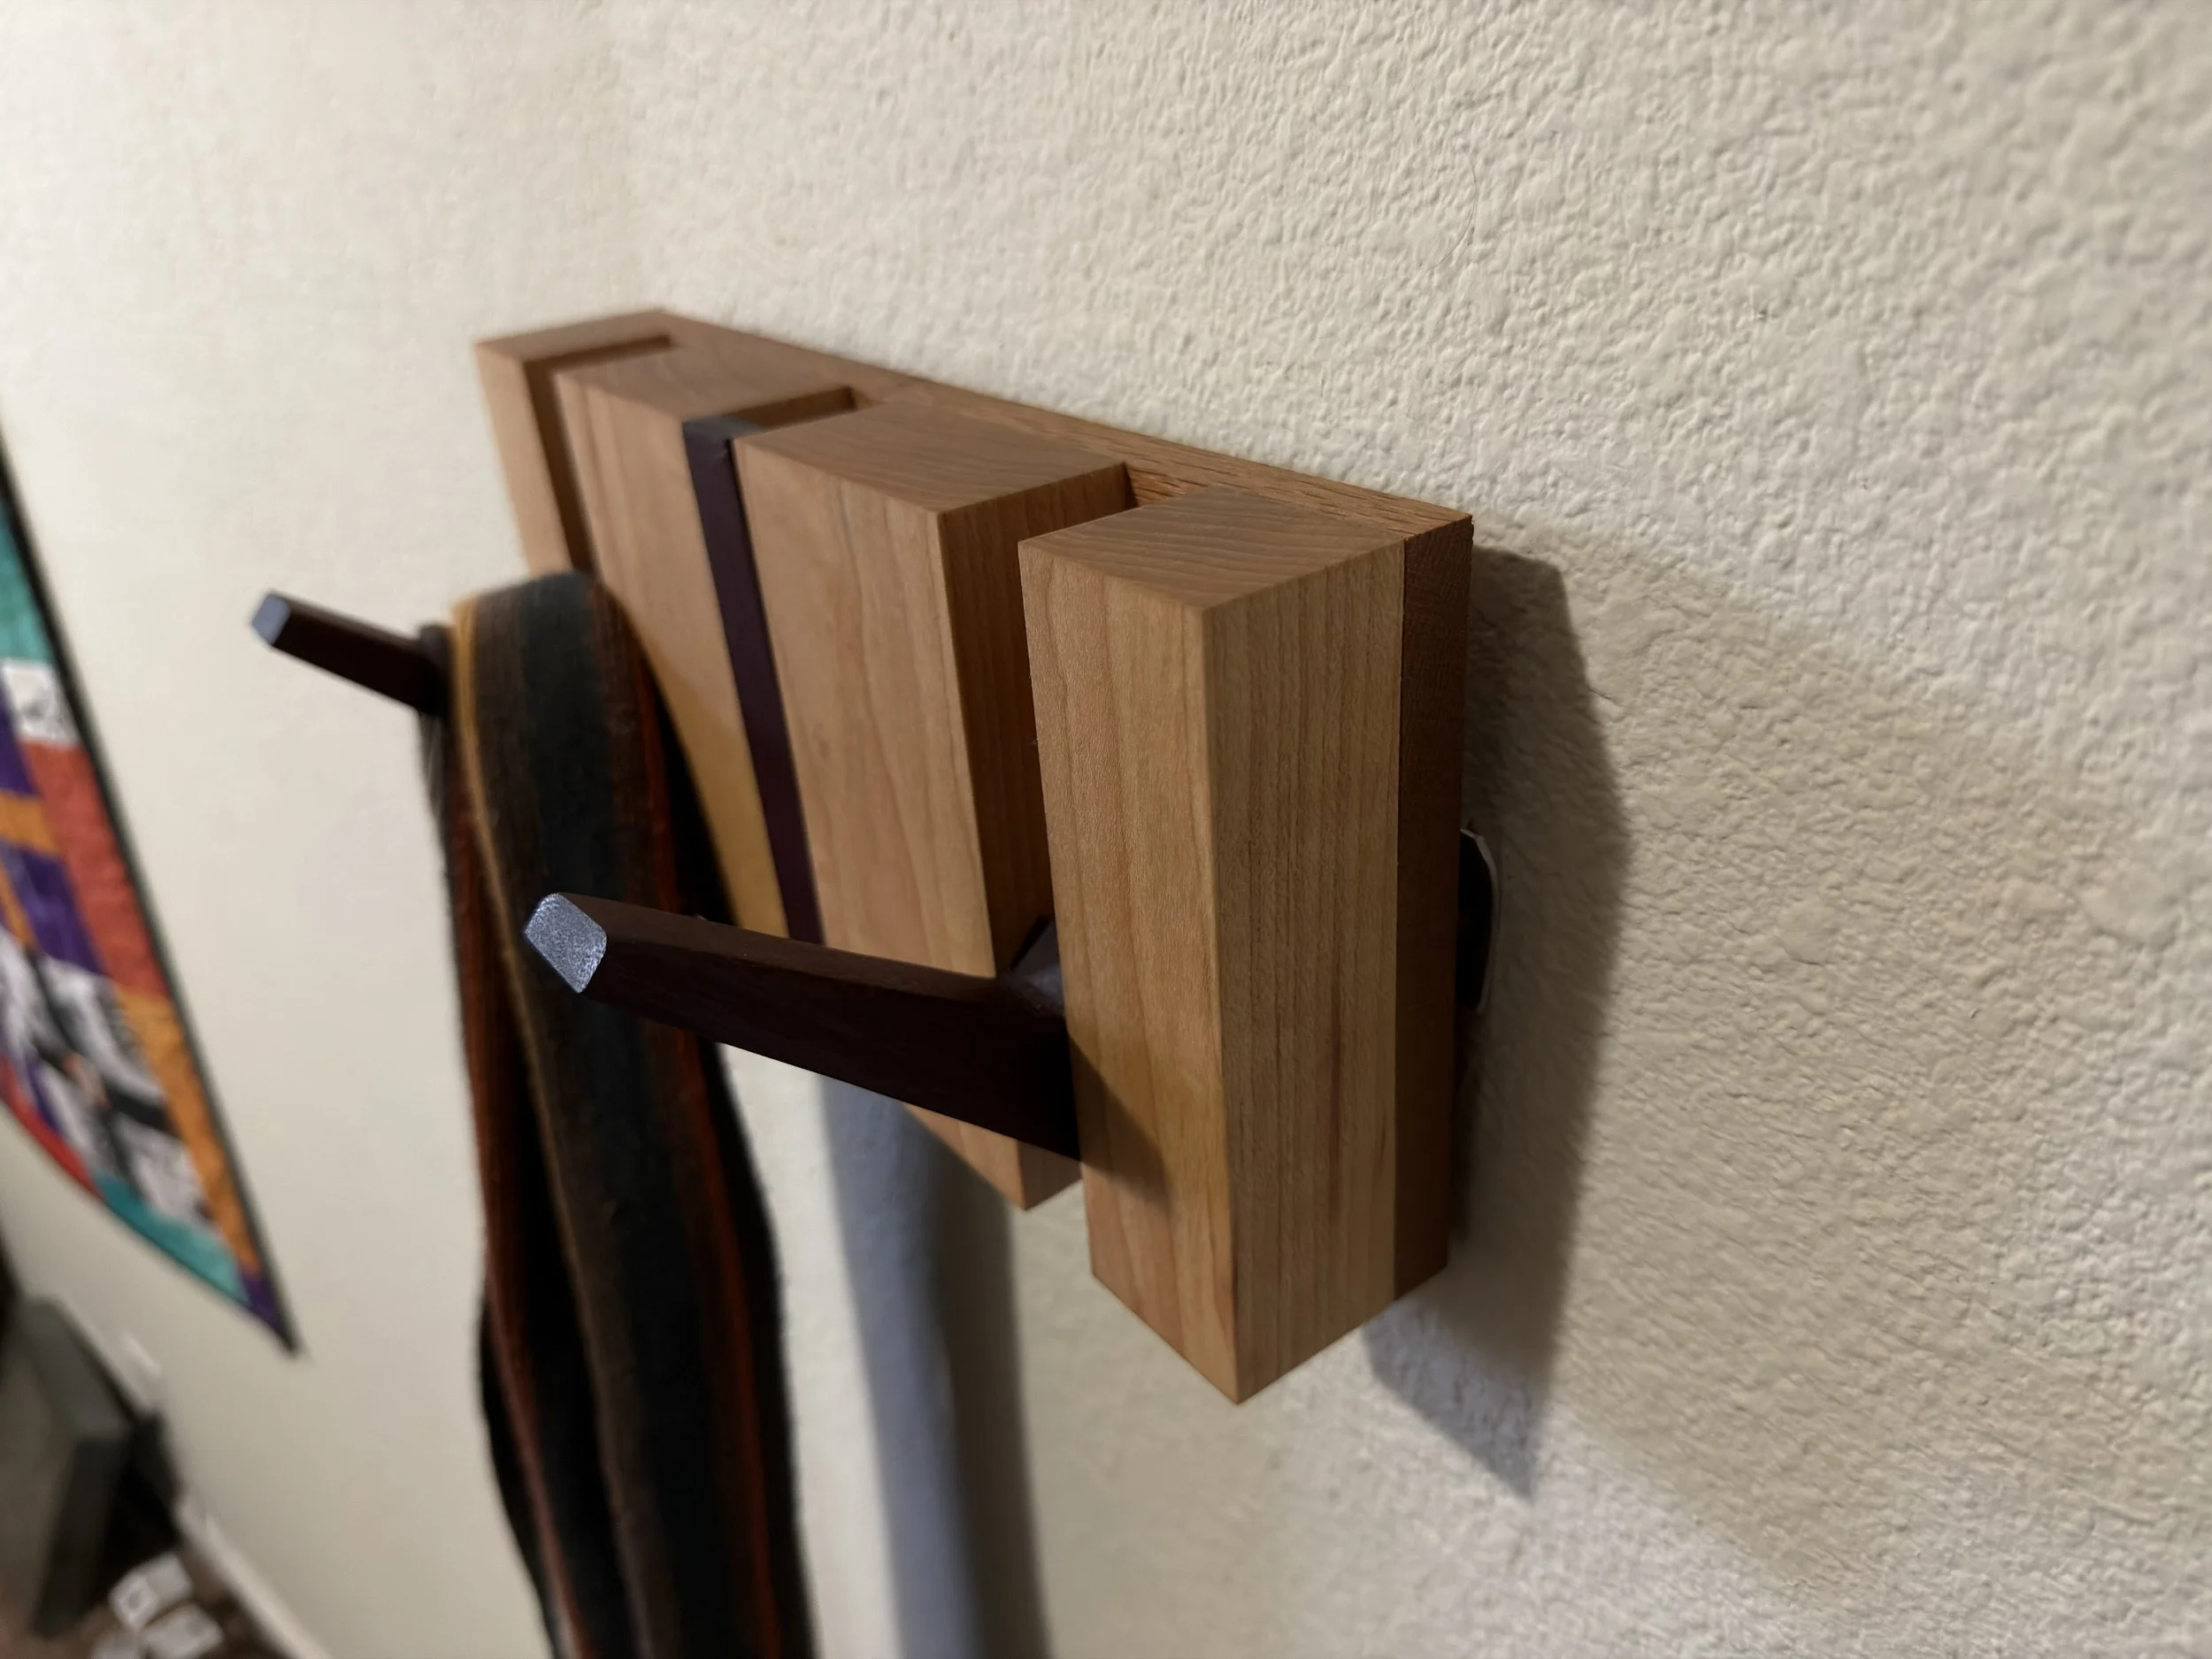
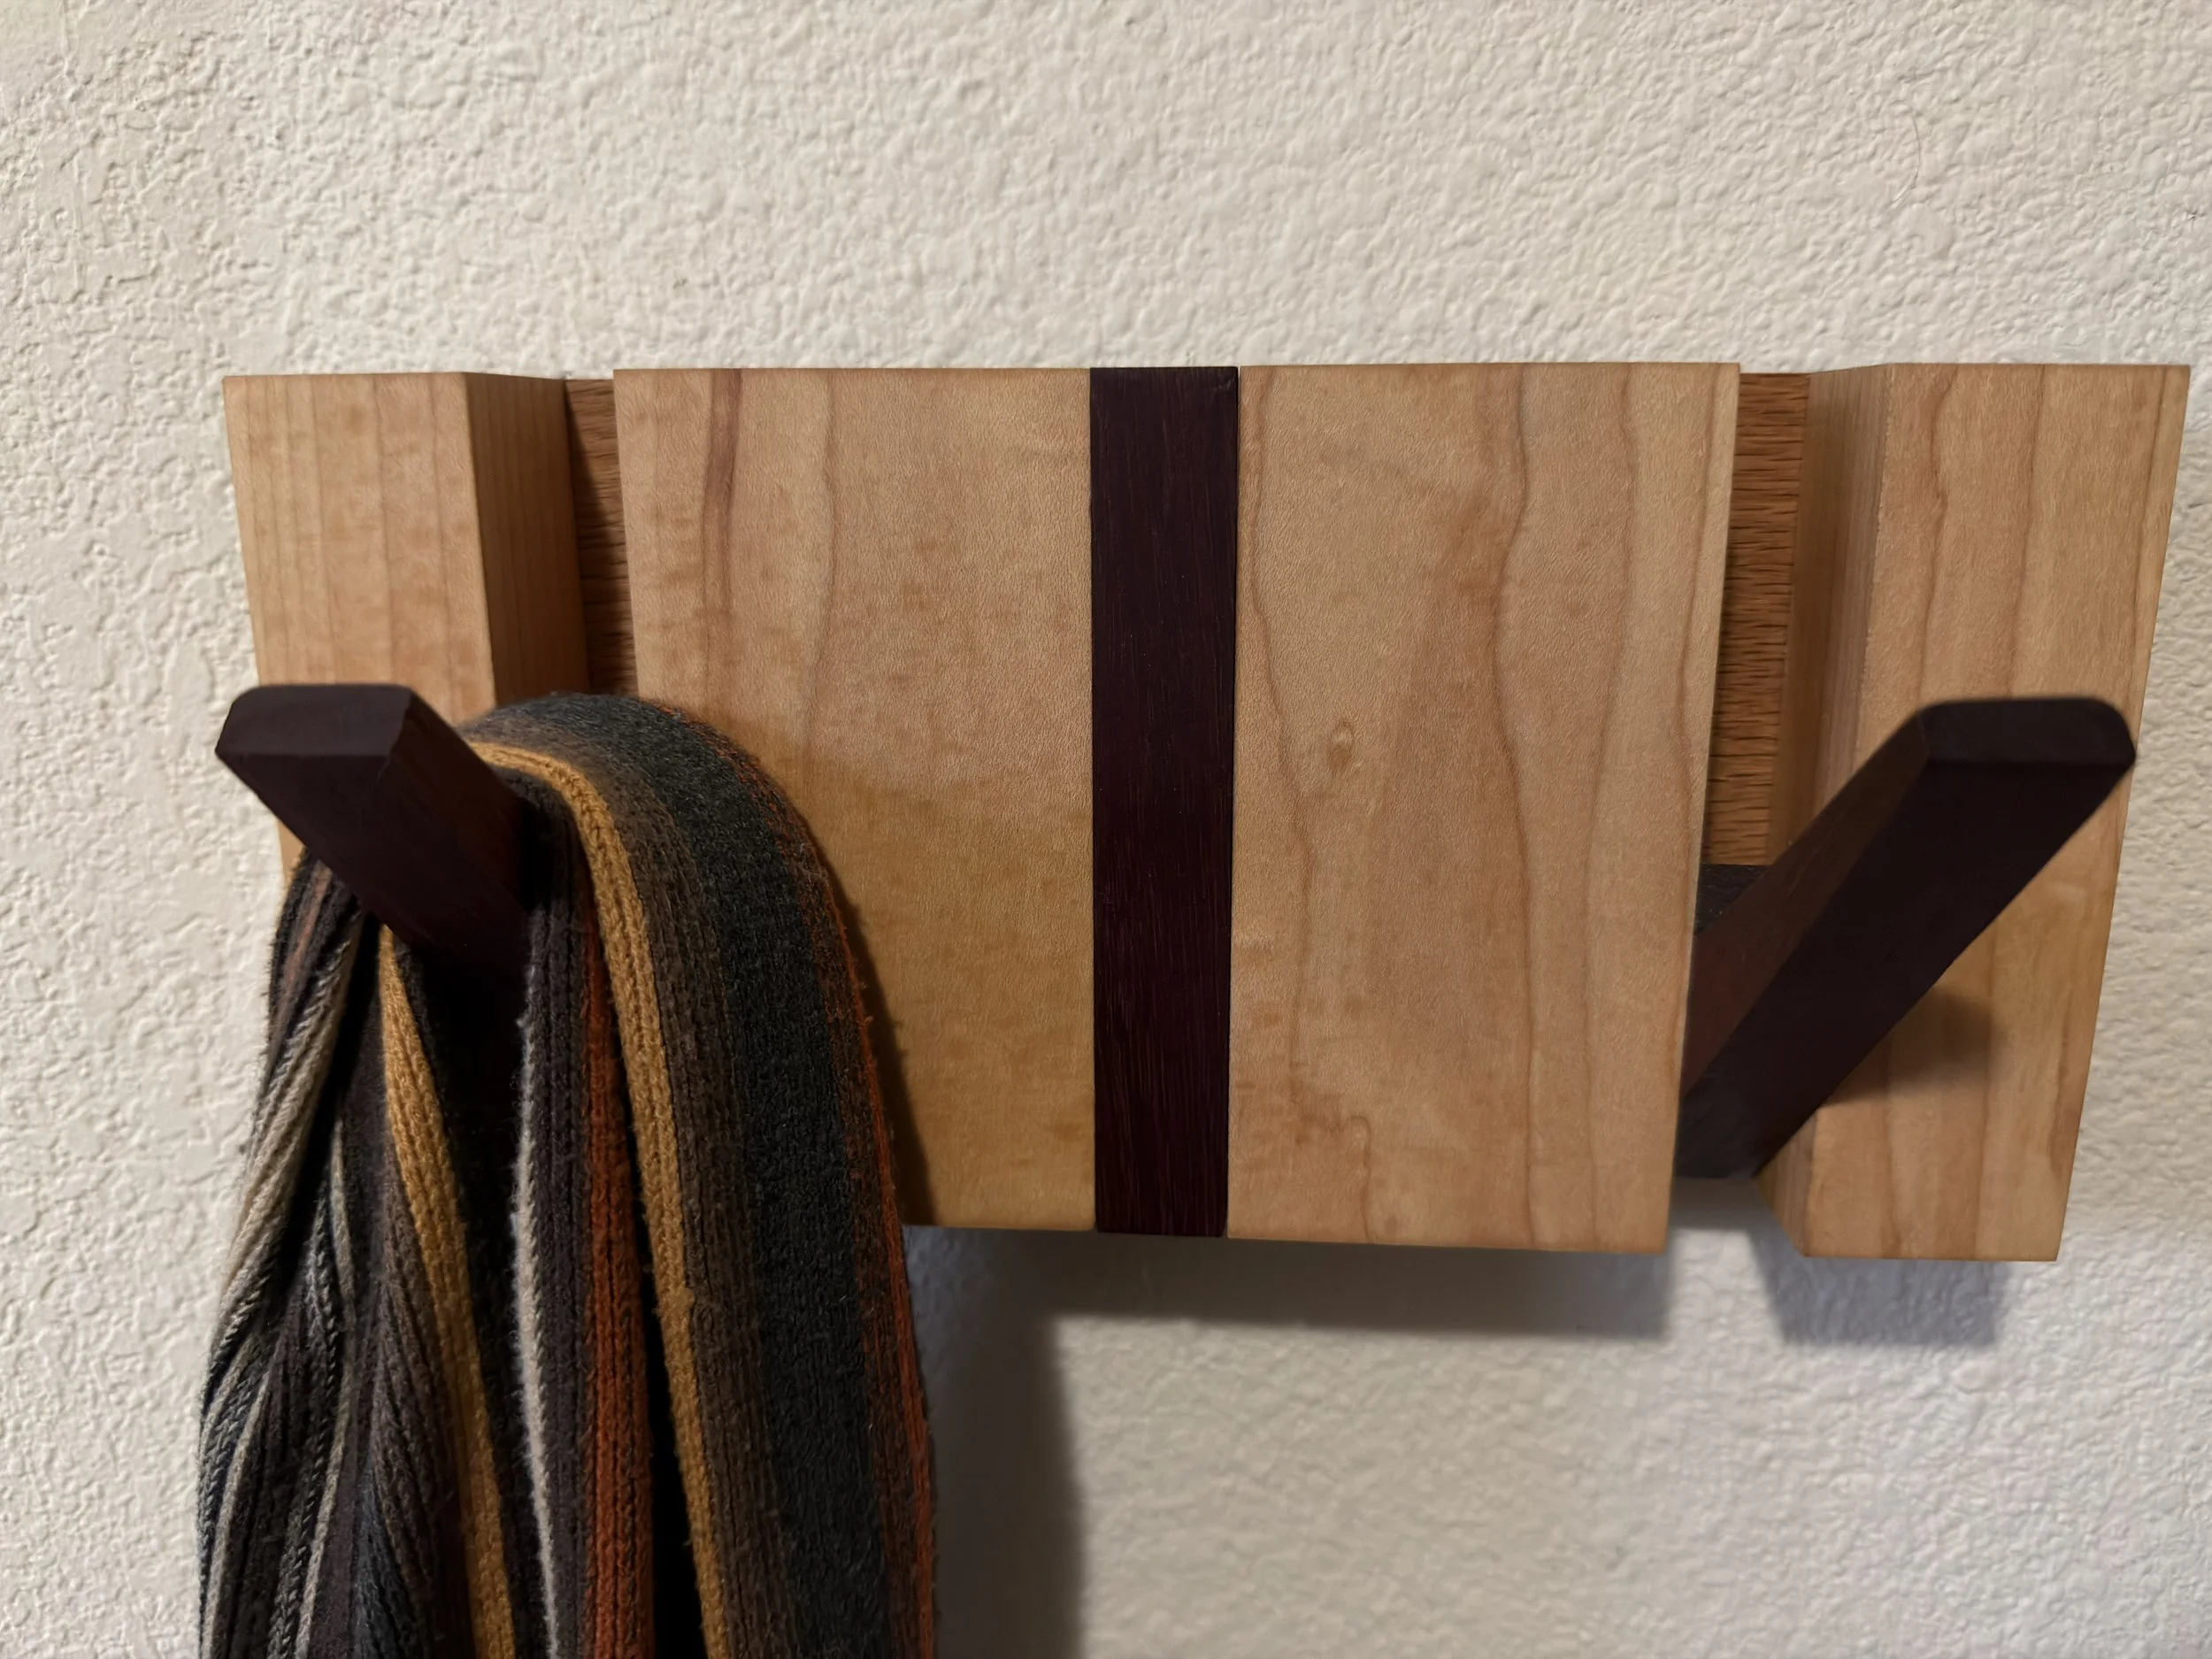
Few years ago I saw a short video of a cool looking wall mounted coat hanger where the fingers would “disappear” into the main block of wood when not in use. Here is a look at how I made my third attempt at recreating that coat hanger.
My first attempt was crude but functional, I still use it to this day! Functionally it works perfectly and does exactly what I hoped it would, retracting (sometimes with a bit of suggestion) when I remove my coat off the hanger. I did not make any attempt to hide the mechanism which holds everything to the wall so the metal bracket can be seen when looking at the sides, and the entire hanger doesn’t sit flush with the wall.
My second attempt was making a pair for my Aunt who really liked my first attempt. This time I spent way more time figuring out how to hide the hanging mechanism as well as make things flush to the wall. I also had some sweet curly maple that I used for some of the main display wood. In typical fashion I still wasn’t satisfied with the end product. The curly maple doesn’t seamlessly flow into the side maple pieces breaking the illusion a bit and I am a bit afraid the thin pieces glued together will one day separate themselves. It was also cool that I made my own french cleat hanging mechanism but frankly its a bit too big, bulky, and a bit too much jank even for me.
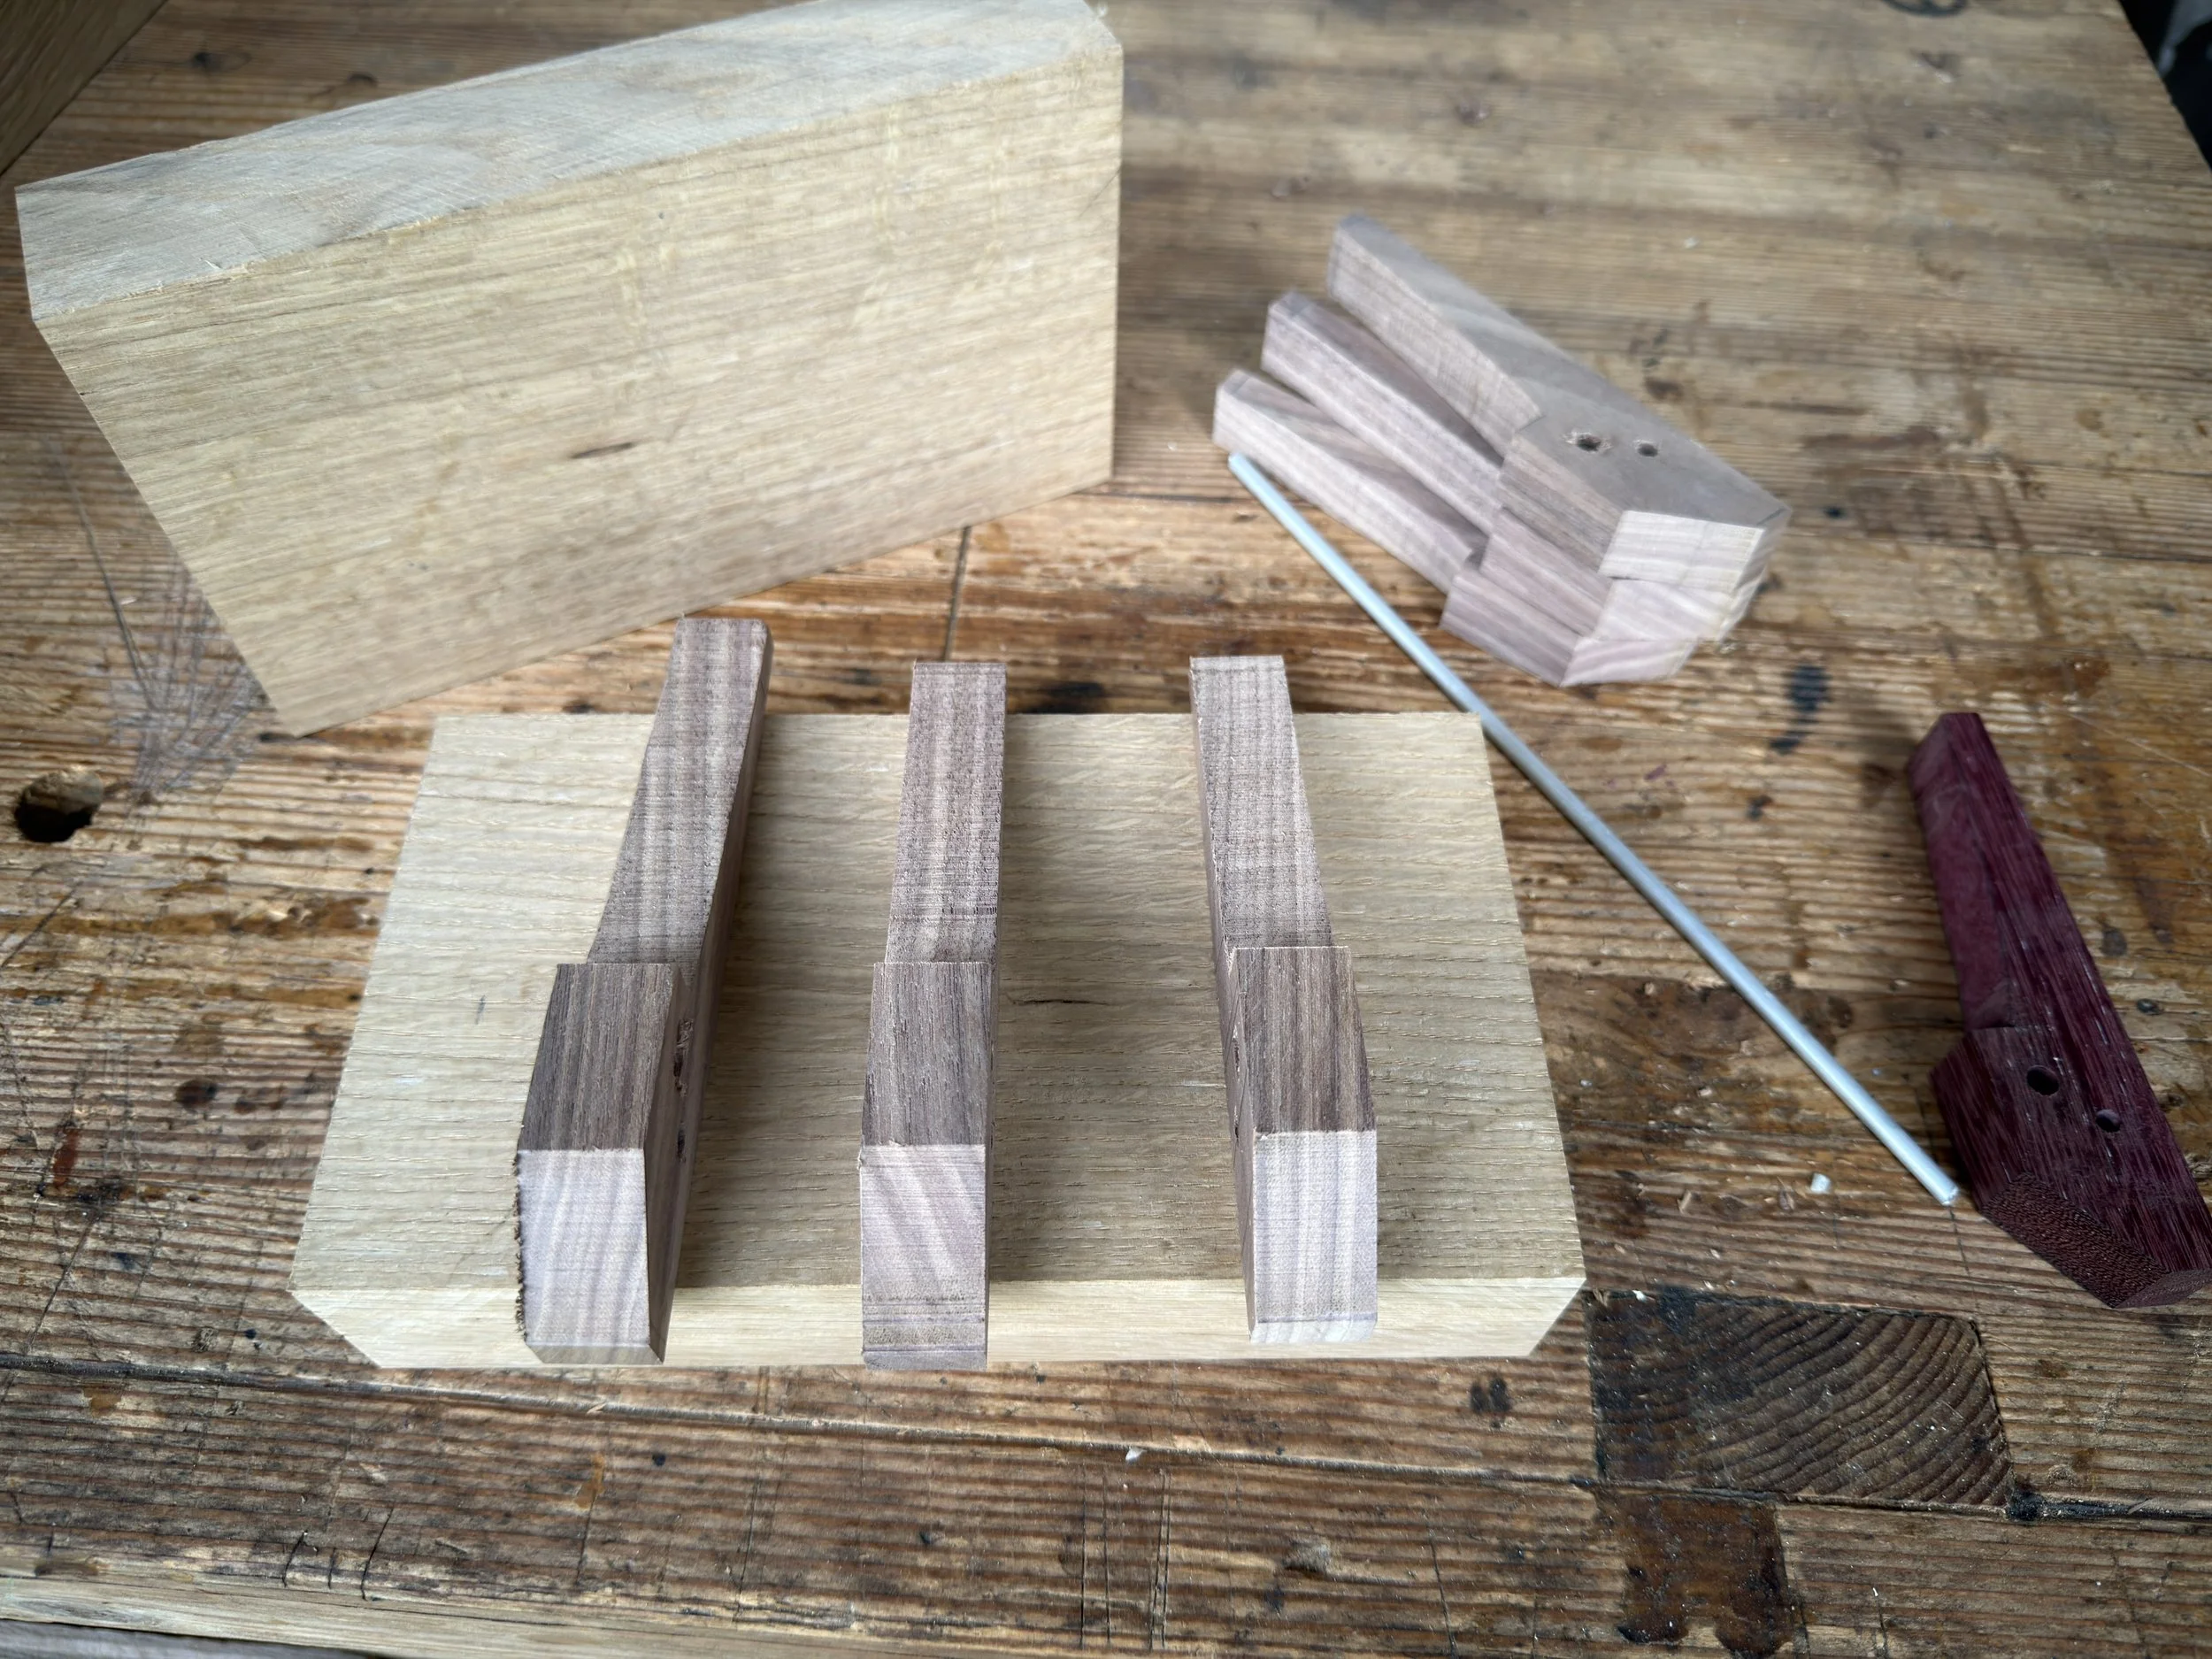
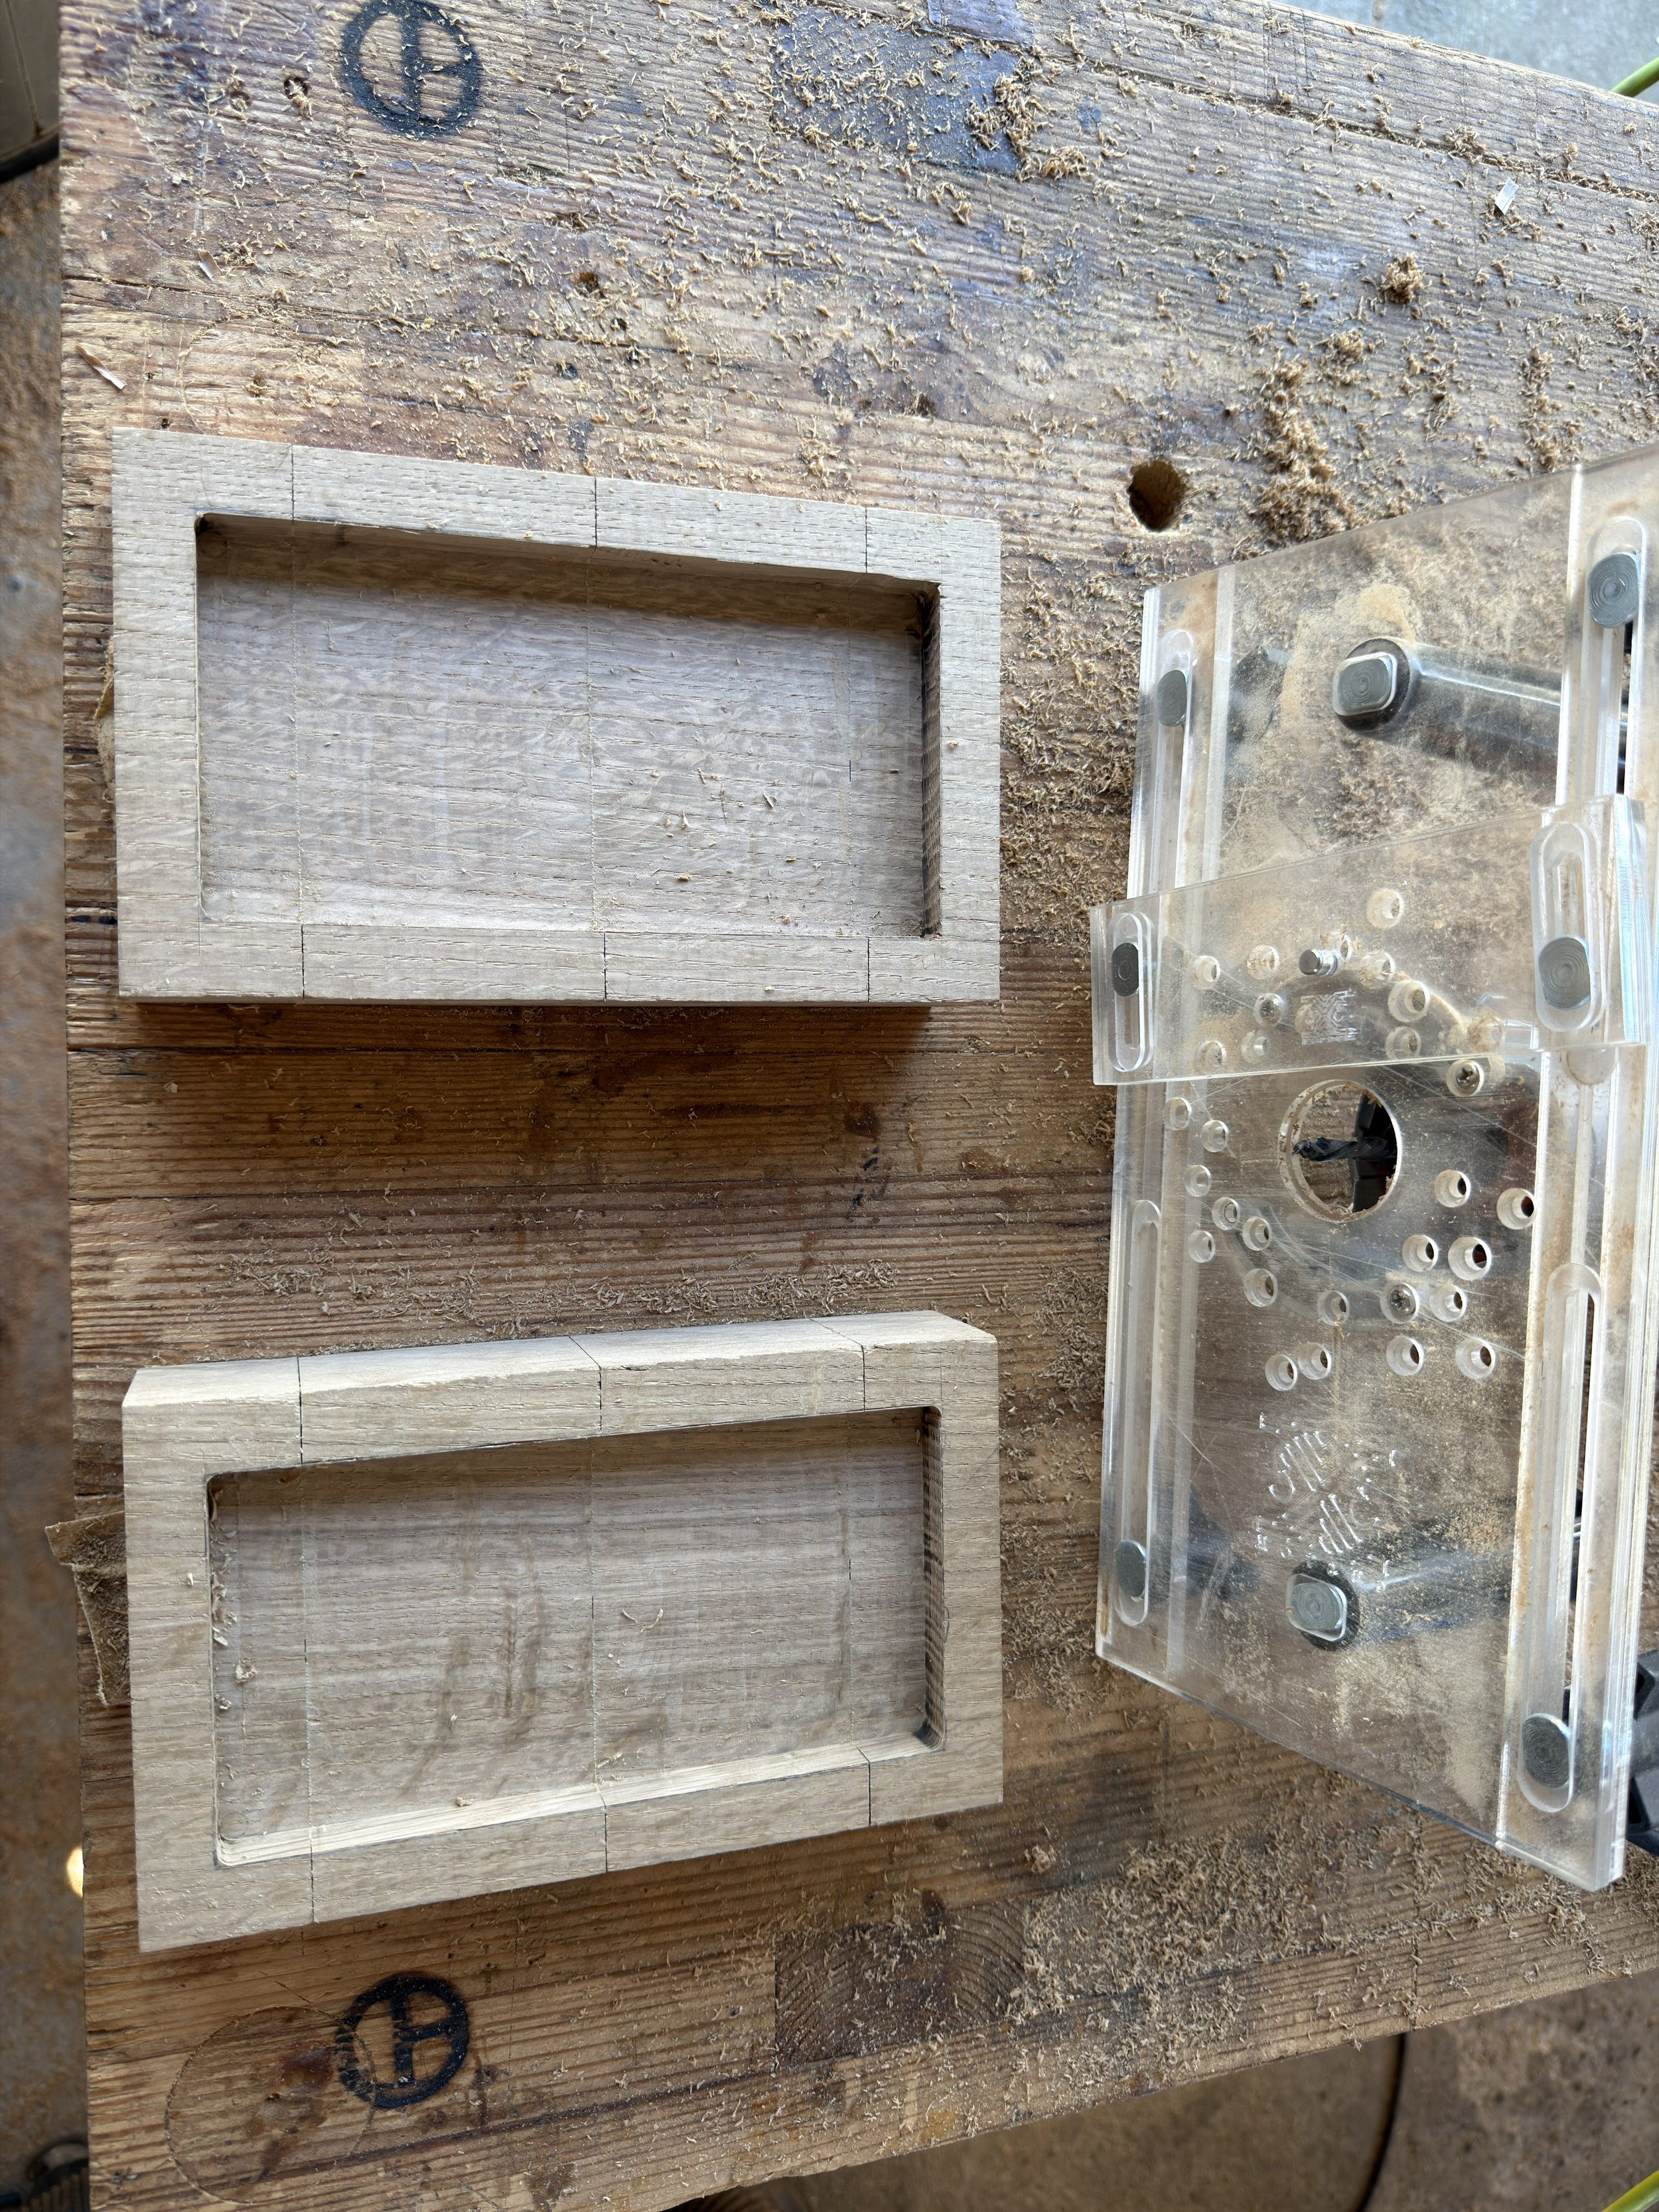
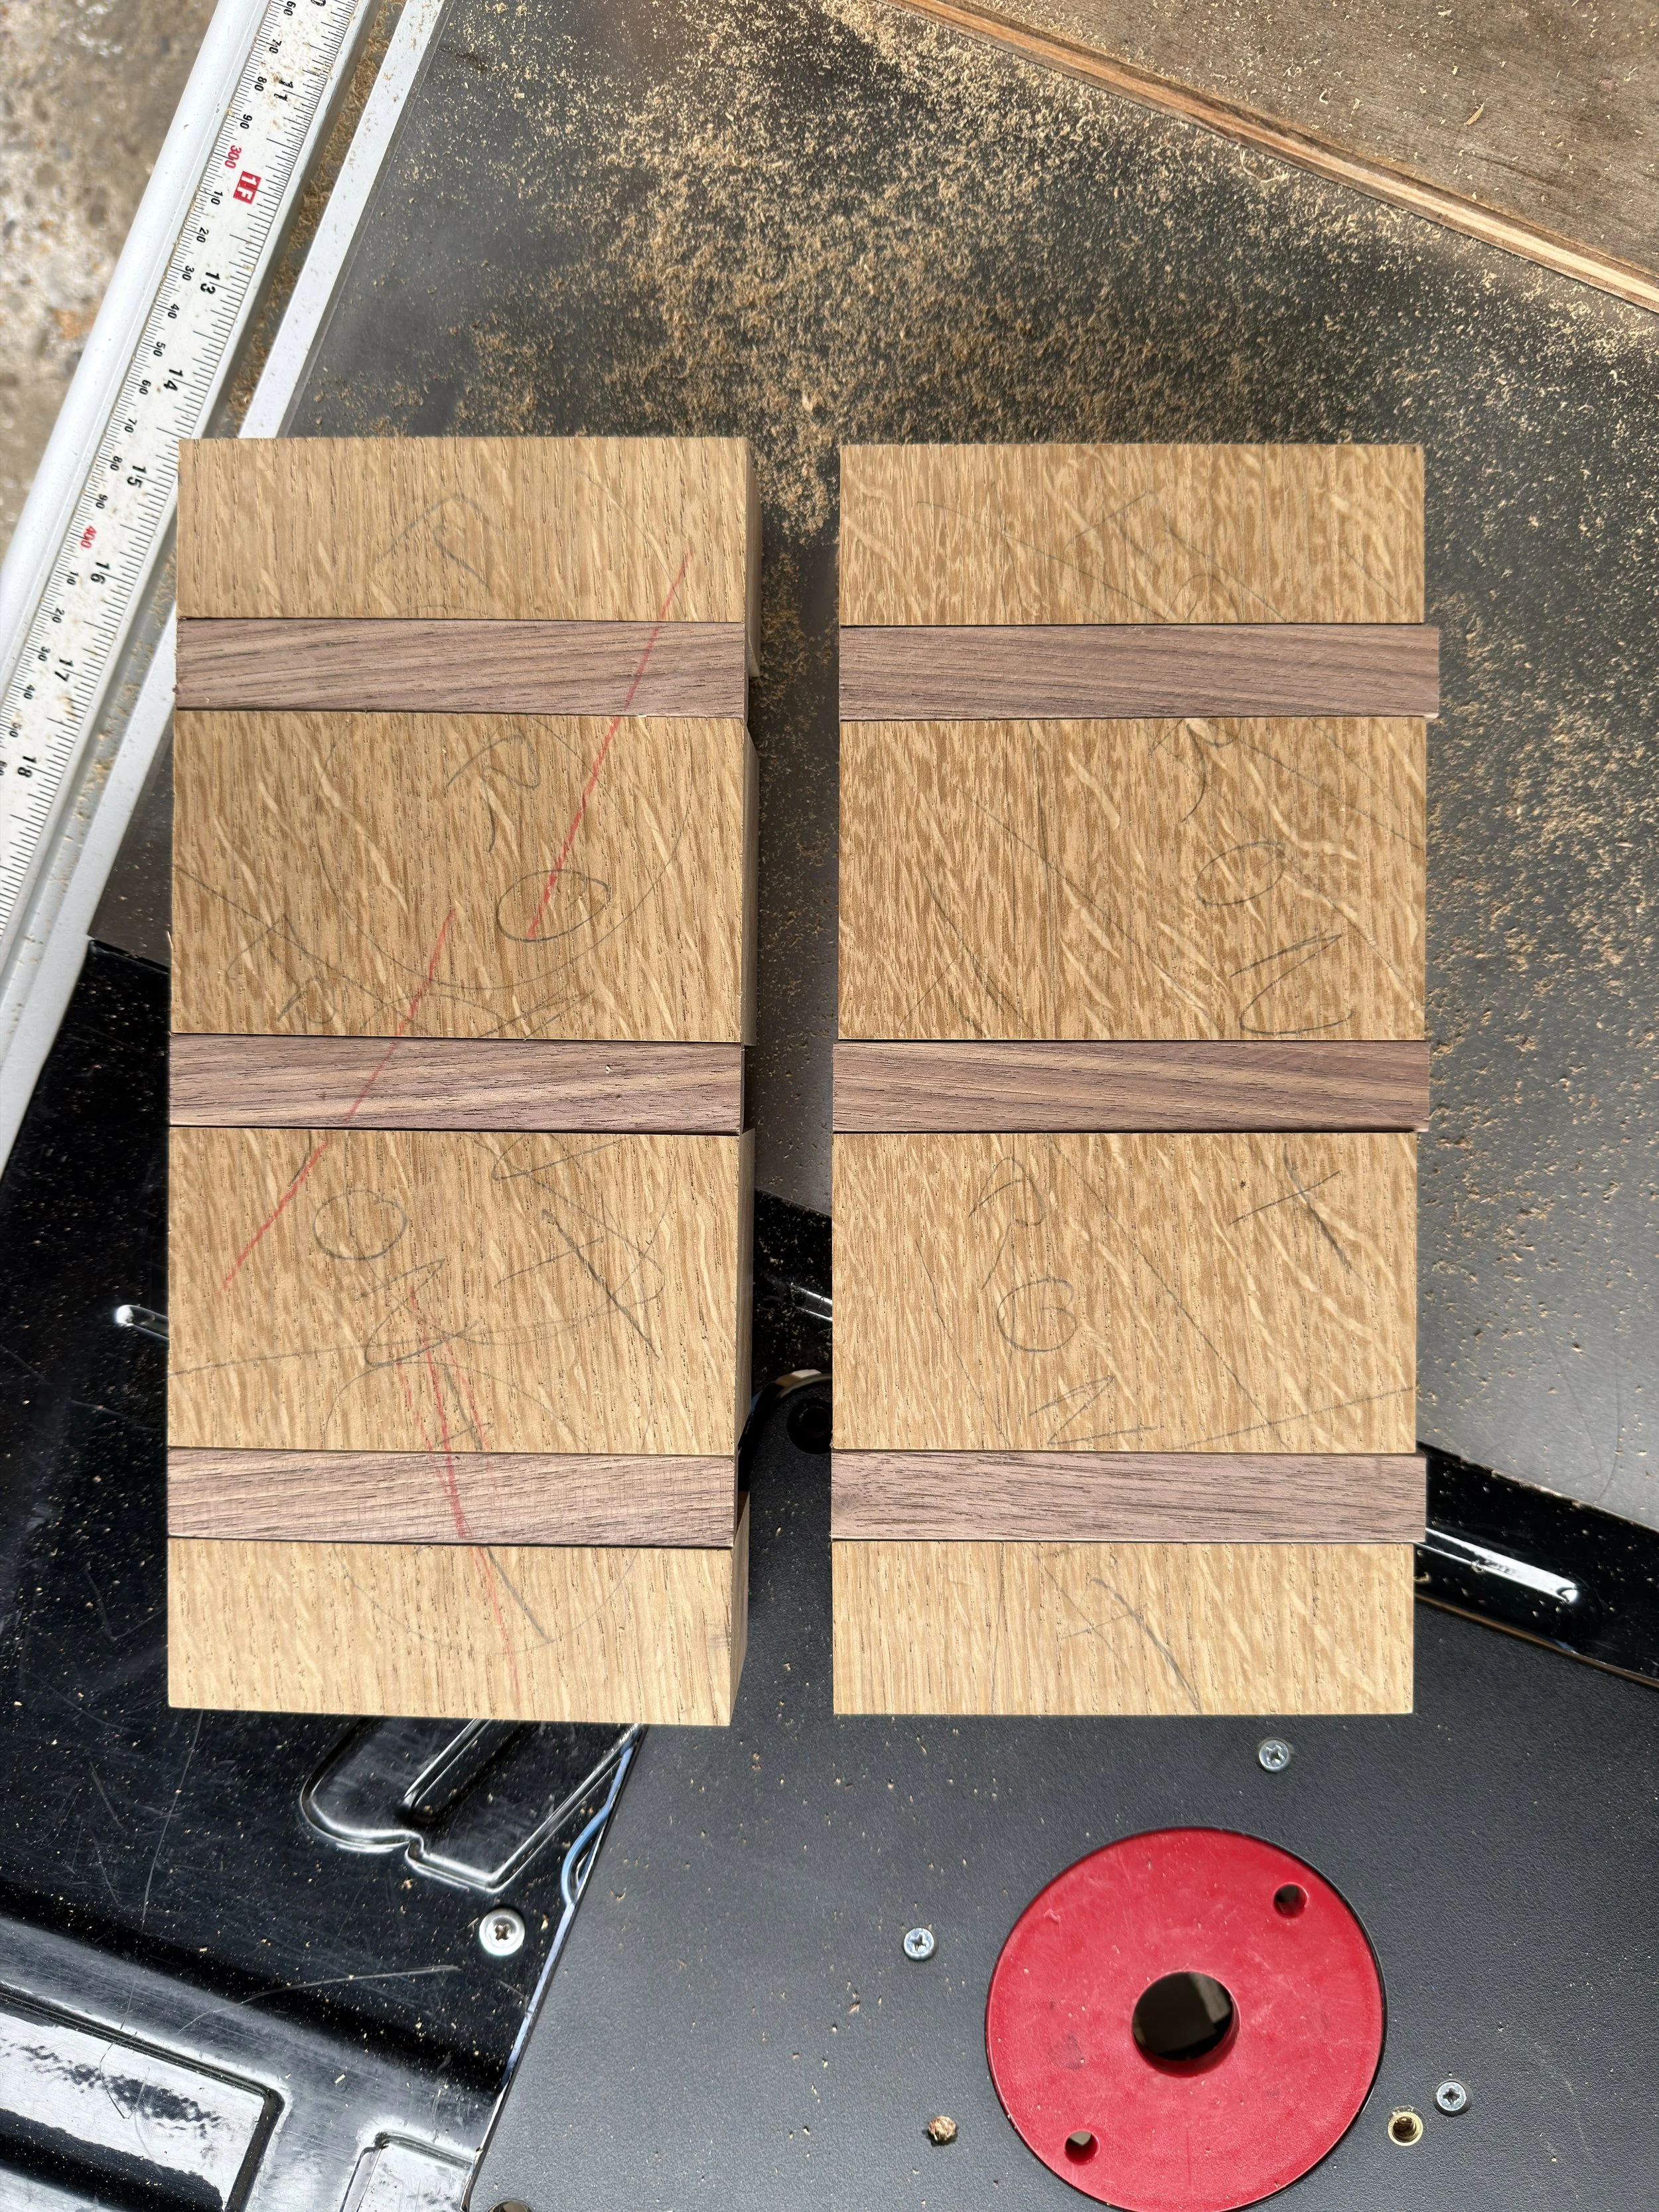
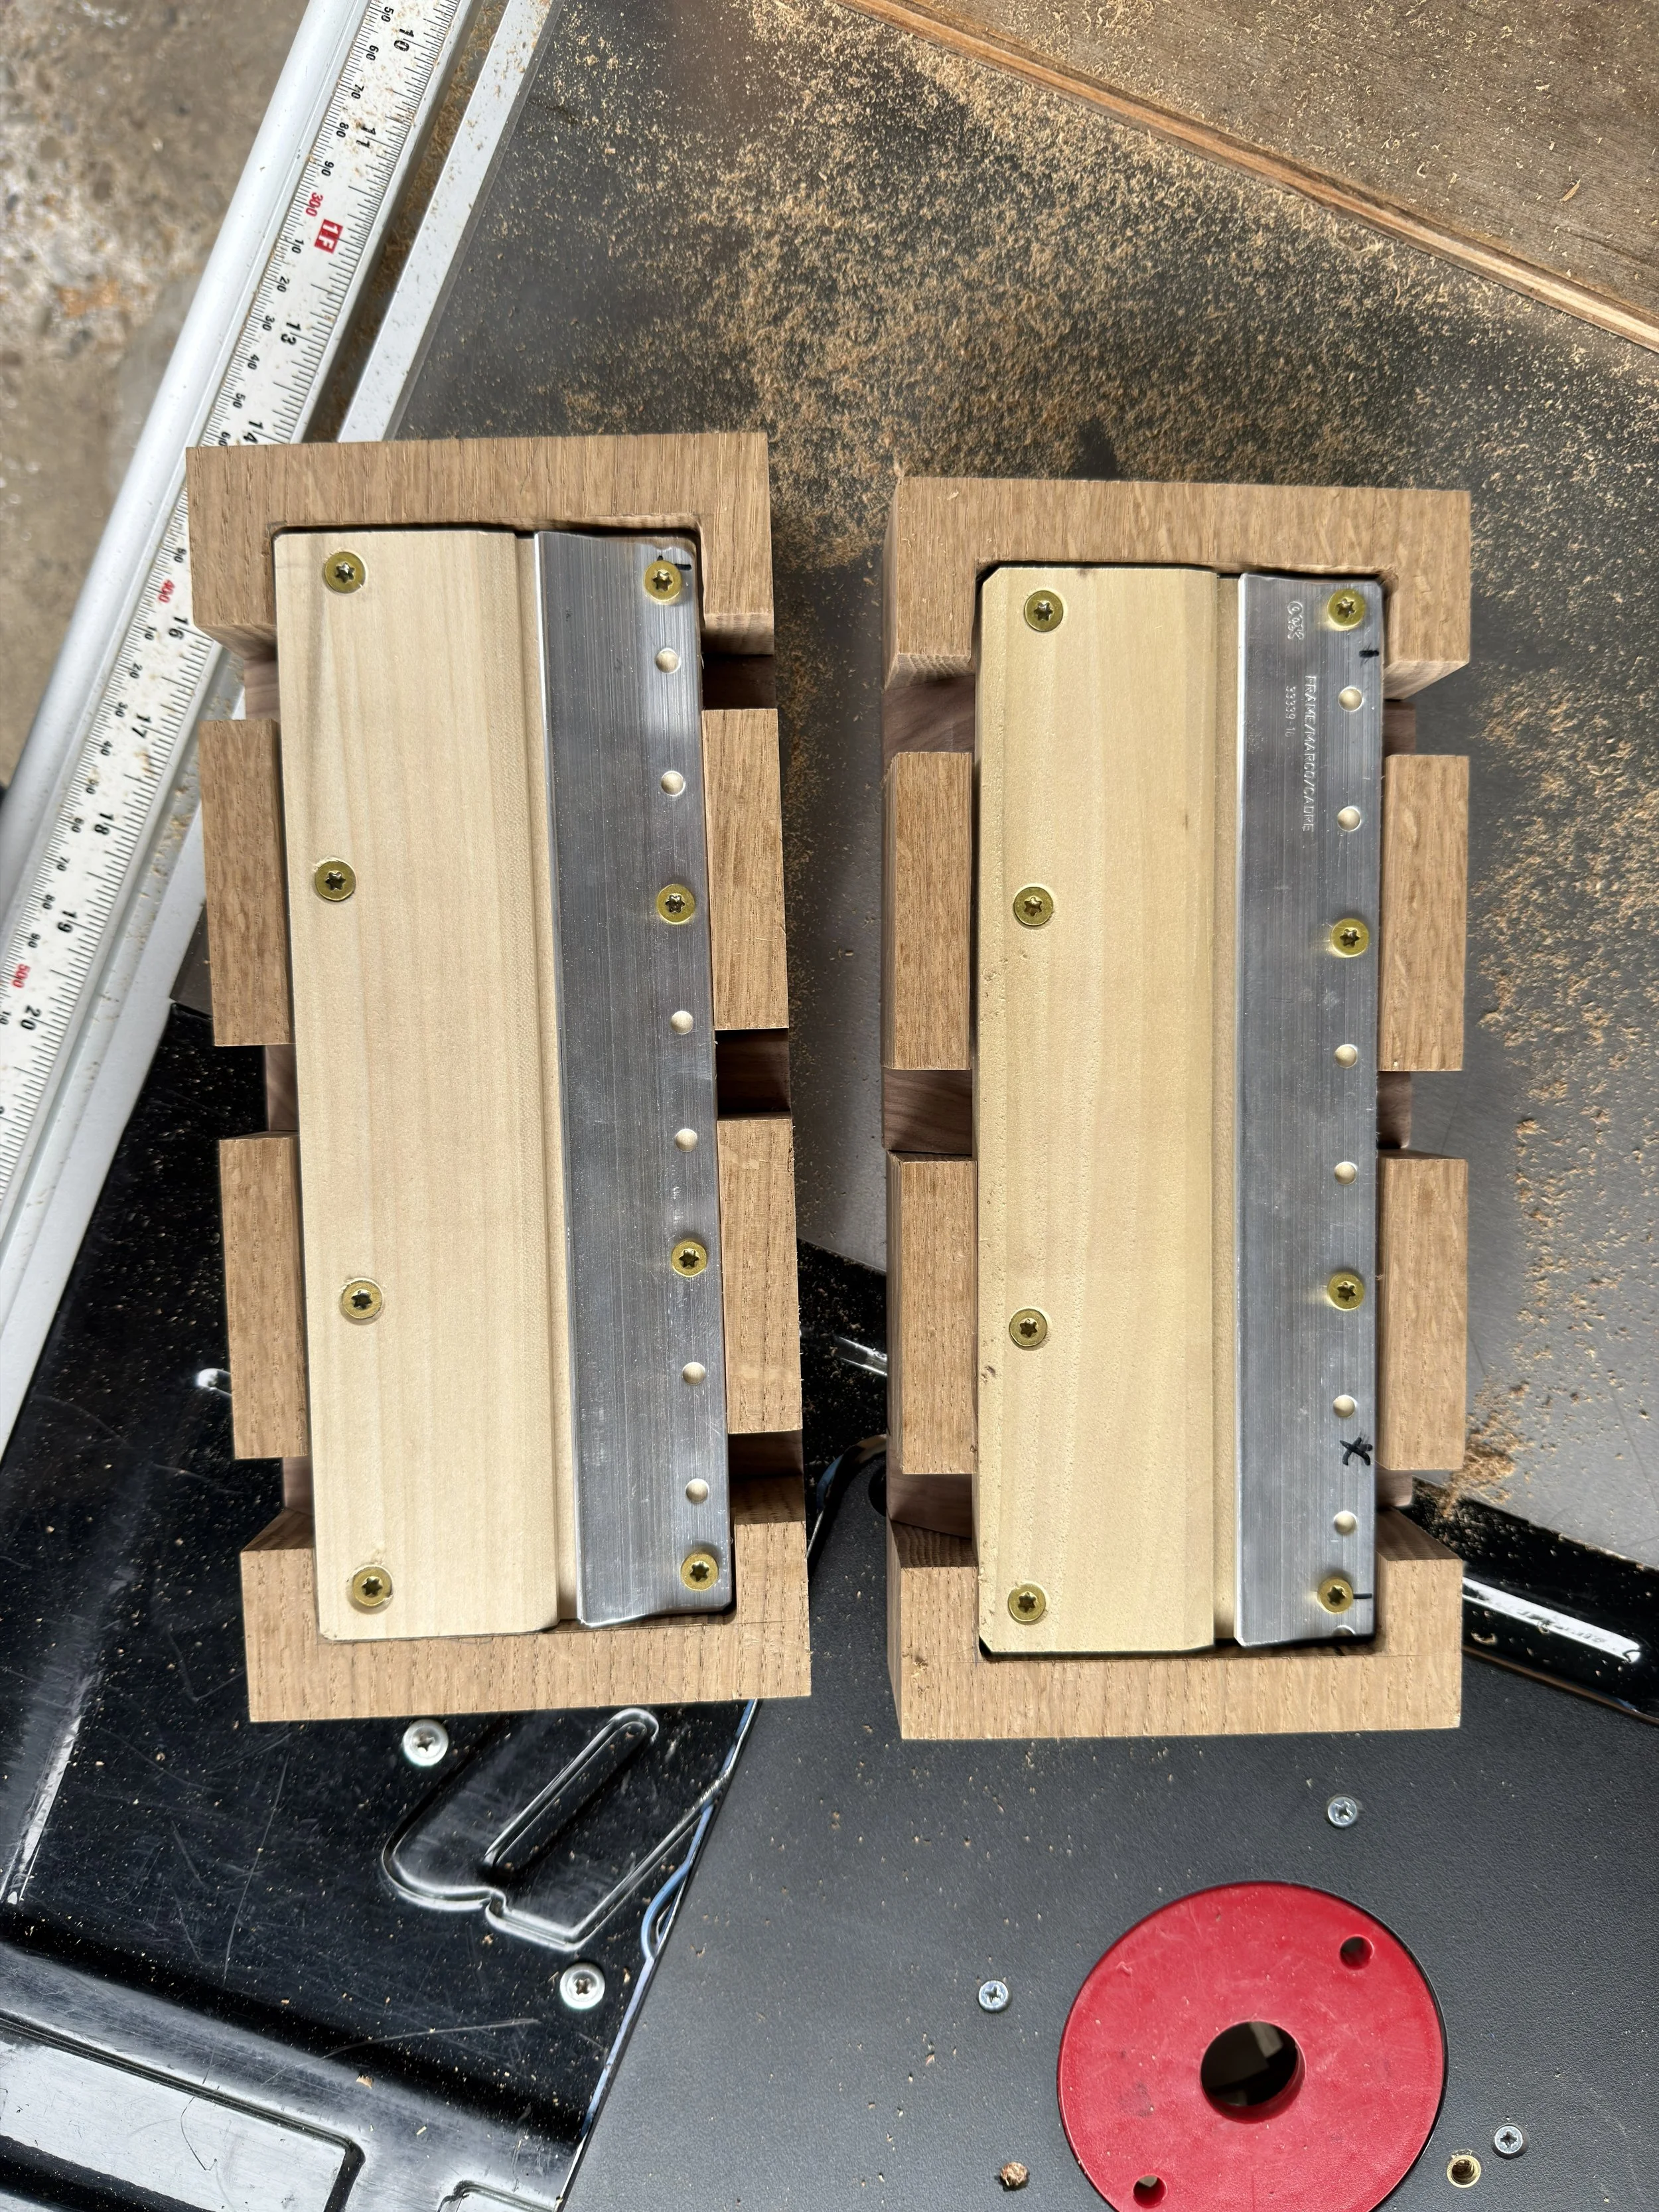
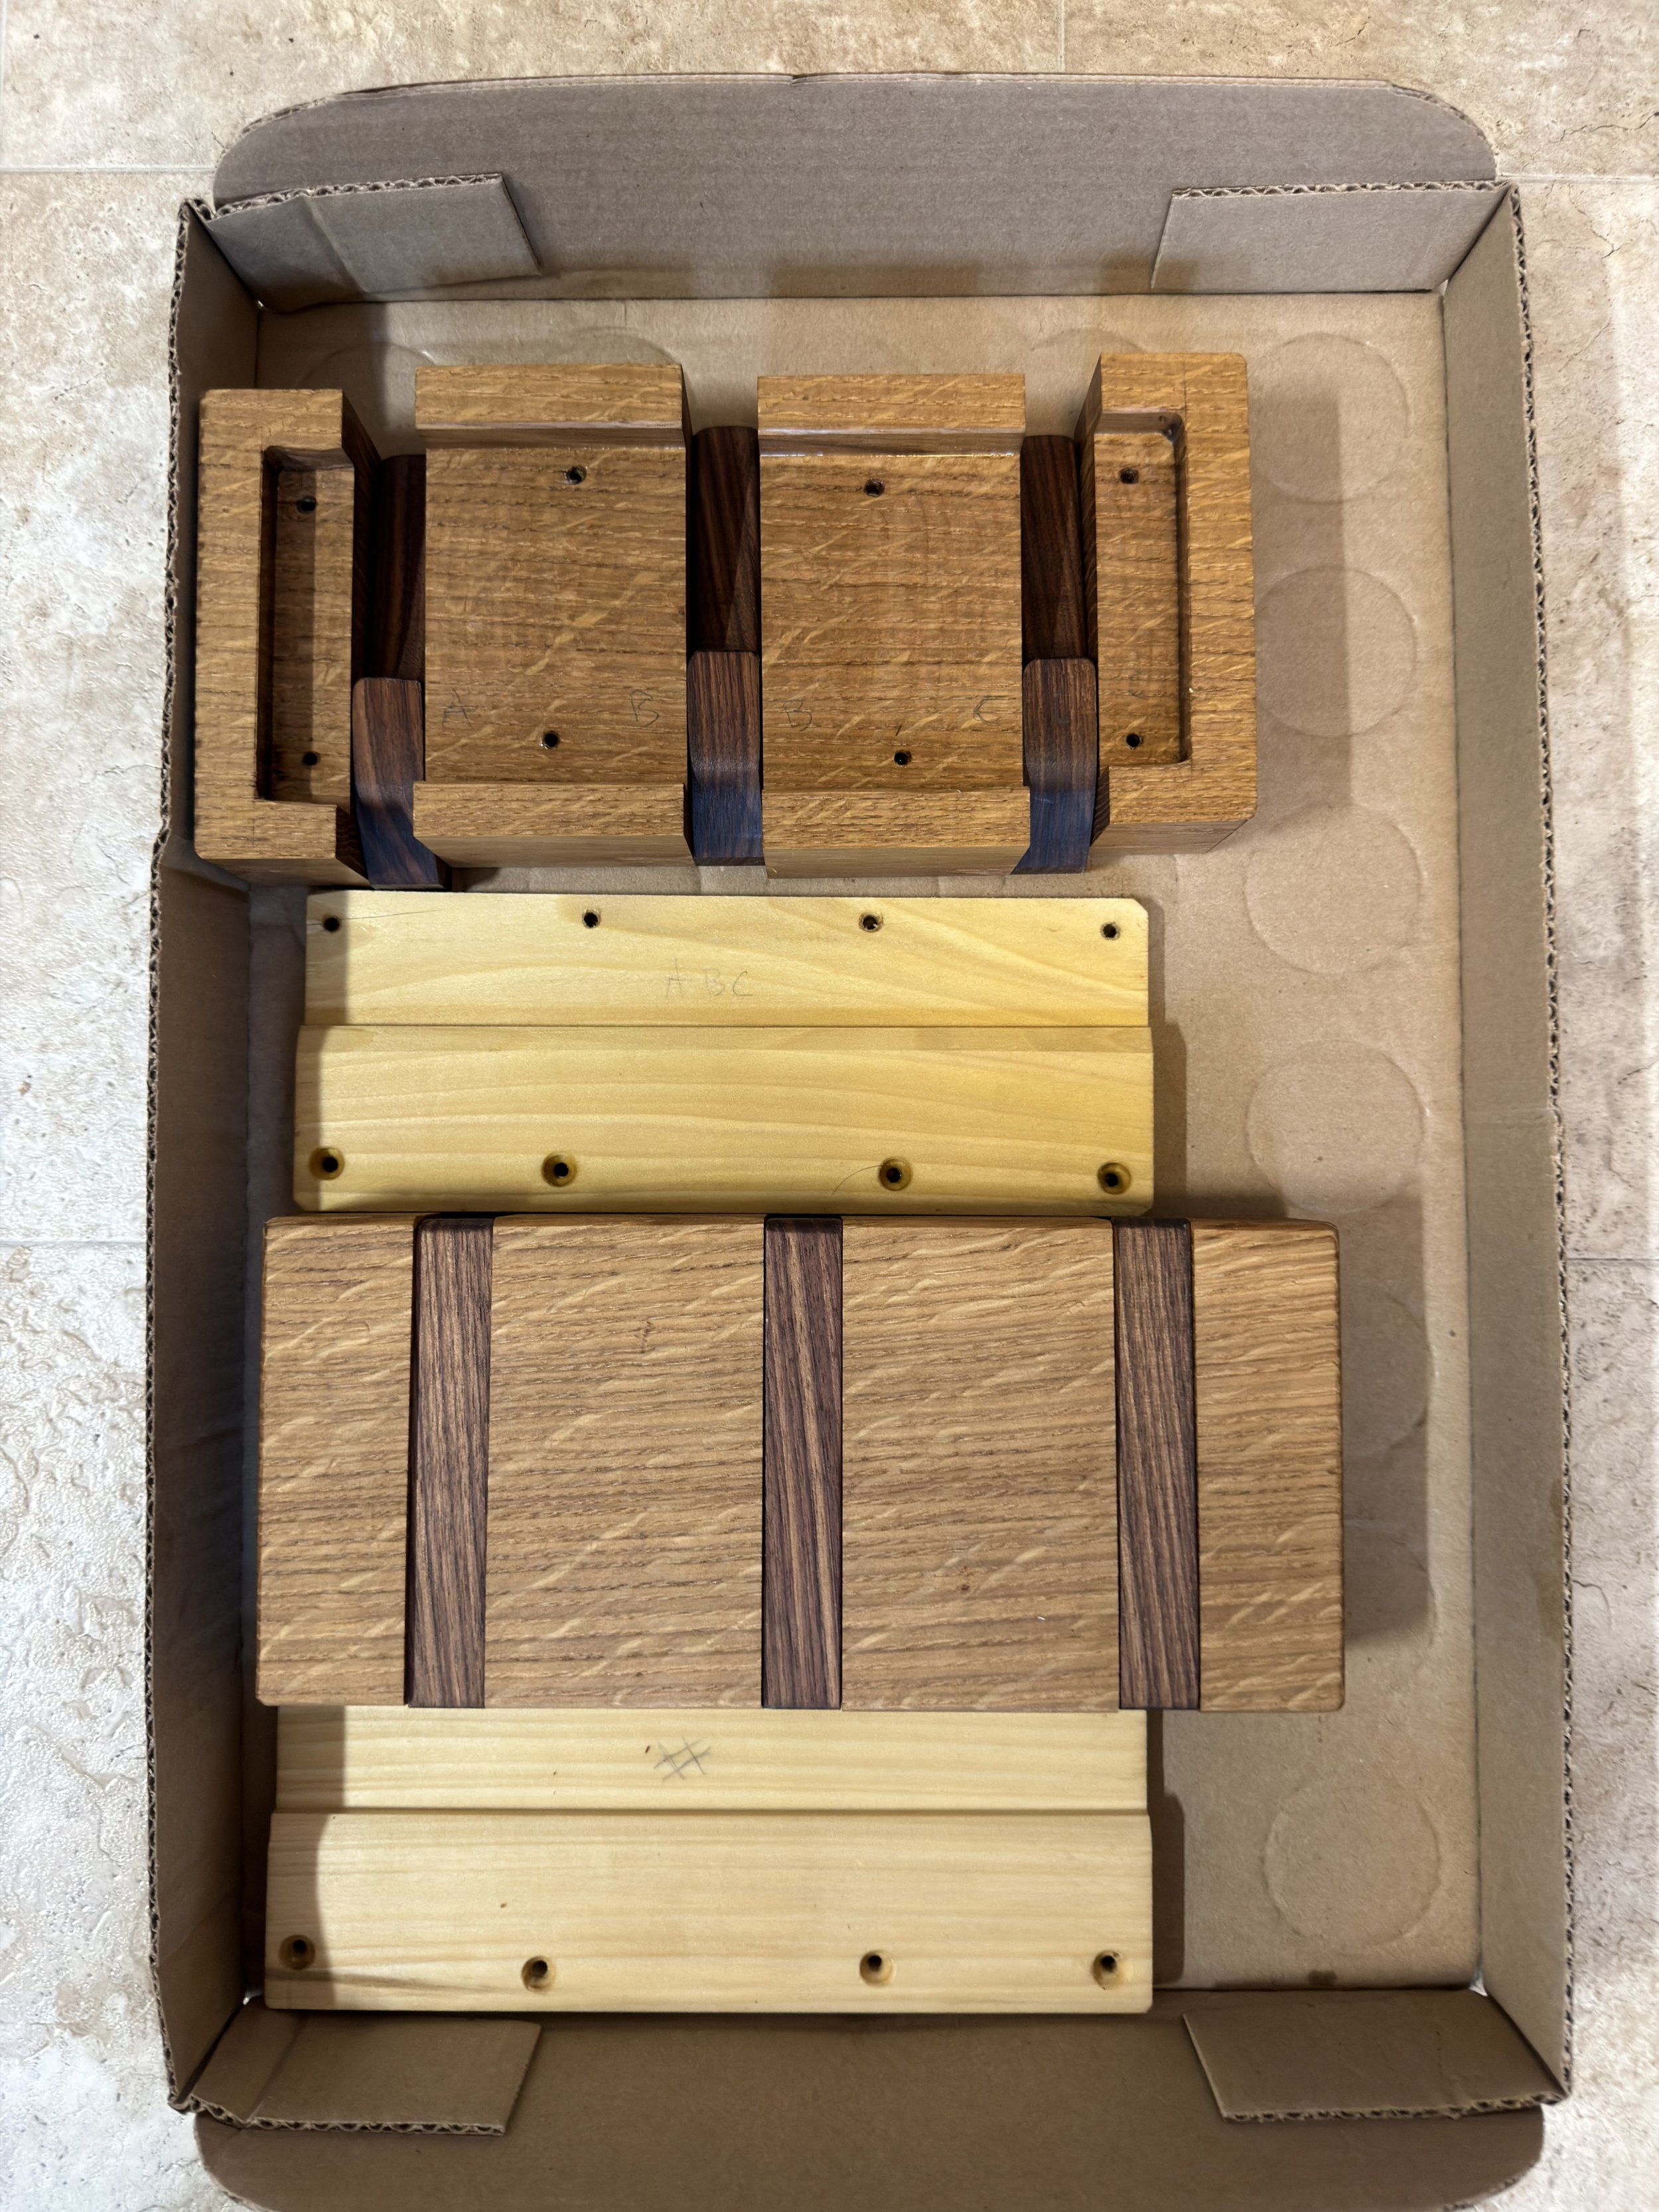
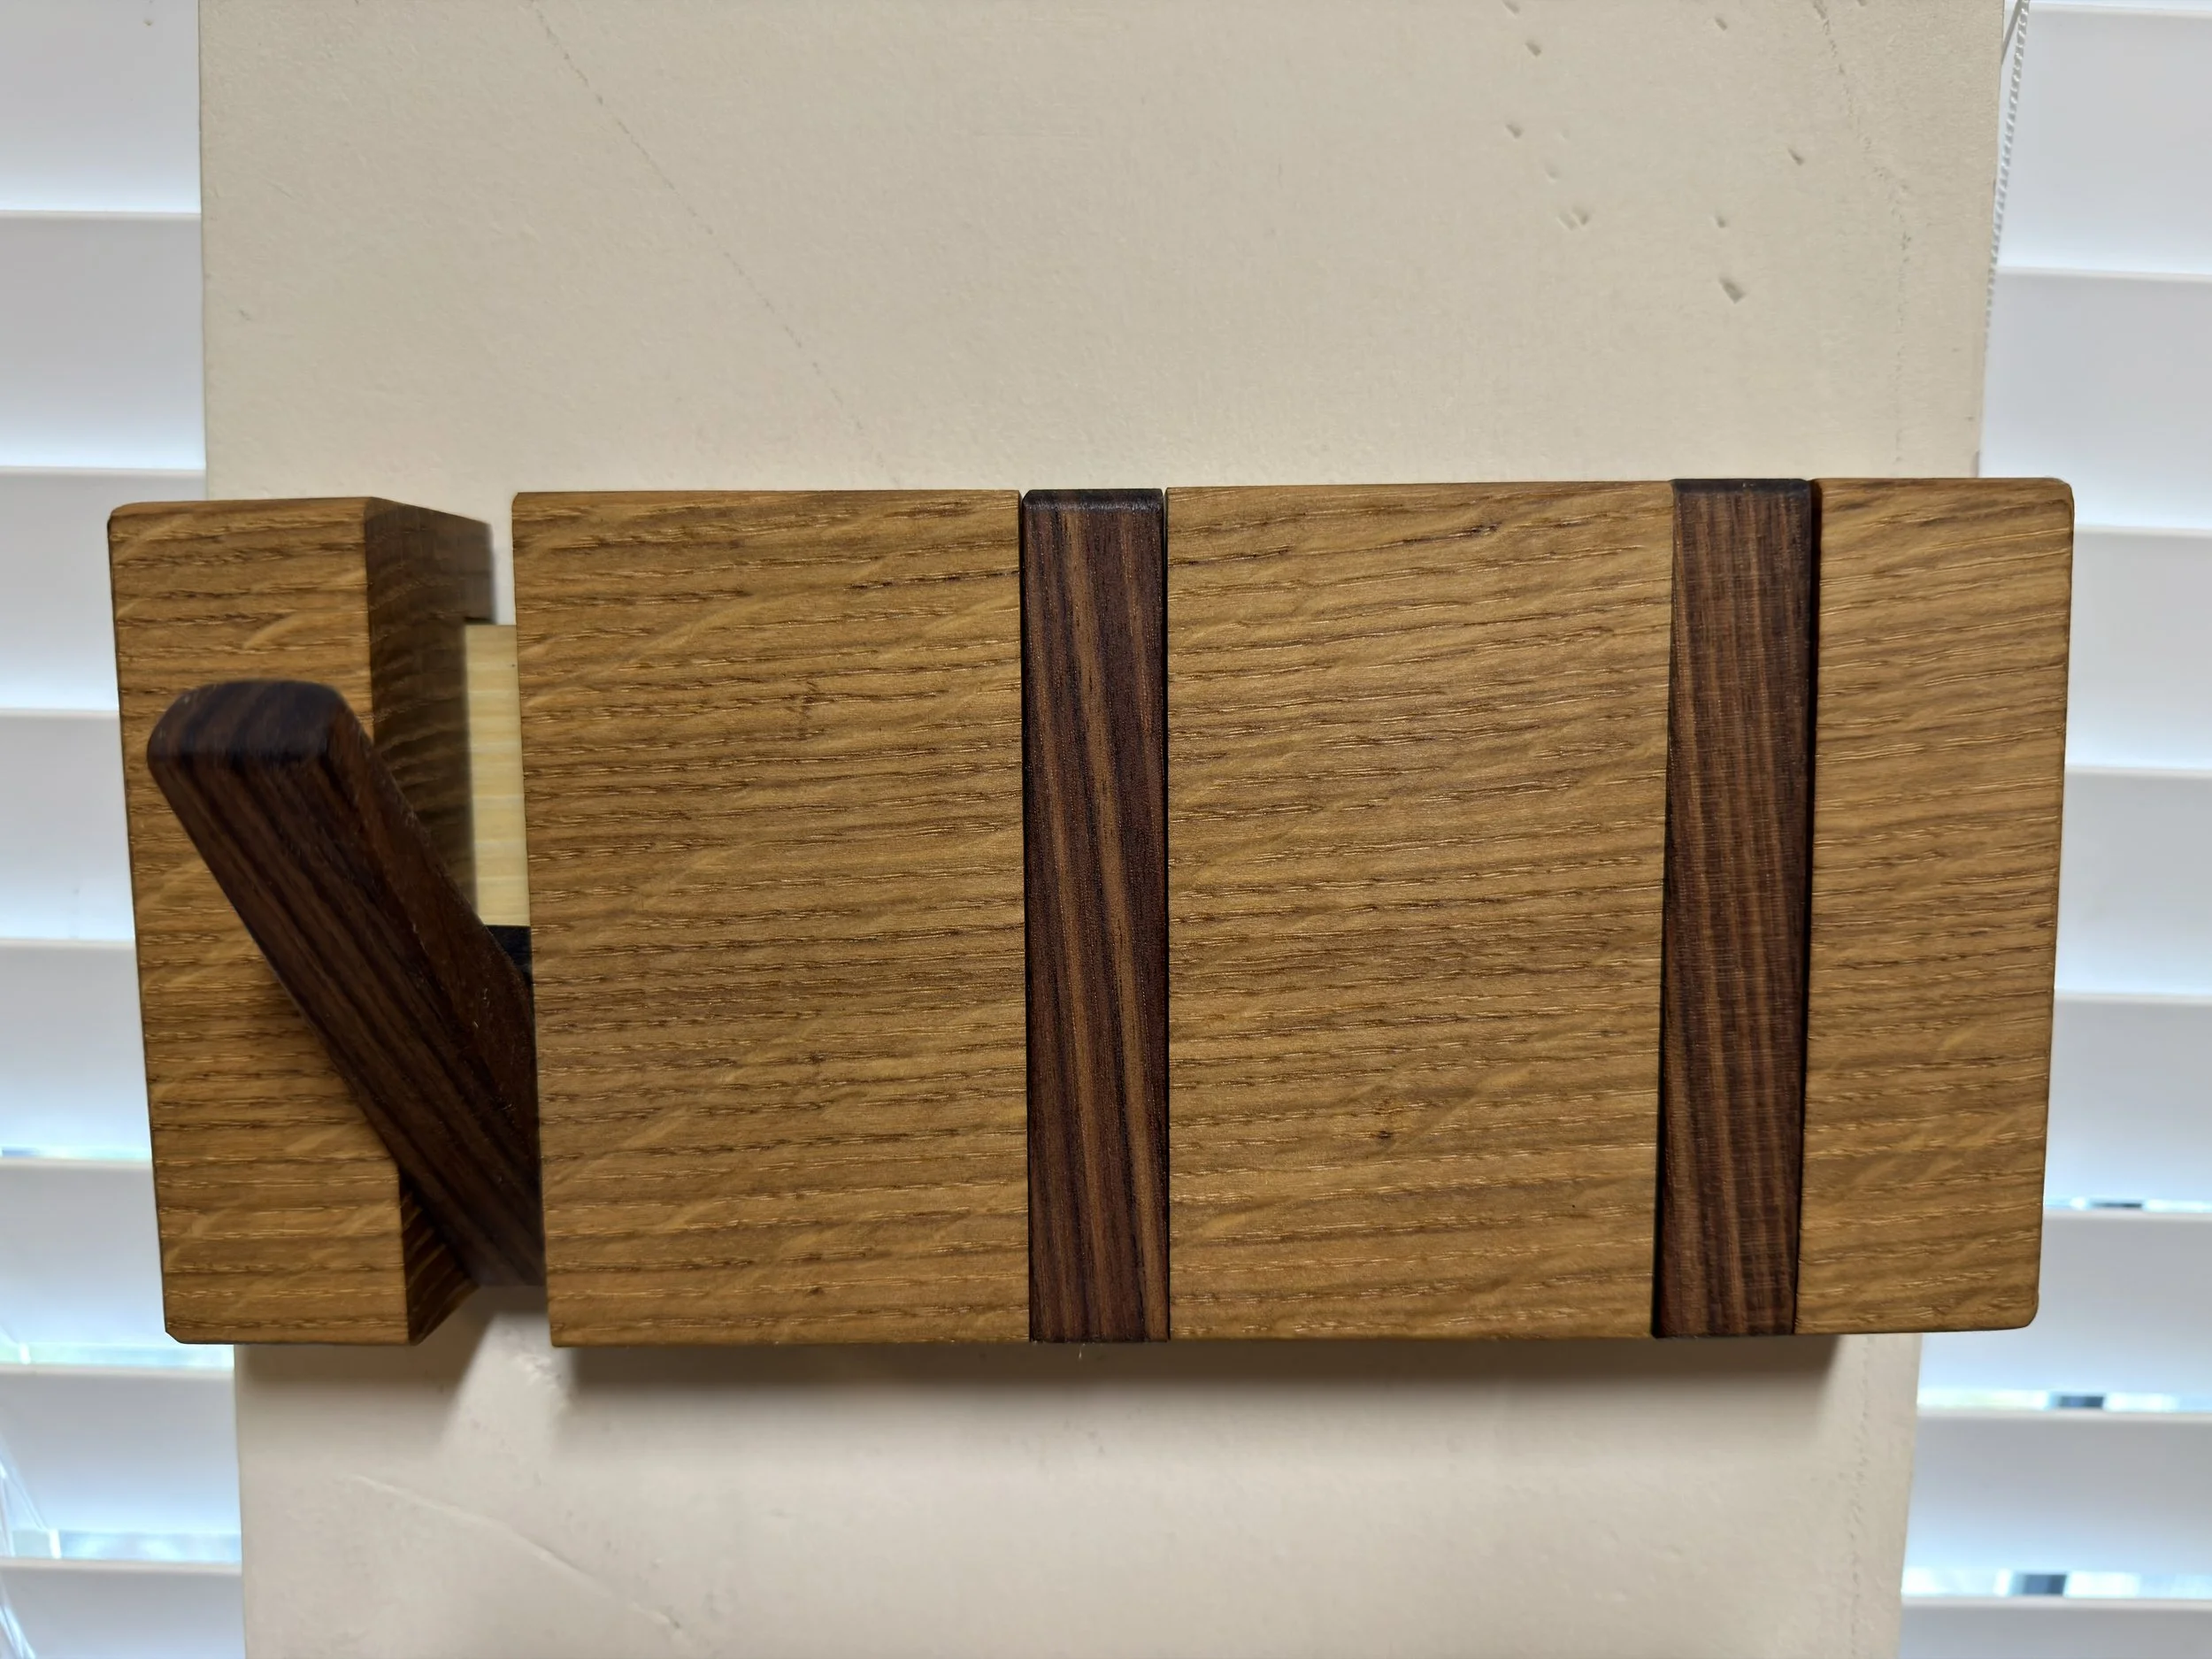
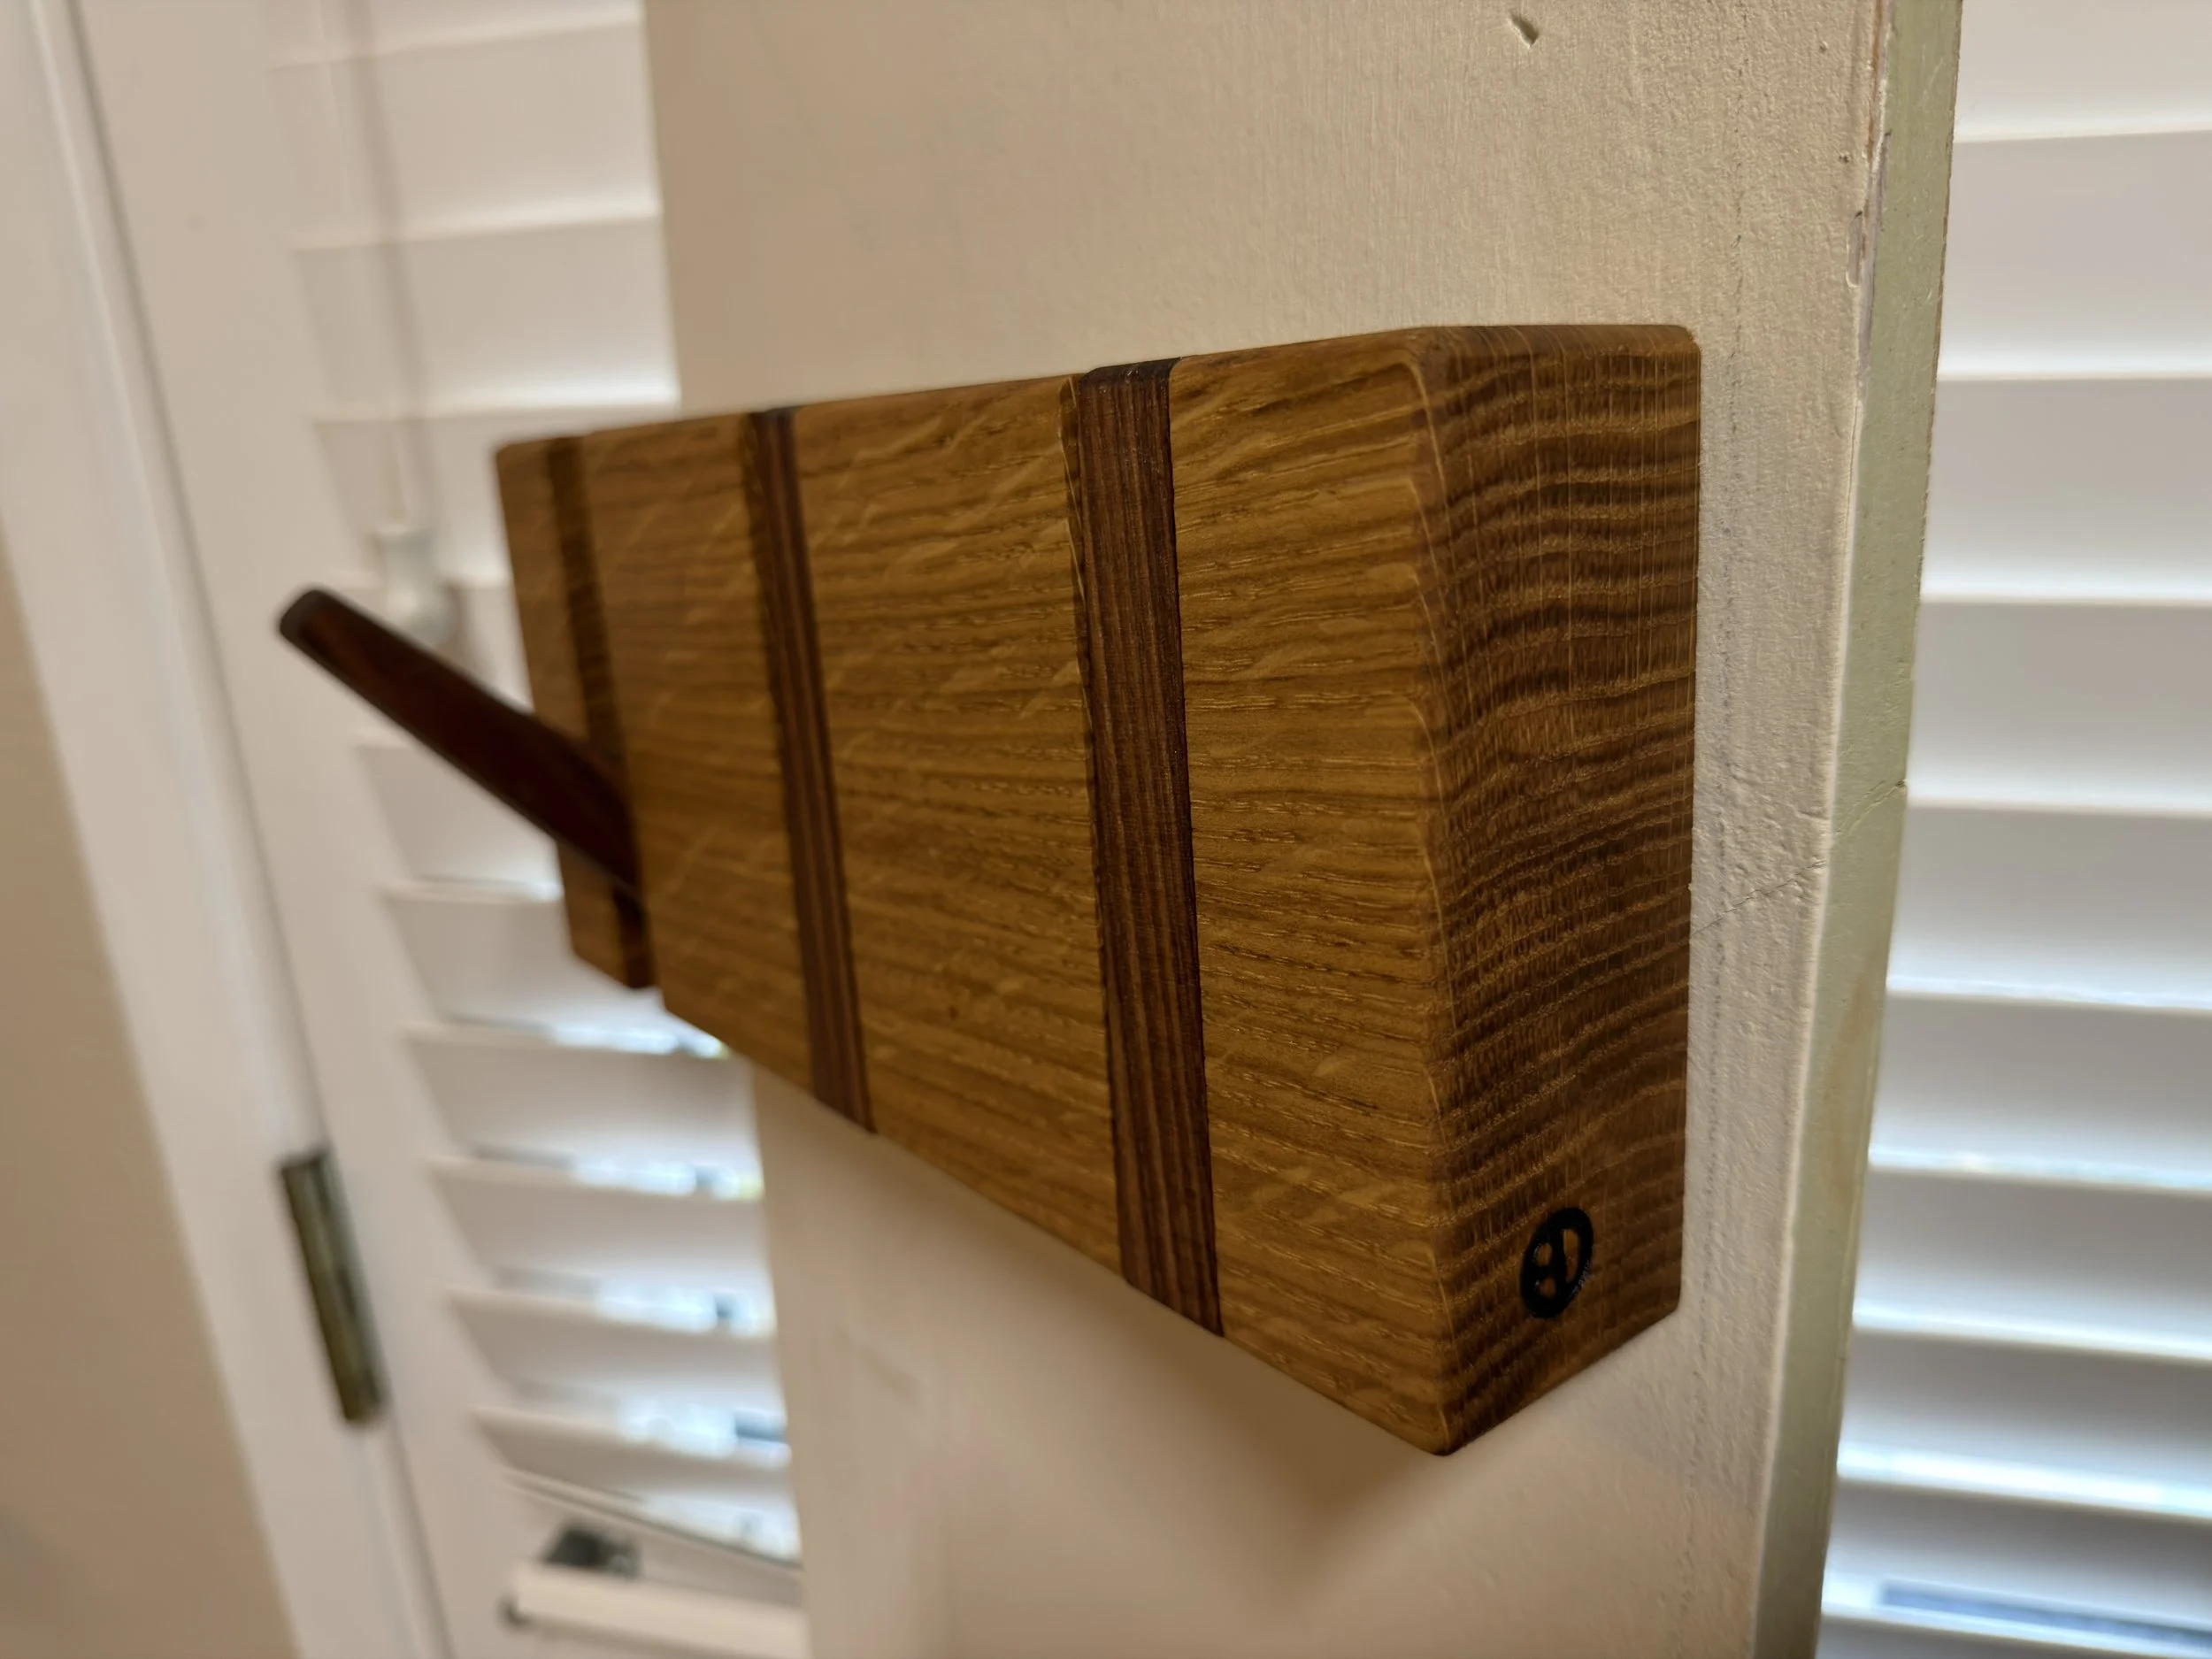
My third attempt tries to keep the best of the first 2 attempt while removing the worsts. This time I started from a solid block of quarter sewn White Oak that had some nice looking grain. I figured out how much spacing I wanted between each hanging finger then cut up that piece of white oak into 4 pieces. Then I hollowed out the rear to handle the store bought metal french cleat, all while keeping in mind the amount of wood left needs to match how “deep” the hanging fingers need to be. I really should have swapped these 2 steps…
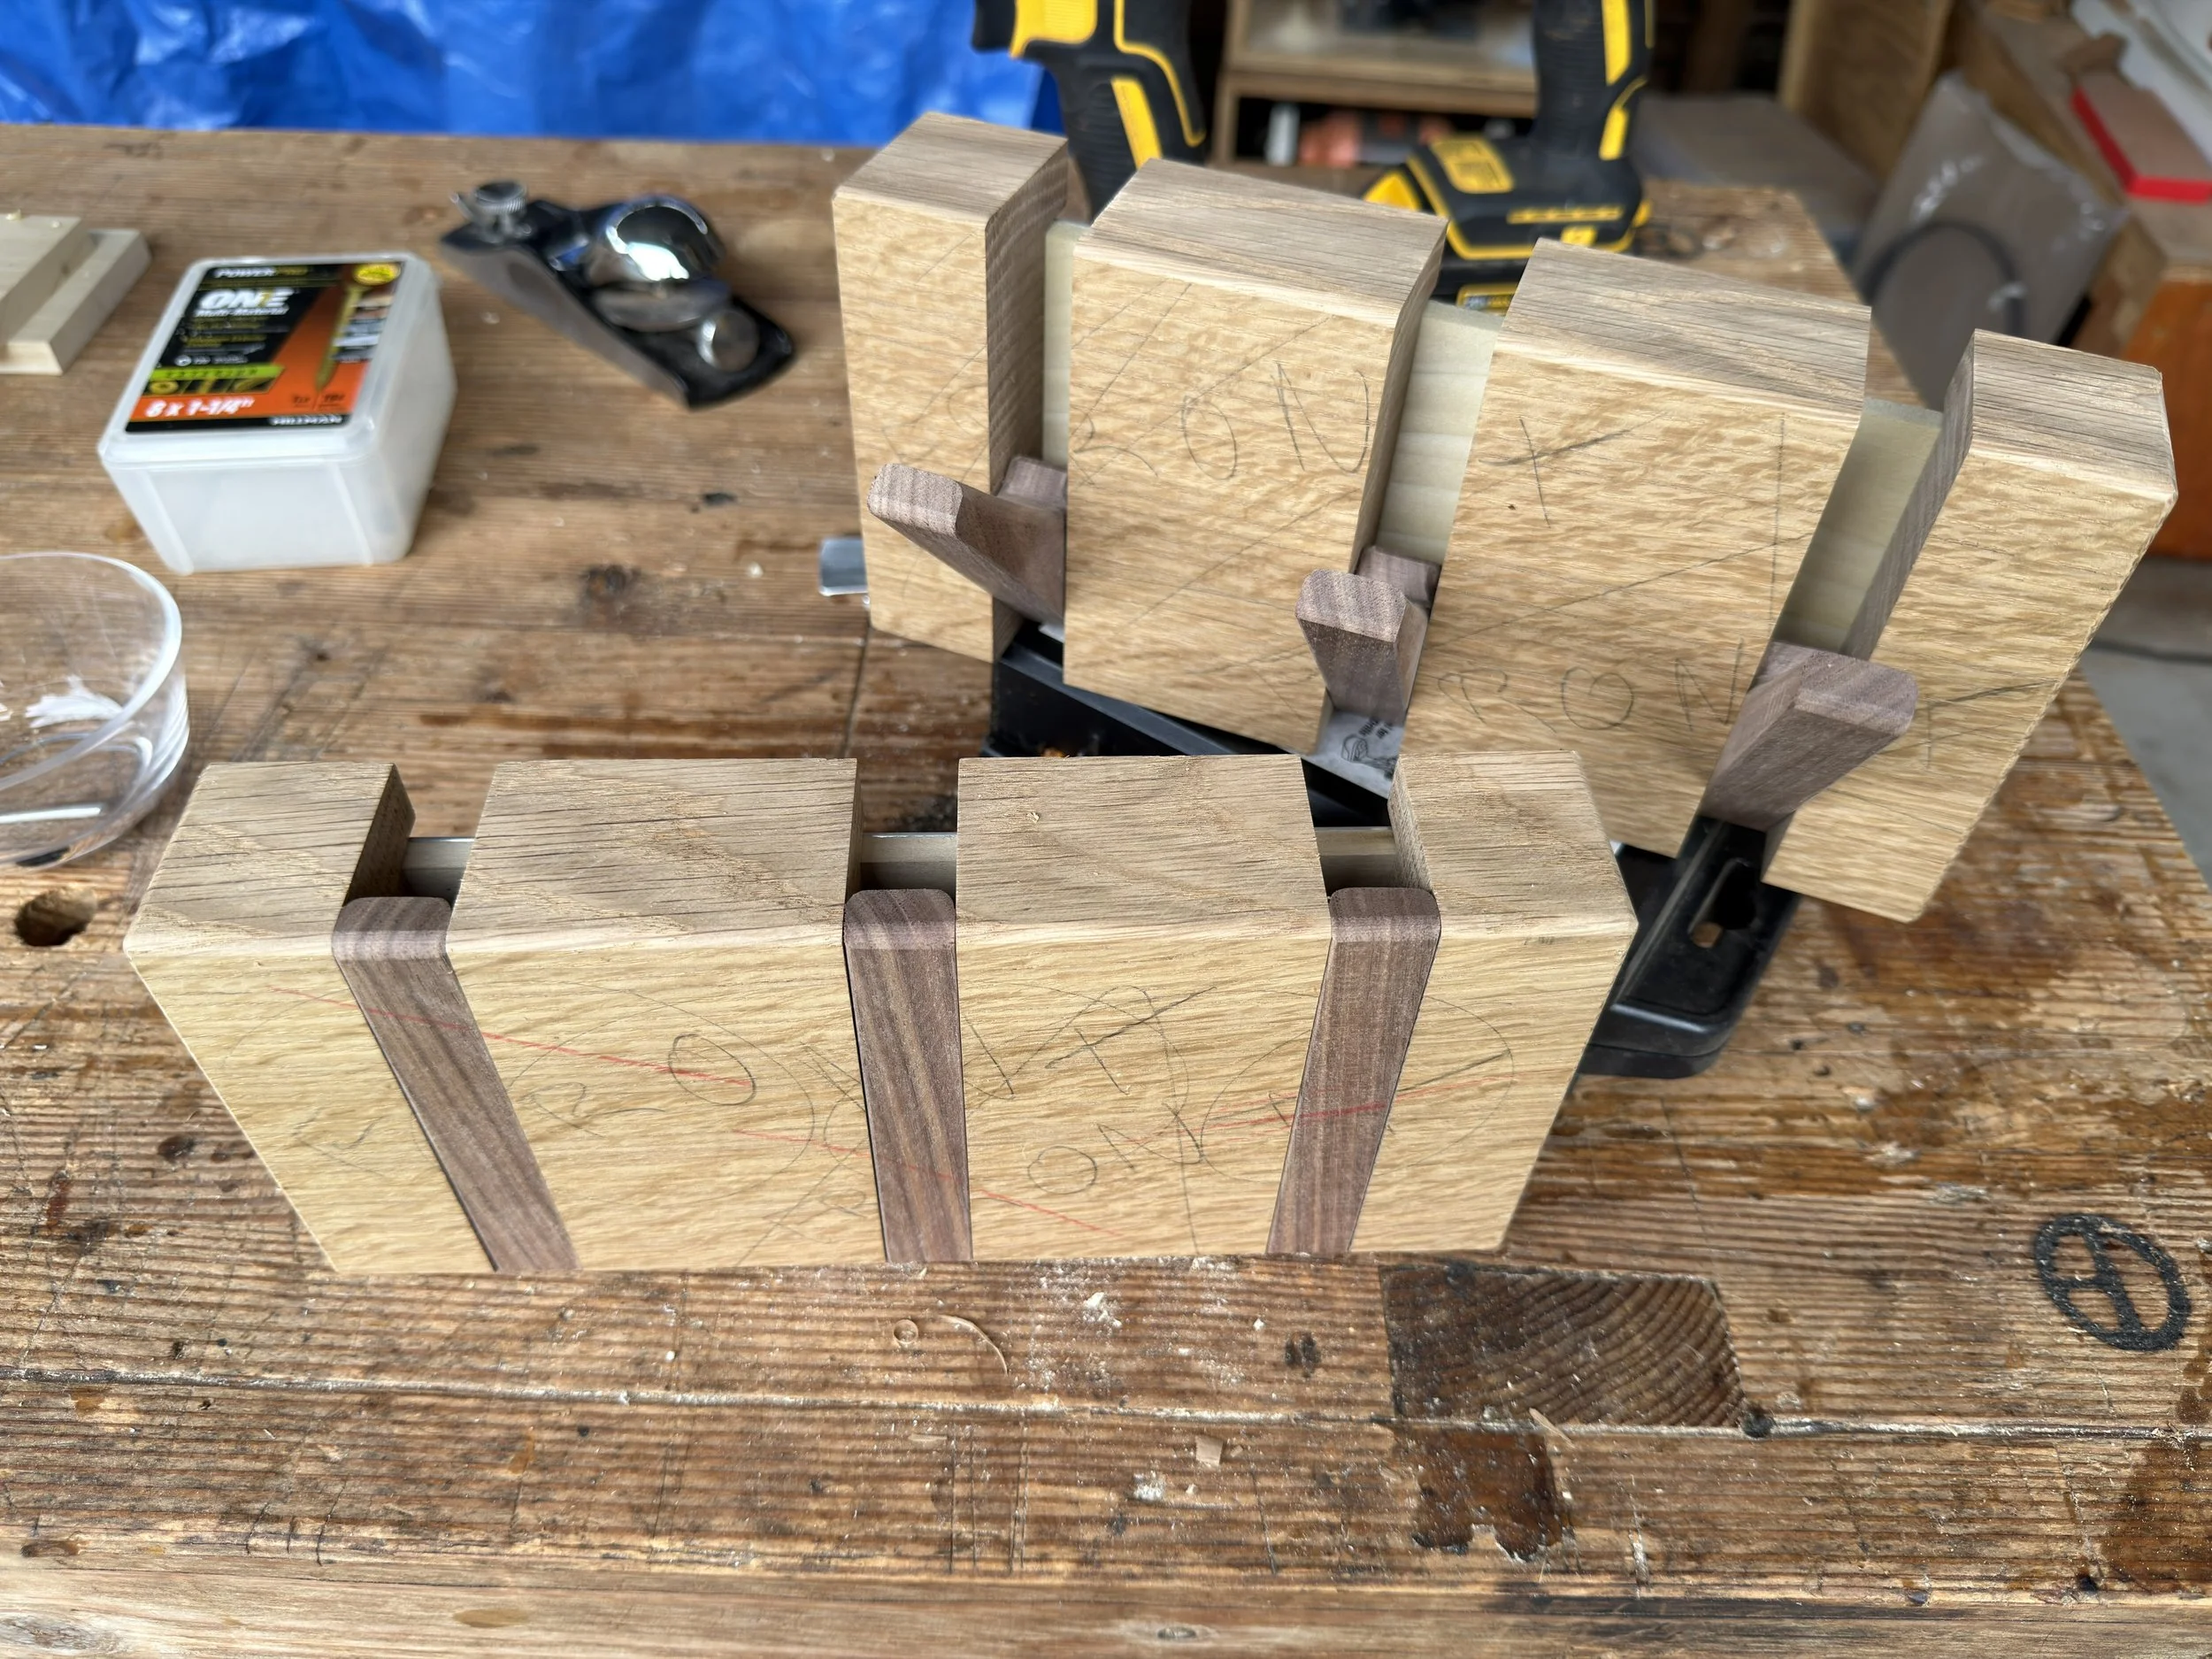
This time around I chose Walnut for the hanging fingers. Partially because it is a cool looking wood, partially because it plays well with the white oak, and partially because I had a piece the perfect size to make all the hanging fingers. I thankfully kept the original finger template from my first attempt back in early Covid. Having this meant I didn’t have to re-figure out what shape the fingers need to be and where their holes need to be drilled! This template also helps figure out where to drill the matching holes in the white oak block piece.
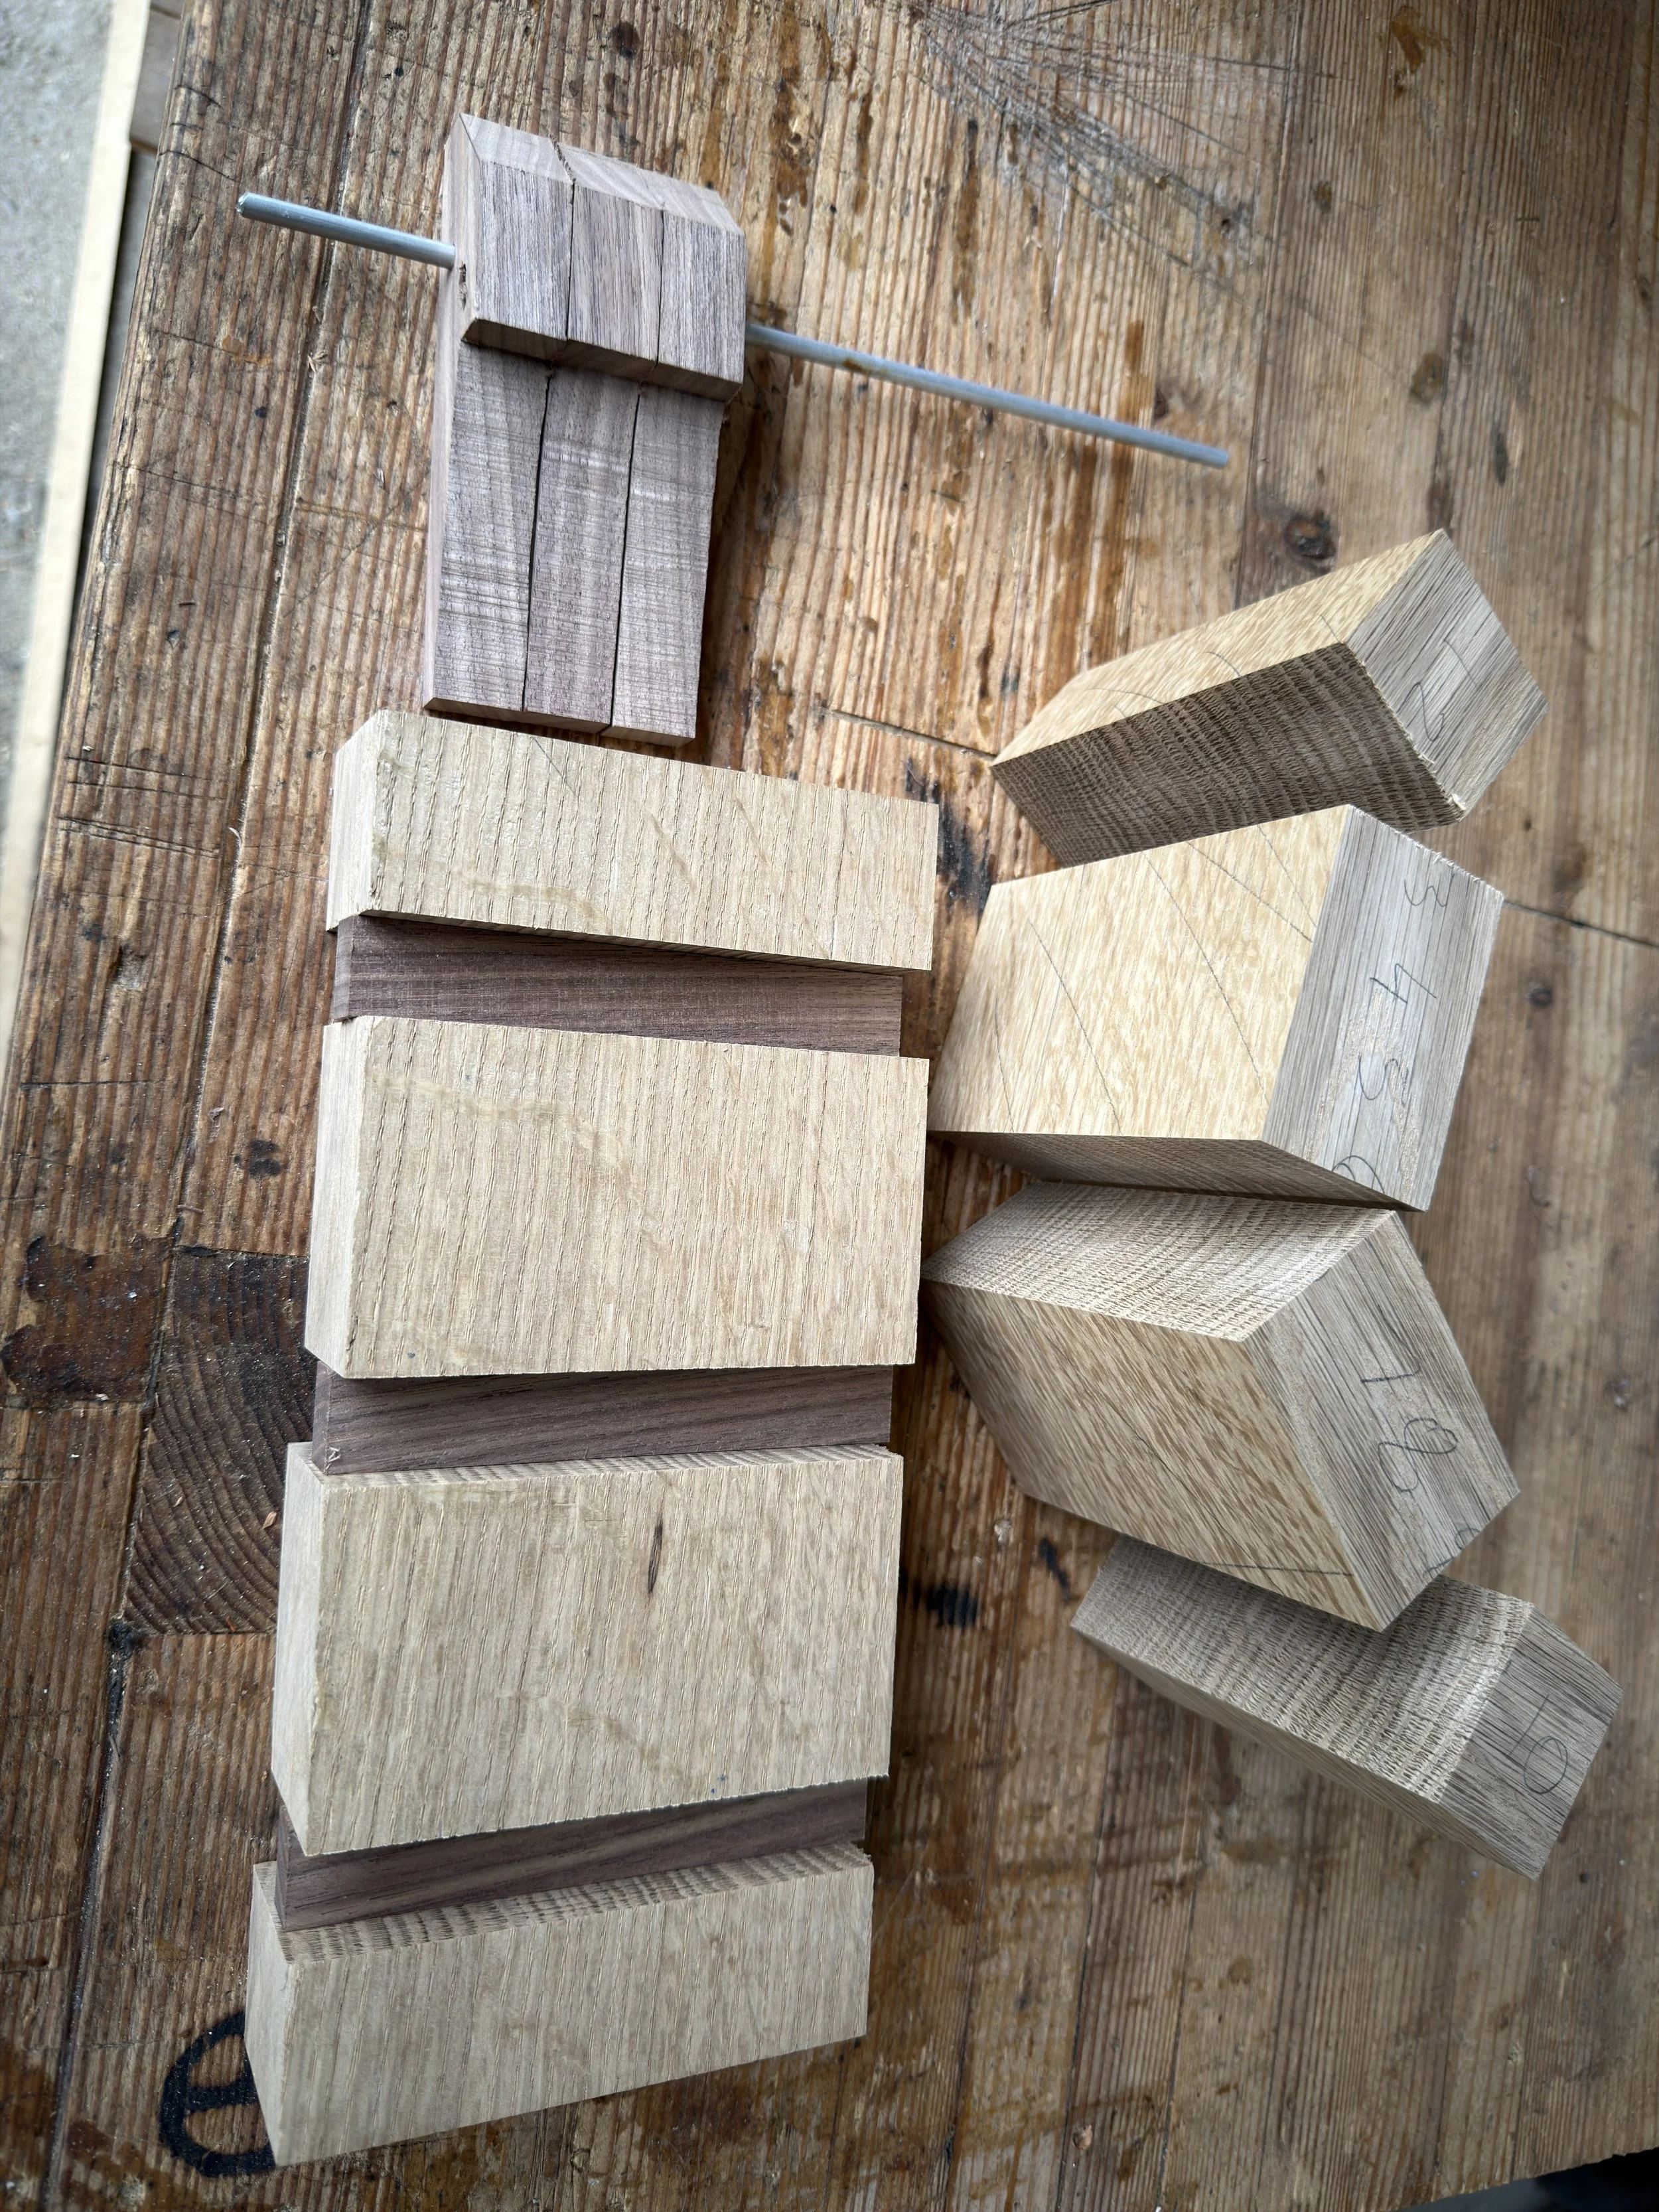
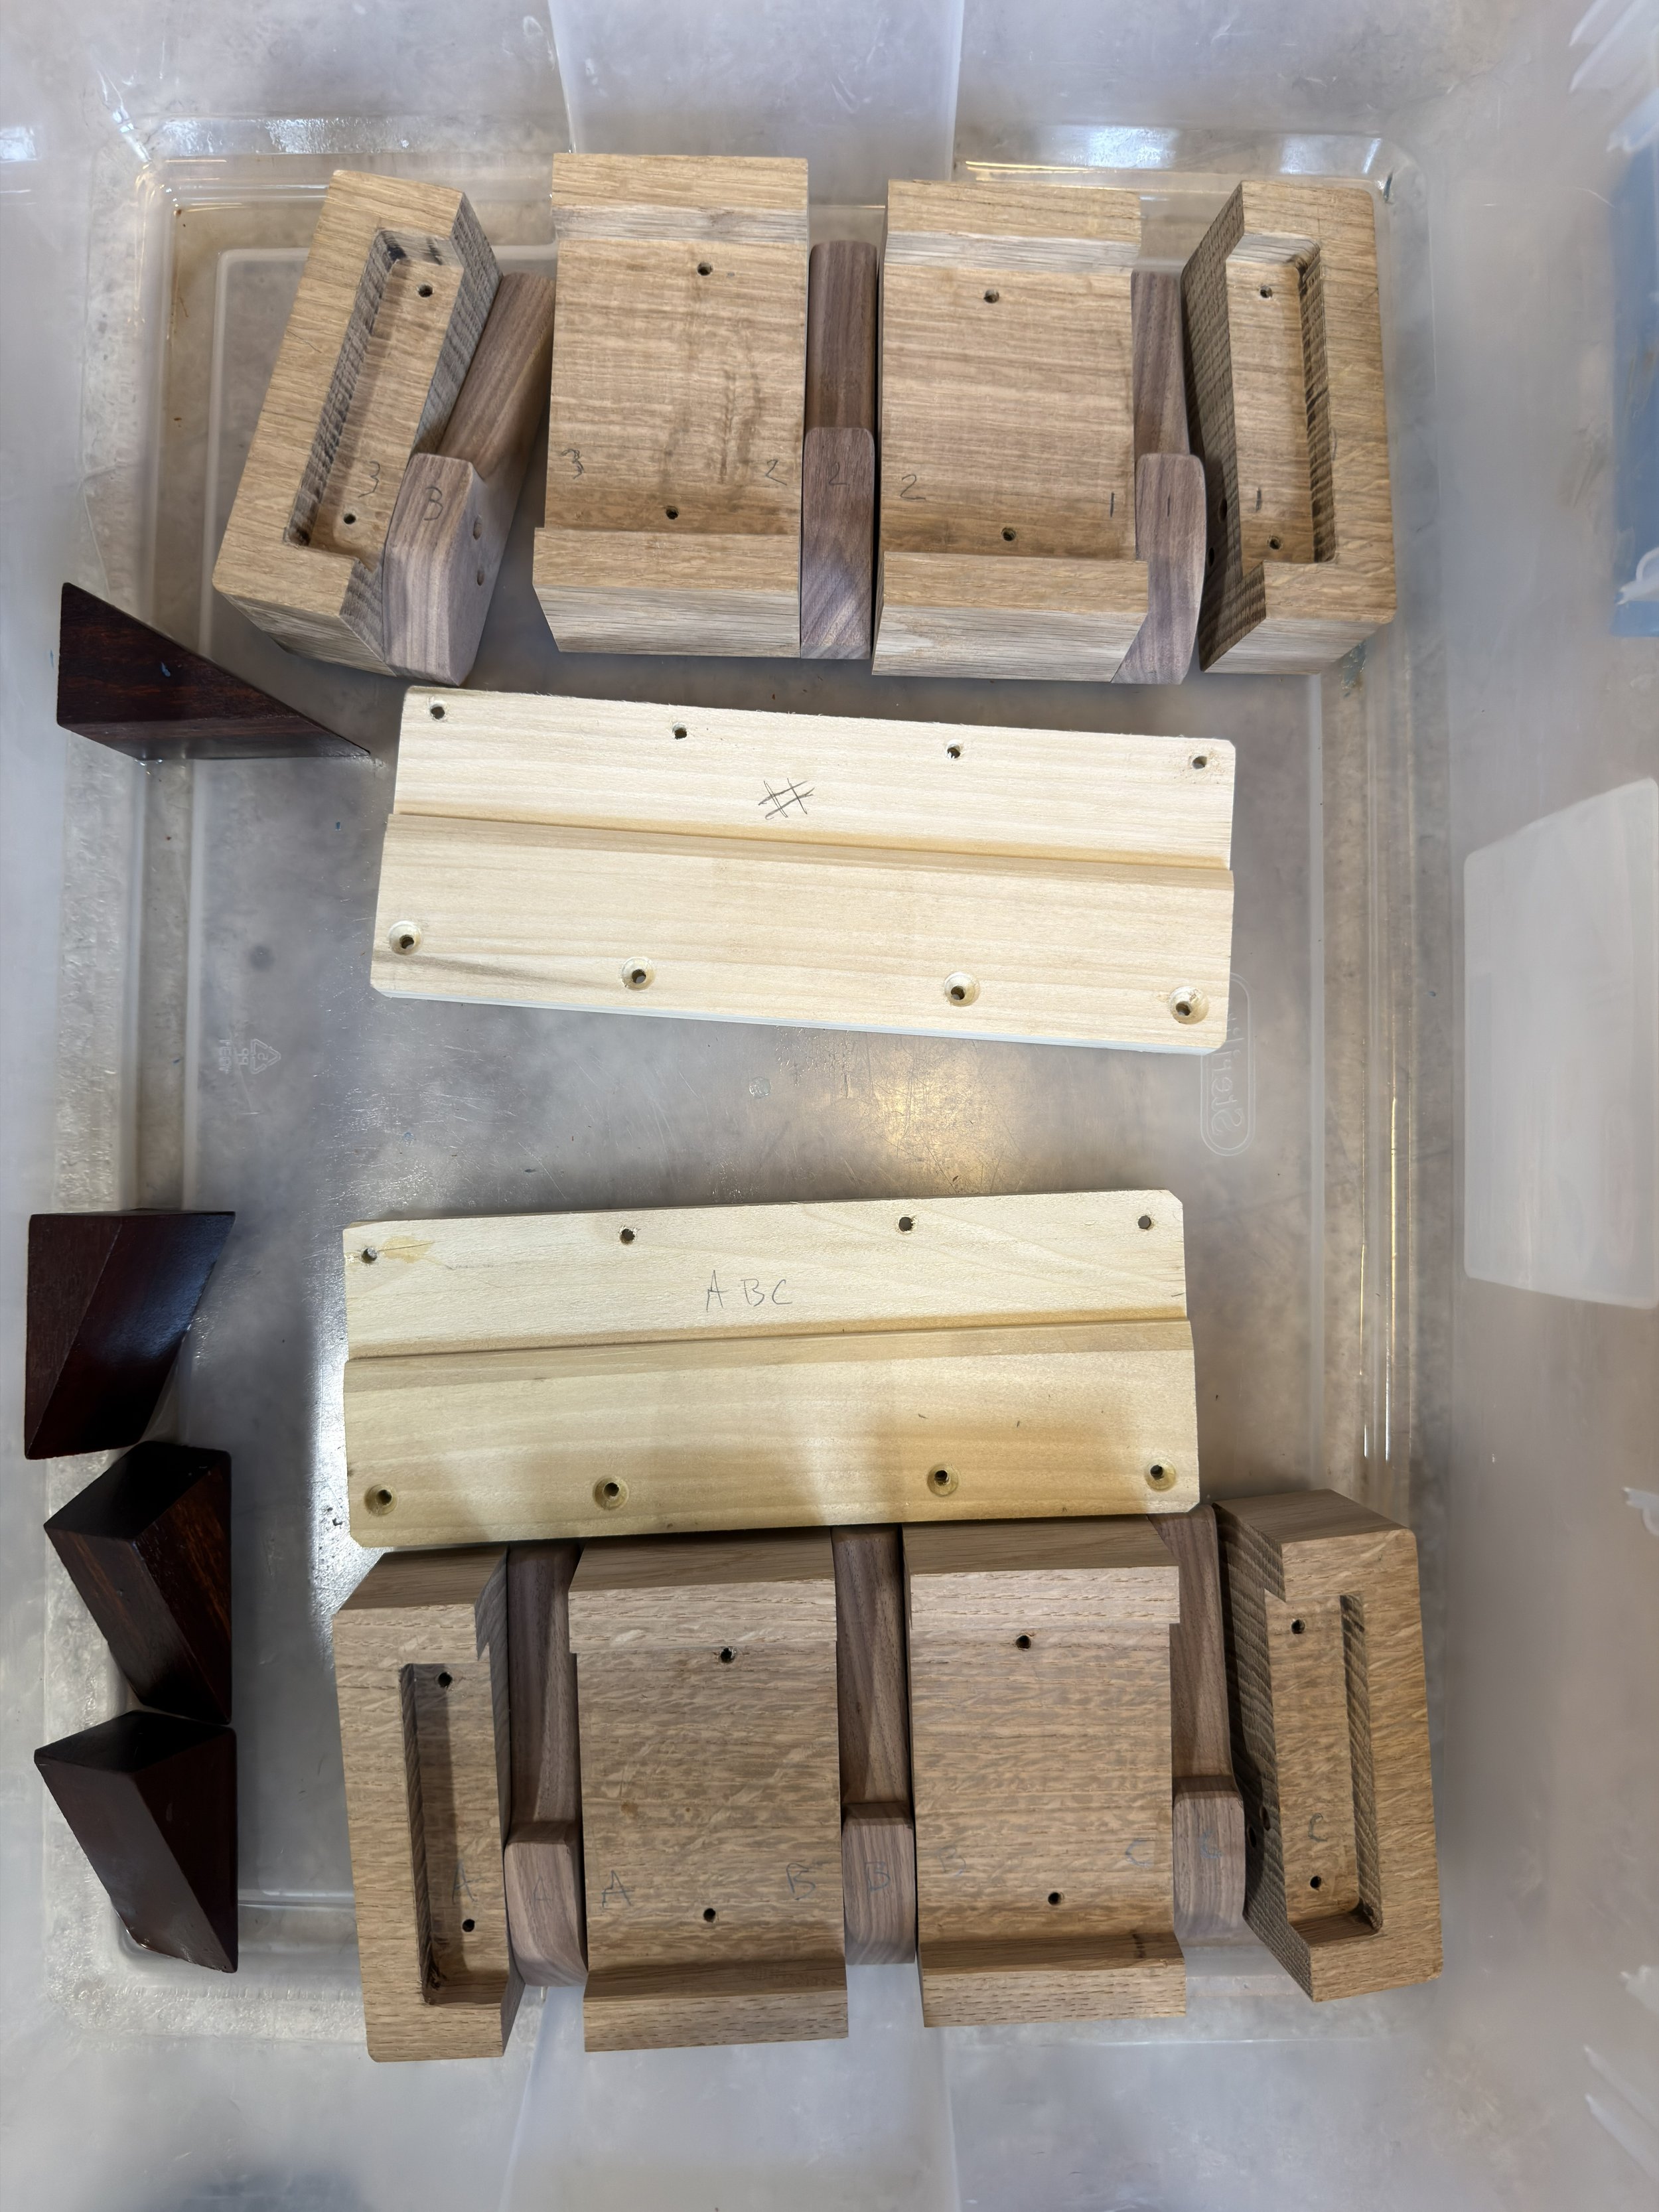
I prepared a small piece of Poplar to be the backing board, holding all the pieces together. Most of it is the same thickness as the hollow I dished out near the beginning, but a part of it is thinned out even more. This is where the metal french cleat sits and recesses it inside the white oak, helping the entire coat hanger to sit flush on the wall. I cut up a few aluminum rods into smaller bits that would hold each hanger finger to the 2 neighboring white oak pieces. I did not drill every hole the same depth so each location needed a bit of adjustment for the rod lengths. The magnets were also added at this time, making extra sure I didn’t flip any poles. Doing so would create the opposite effect I am going for. The fingers would want to stay open and never close! Both of these steps meant every part had a specific place and could not interchange anymore. This is why you might notice a few small 123’s or ABC’s on the final sets of pictures.
Now that the actual build was complete and mostly functional it was time for every woodworker’s favorite activity: Sanding. I had a bit of sanding to do to help with some clearance issues and to help the fingers move in and out freely. Thankfully there’s a lot which will never be seen so I cut a few corners and only sanded those bits to the “good enough” grit. Once everything felt nice and smooth it was time for every woodworkers actual favorite activity: oiling up the wood. I went with the good old mineral oil with a second coat of bees wax.

The Original