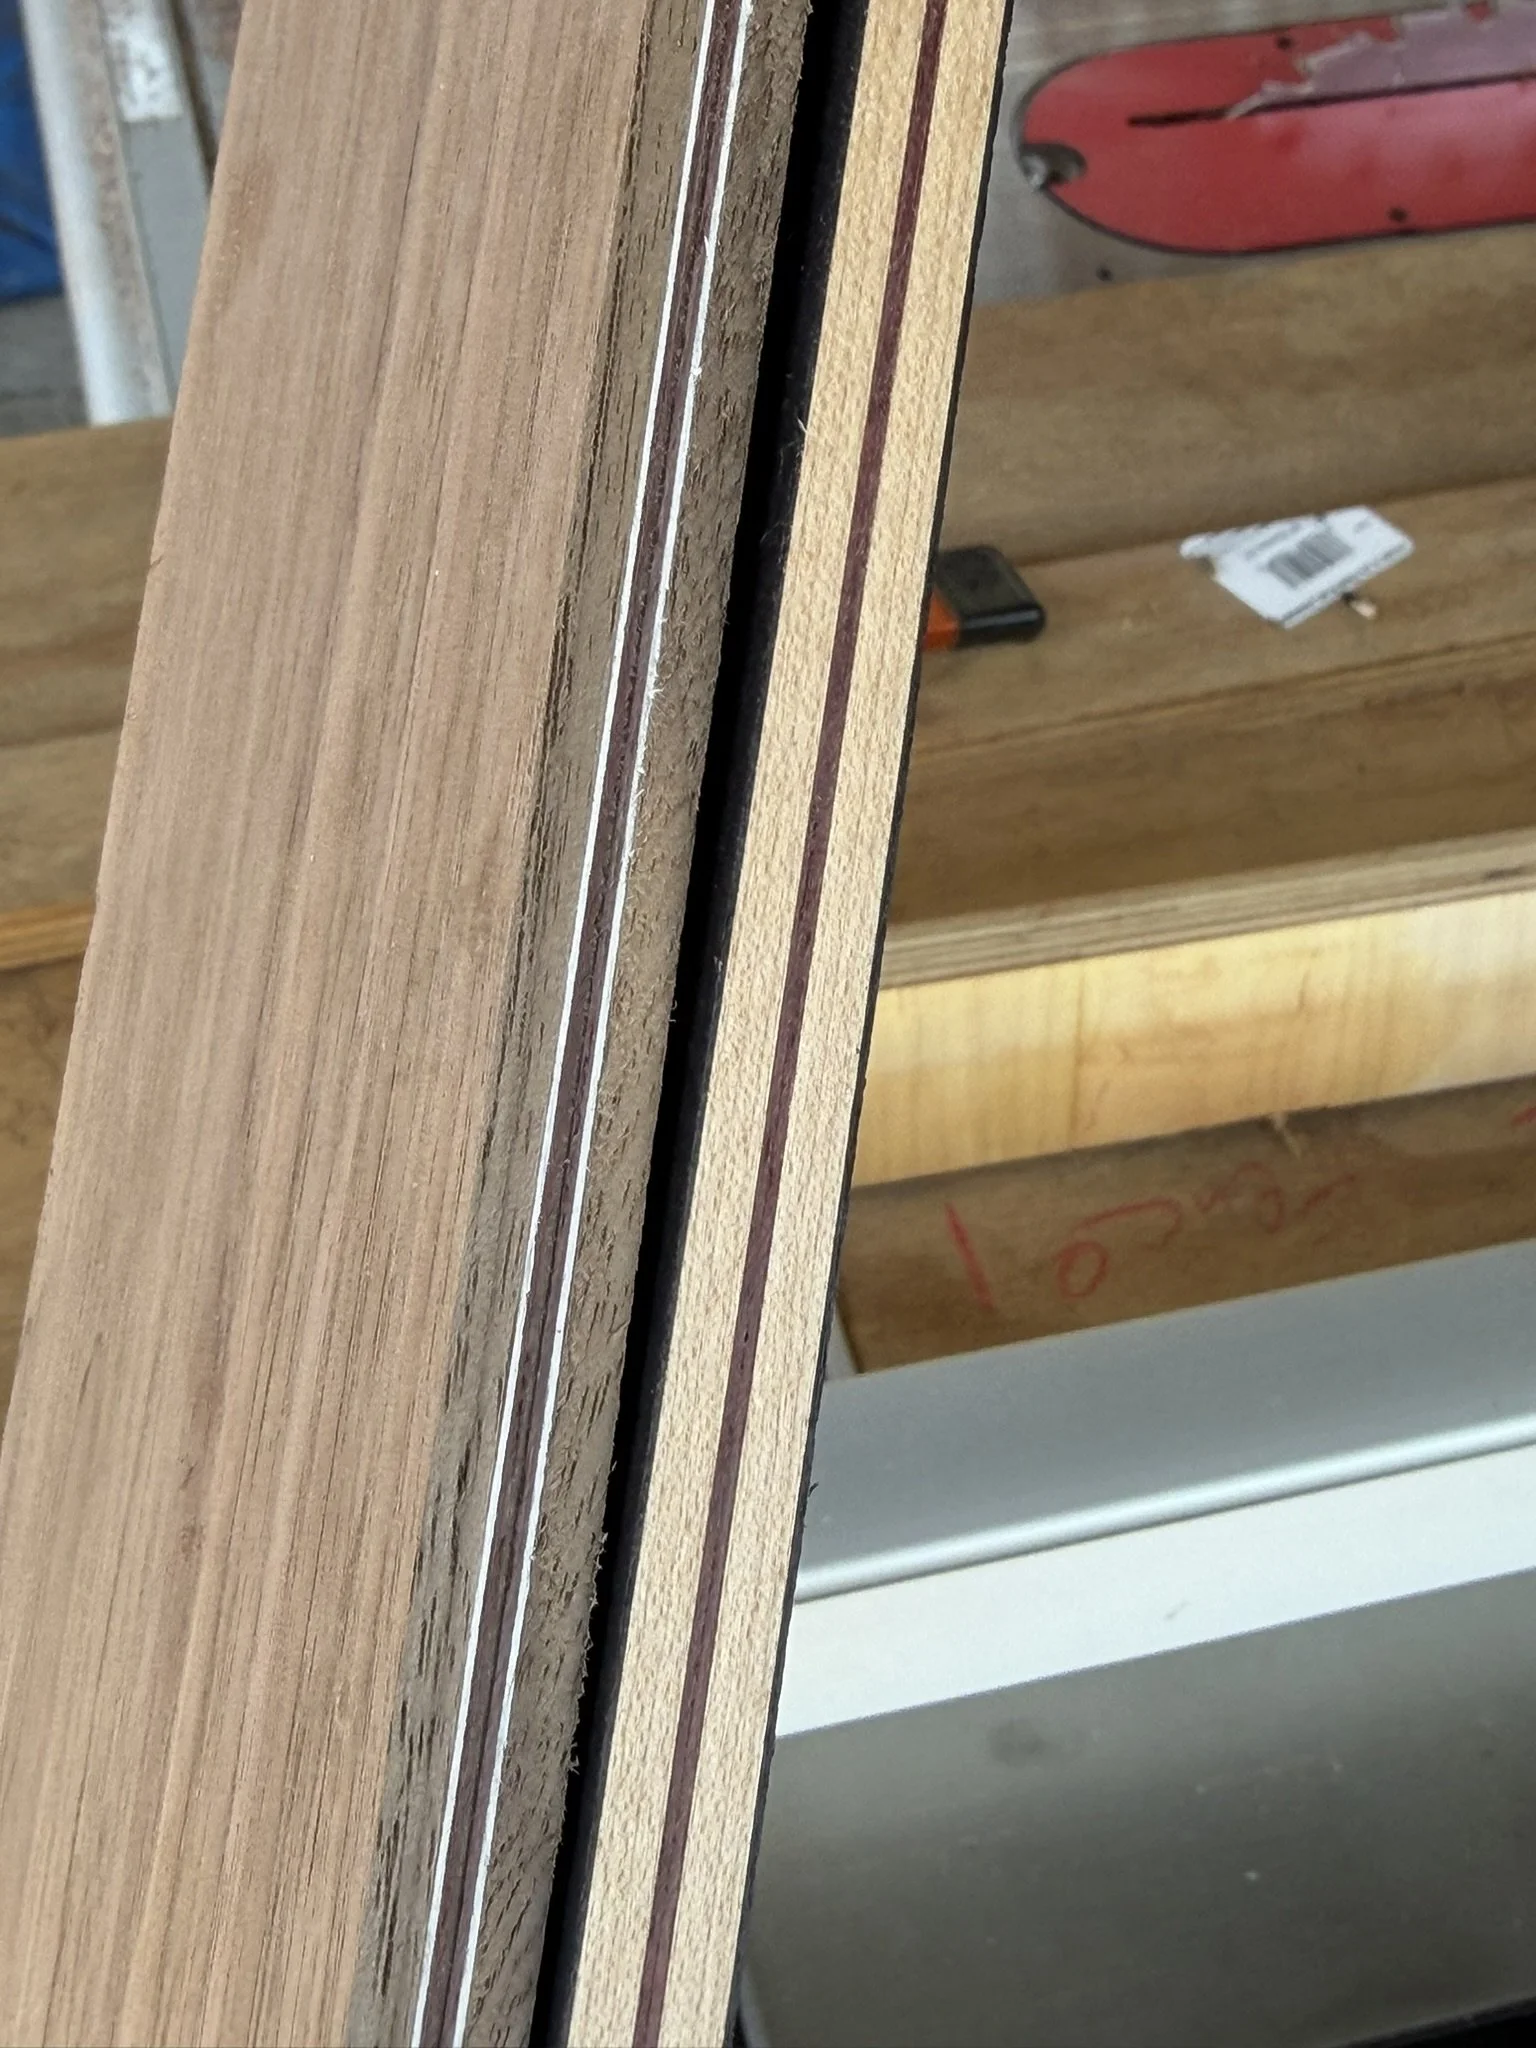
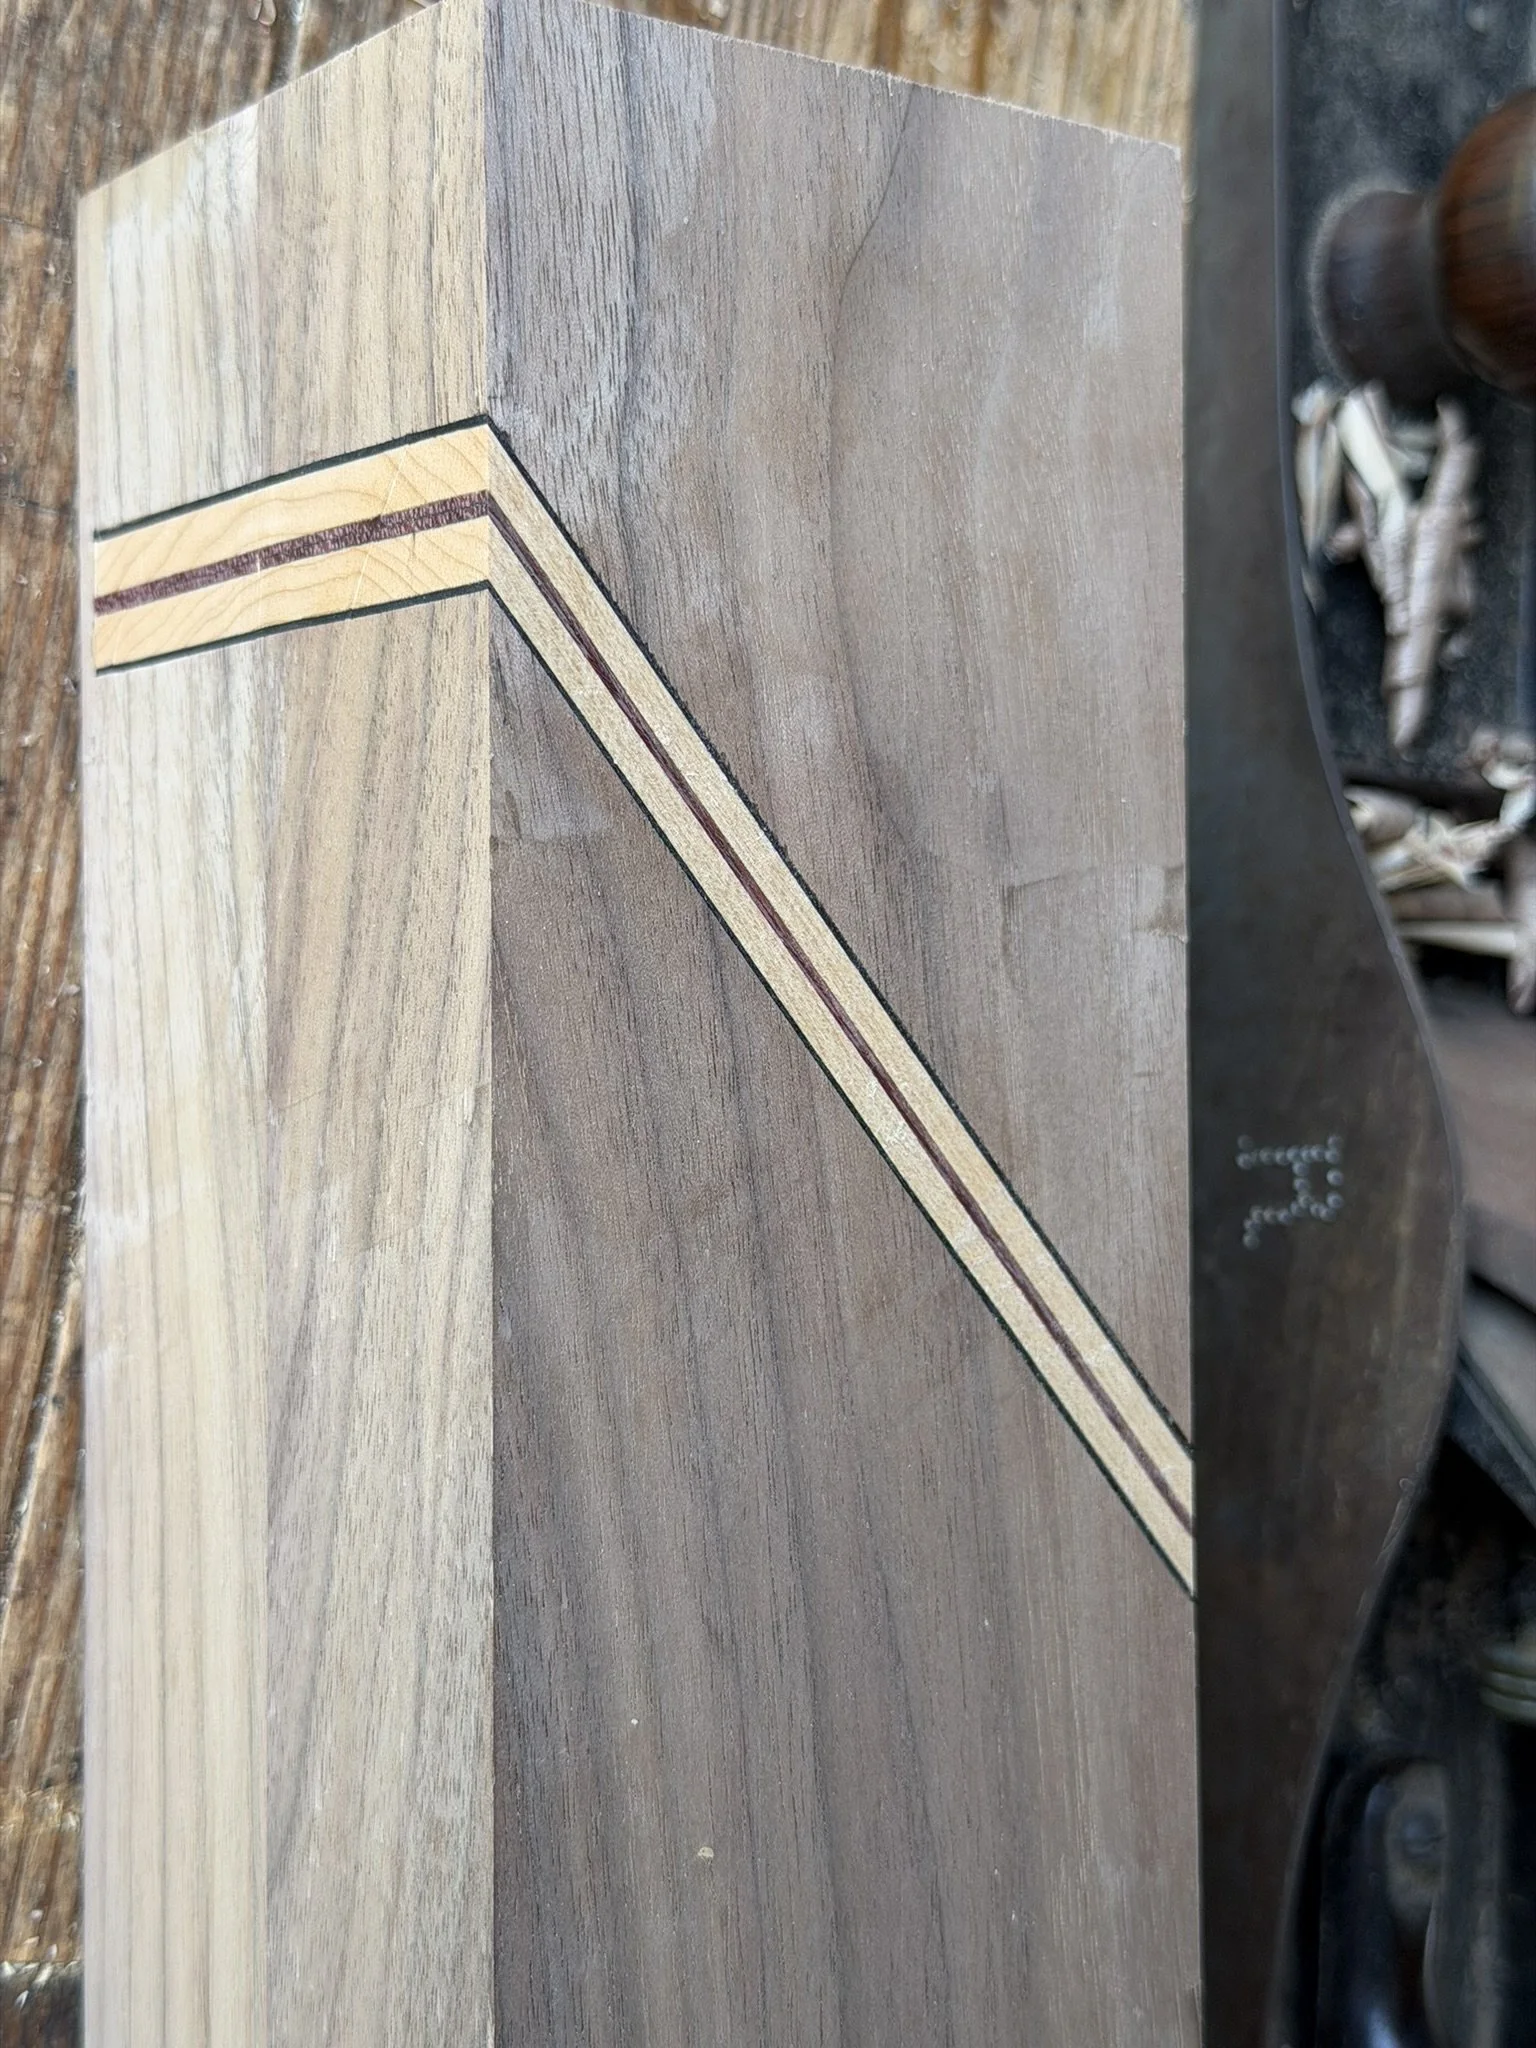
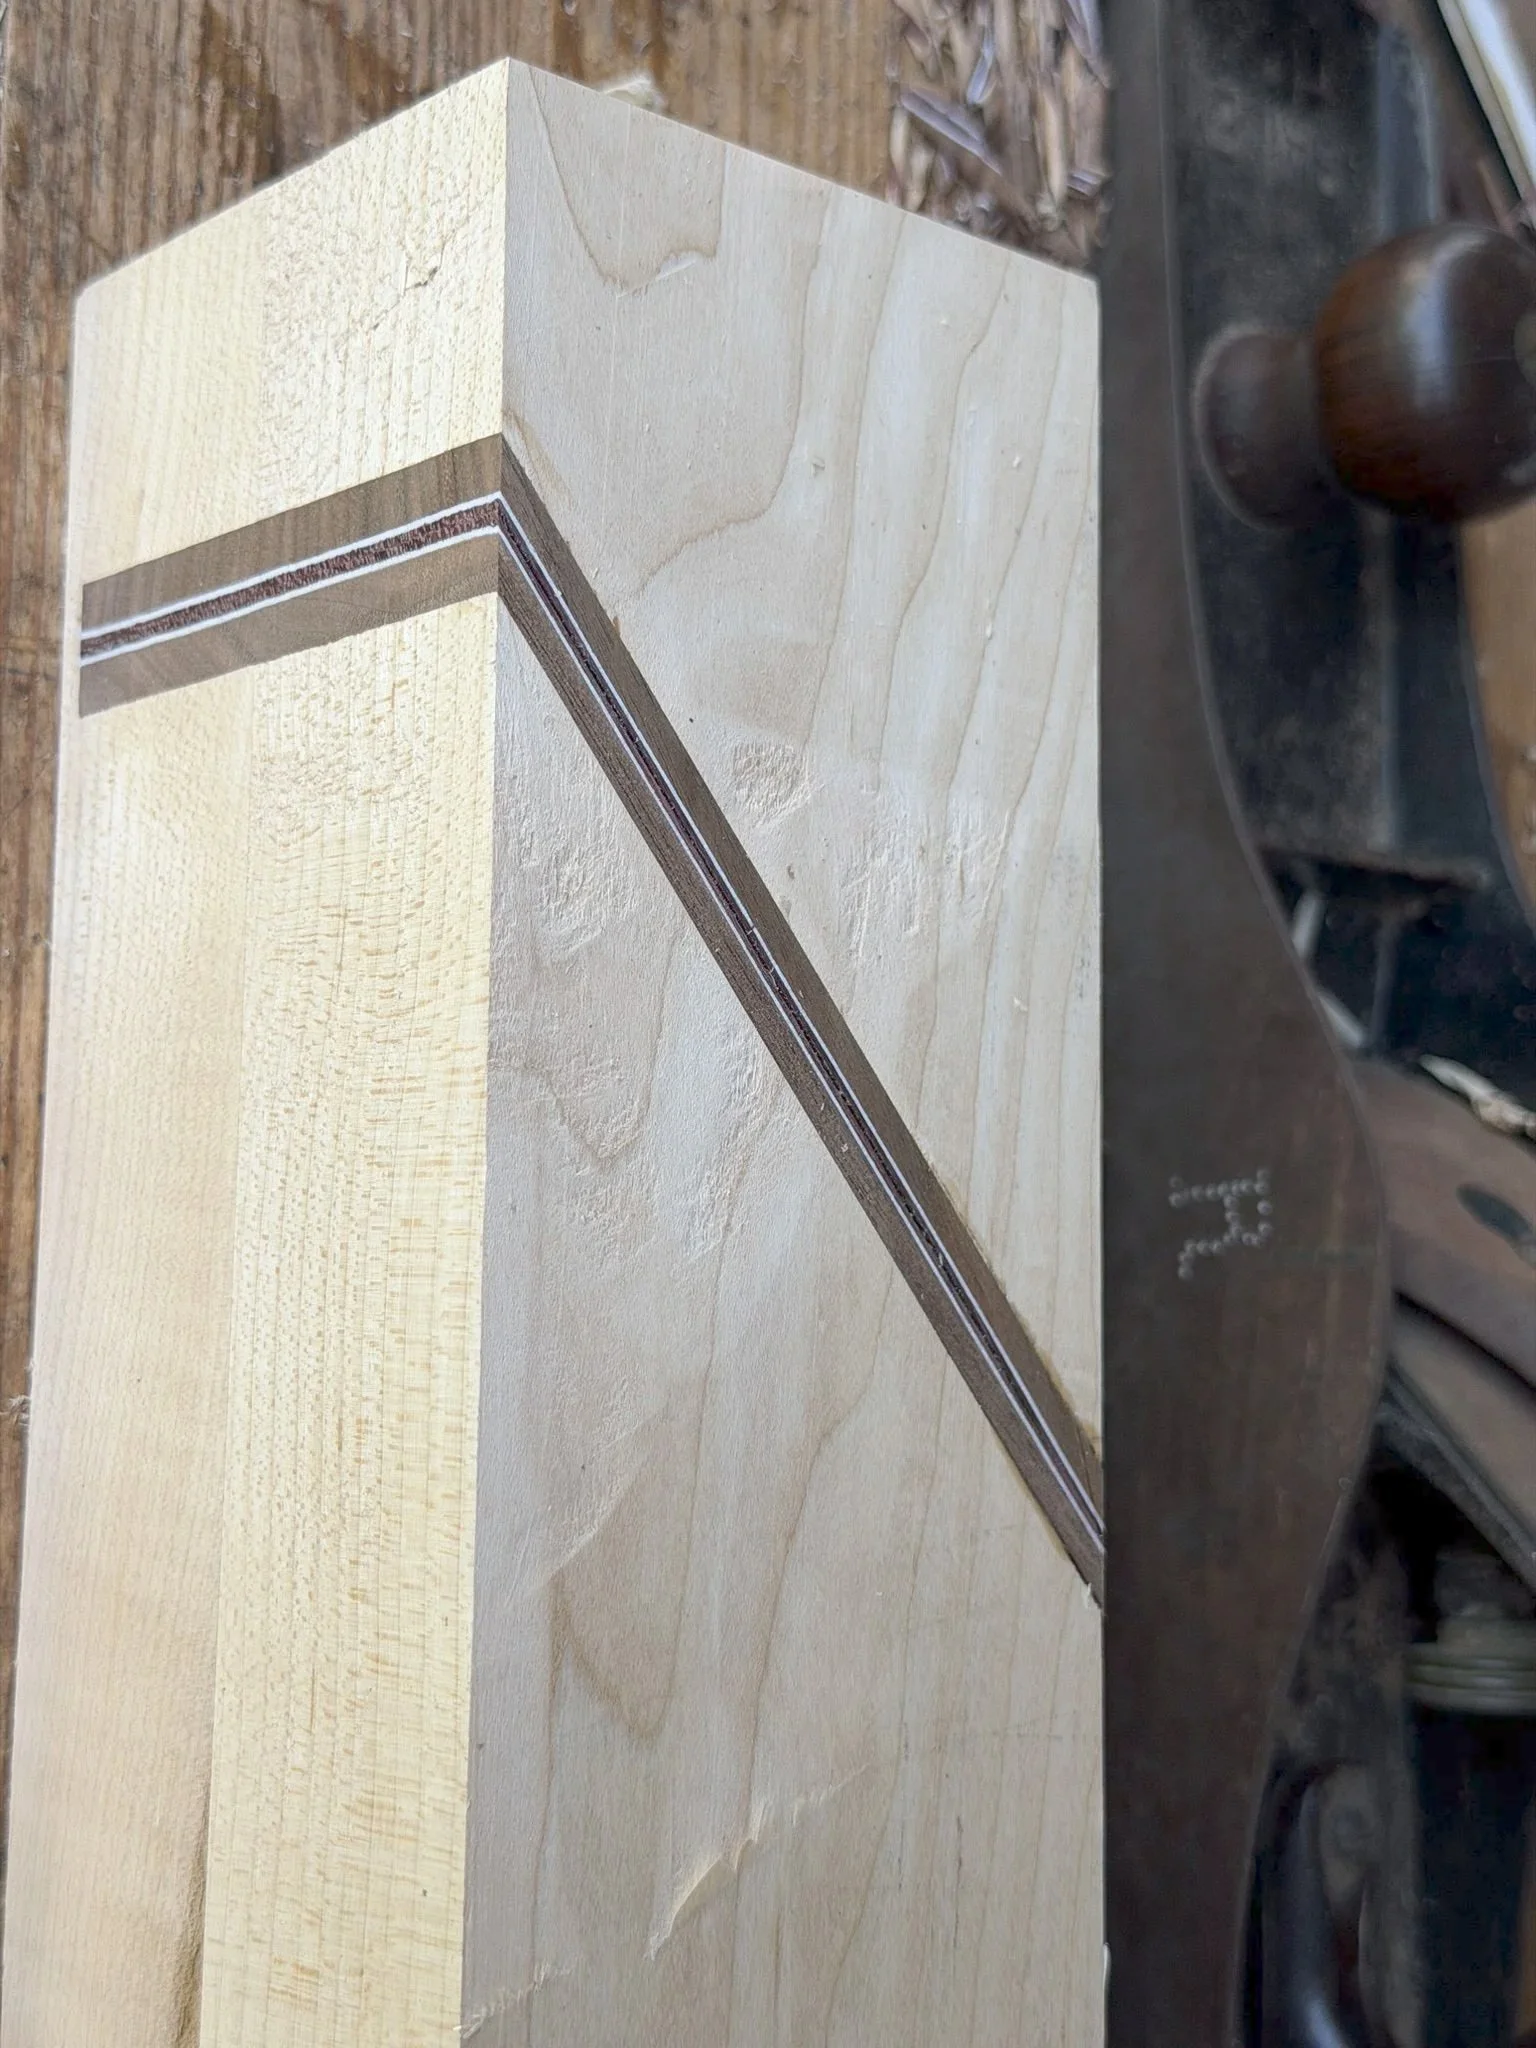
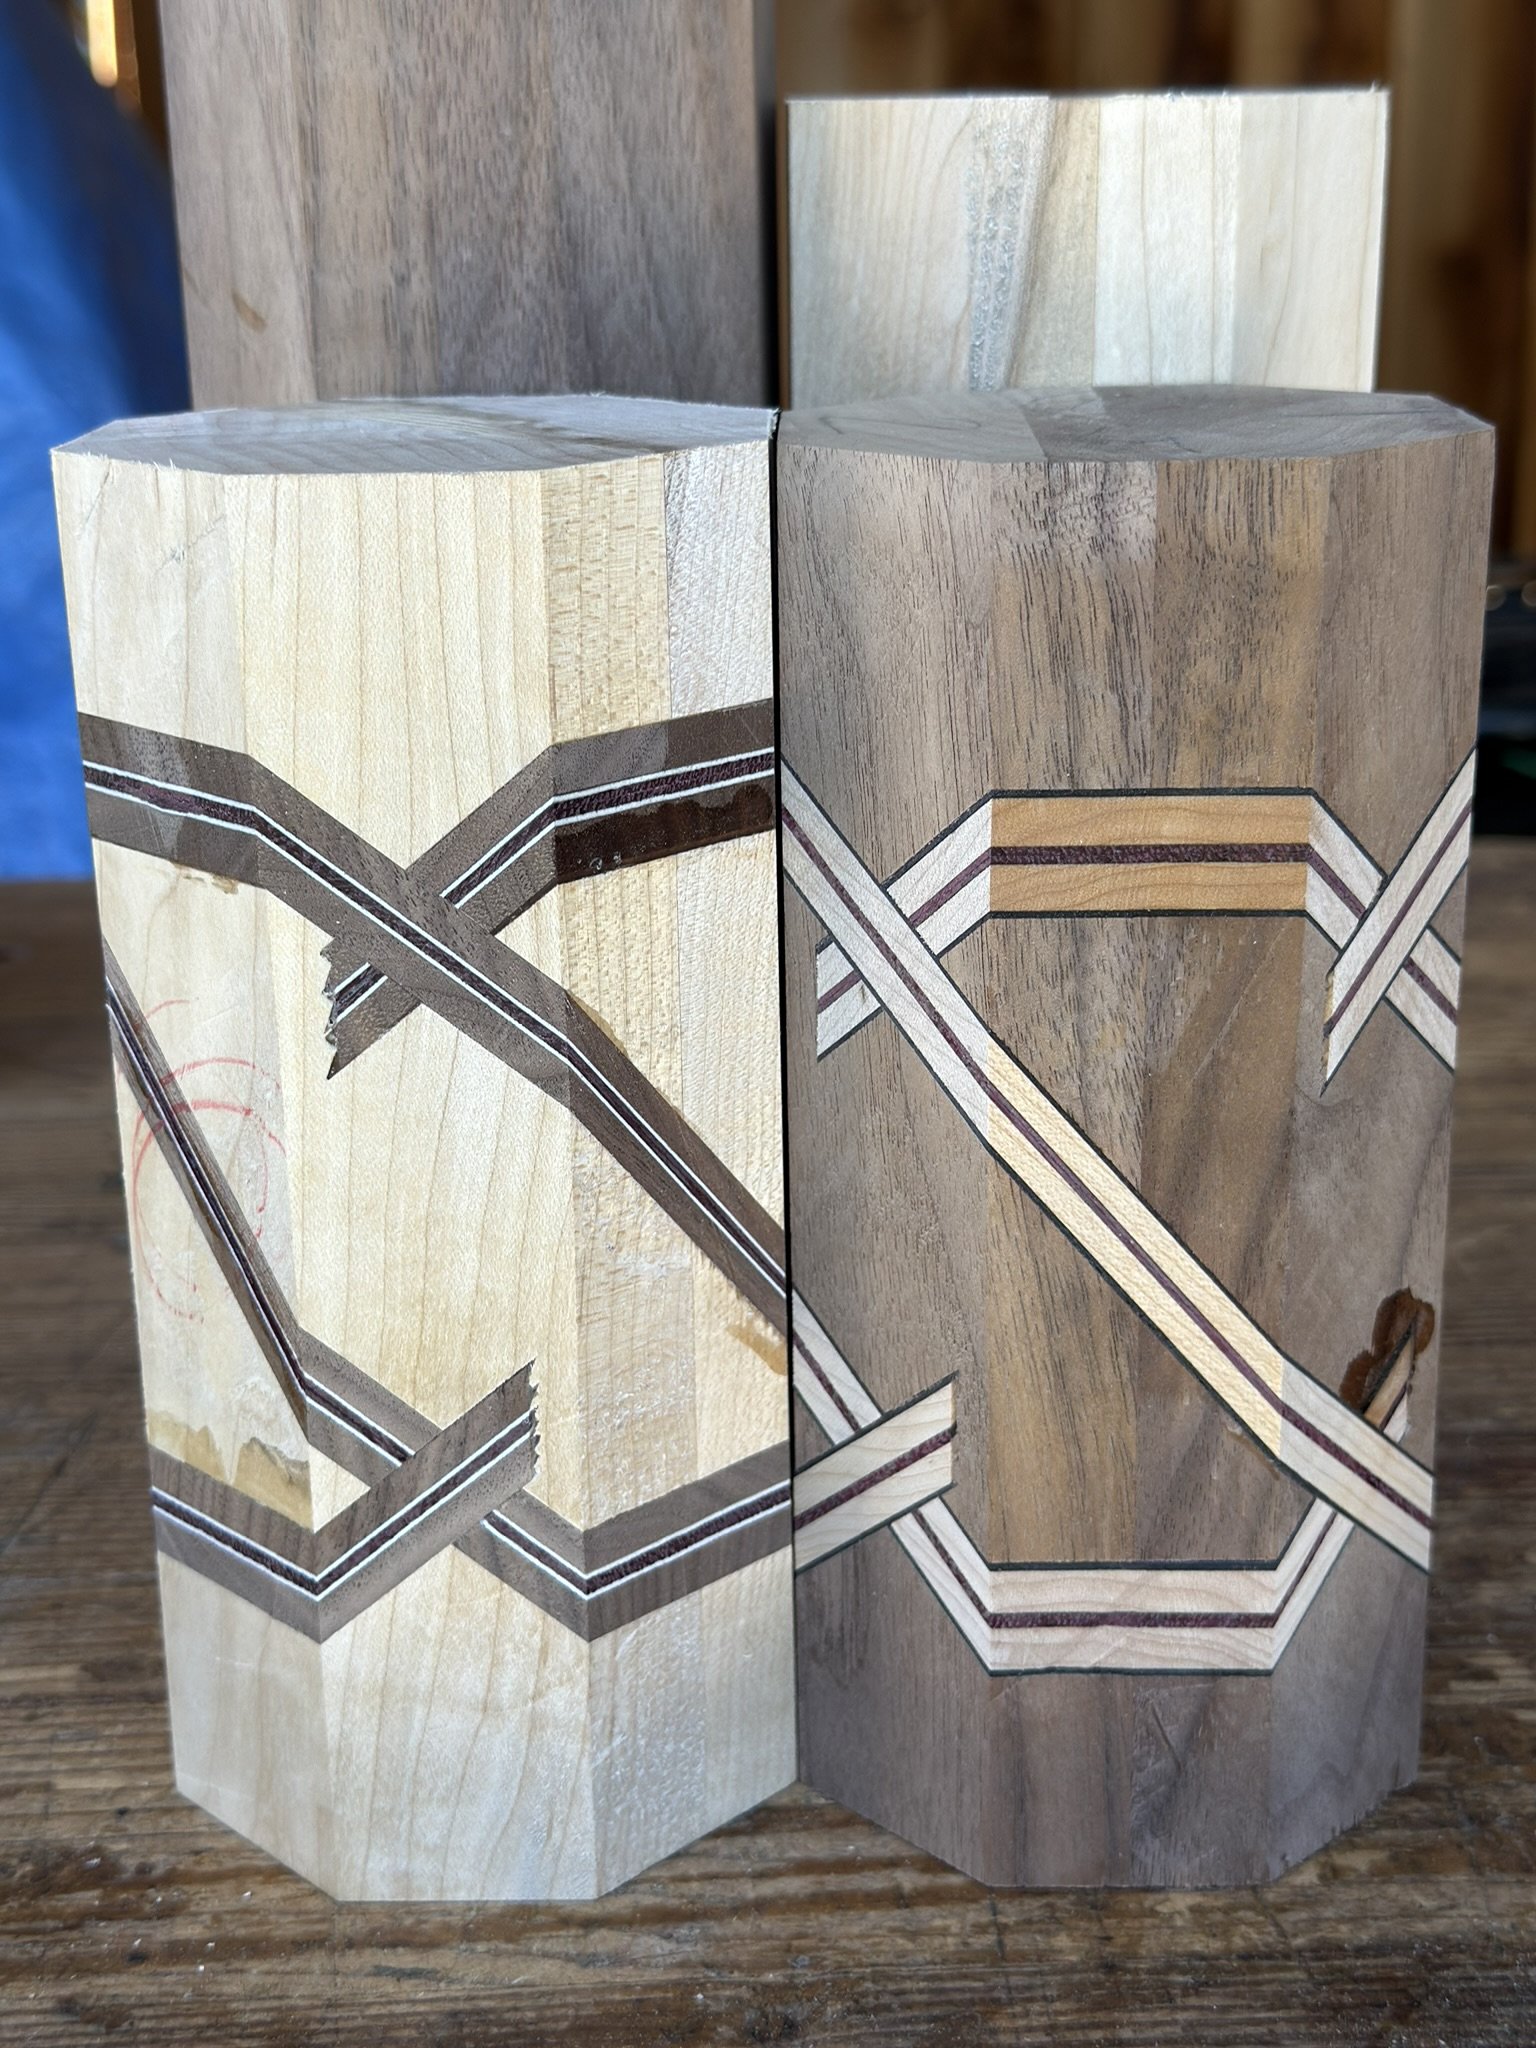
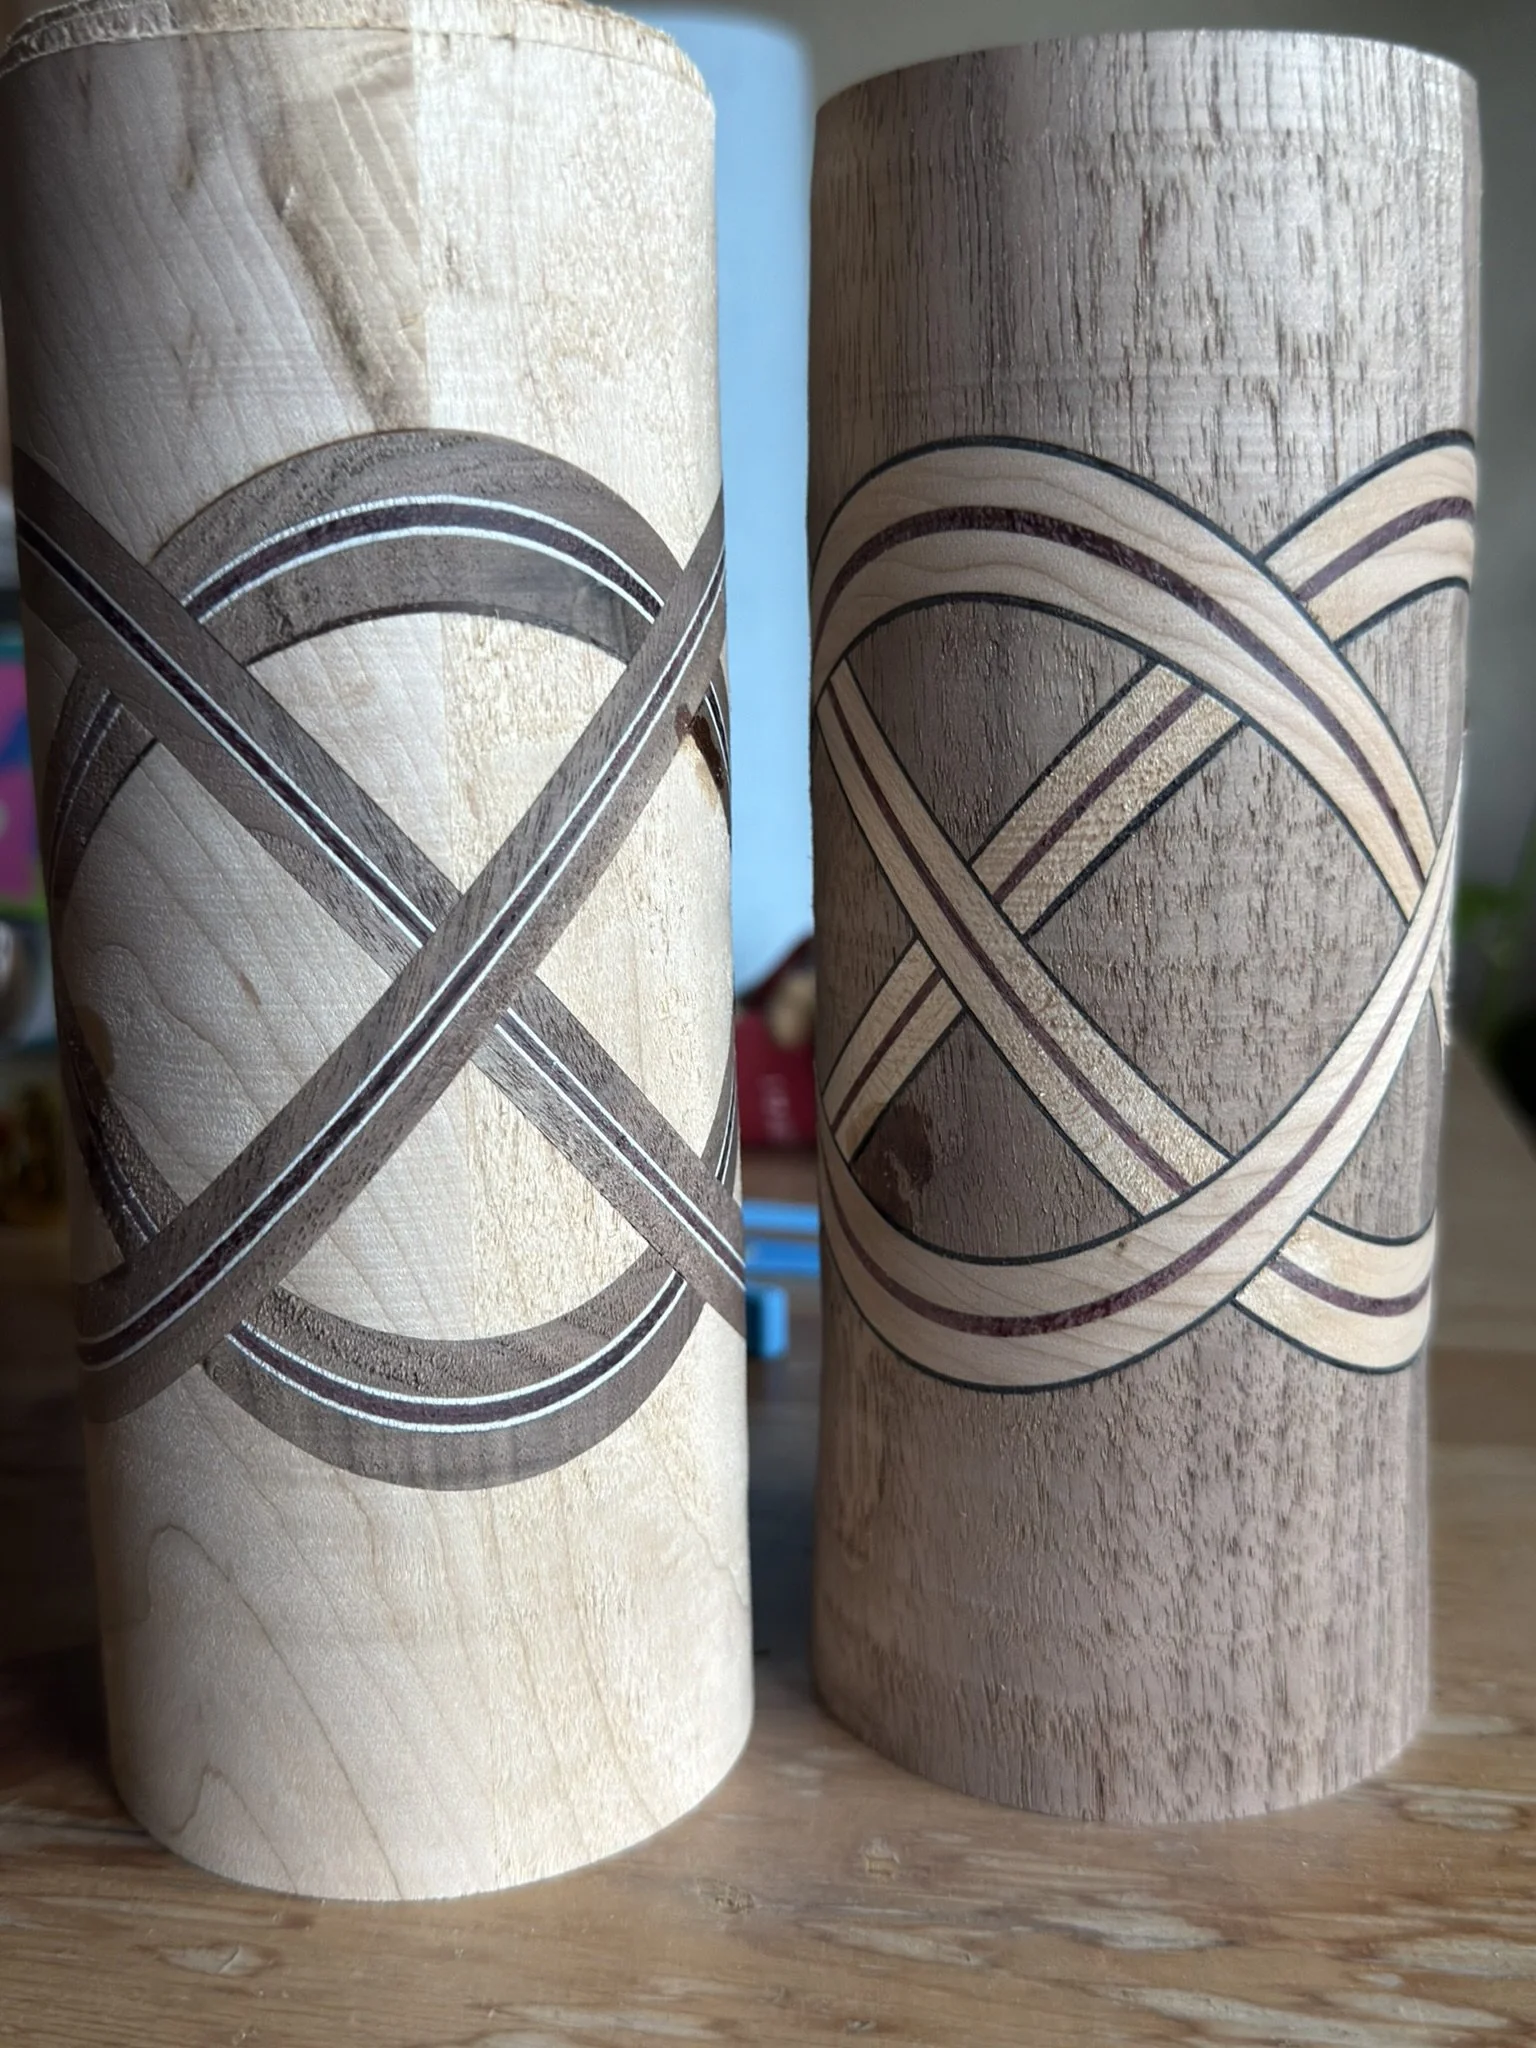
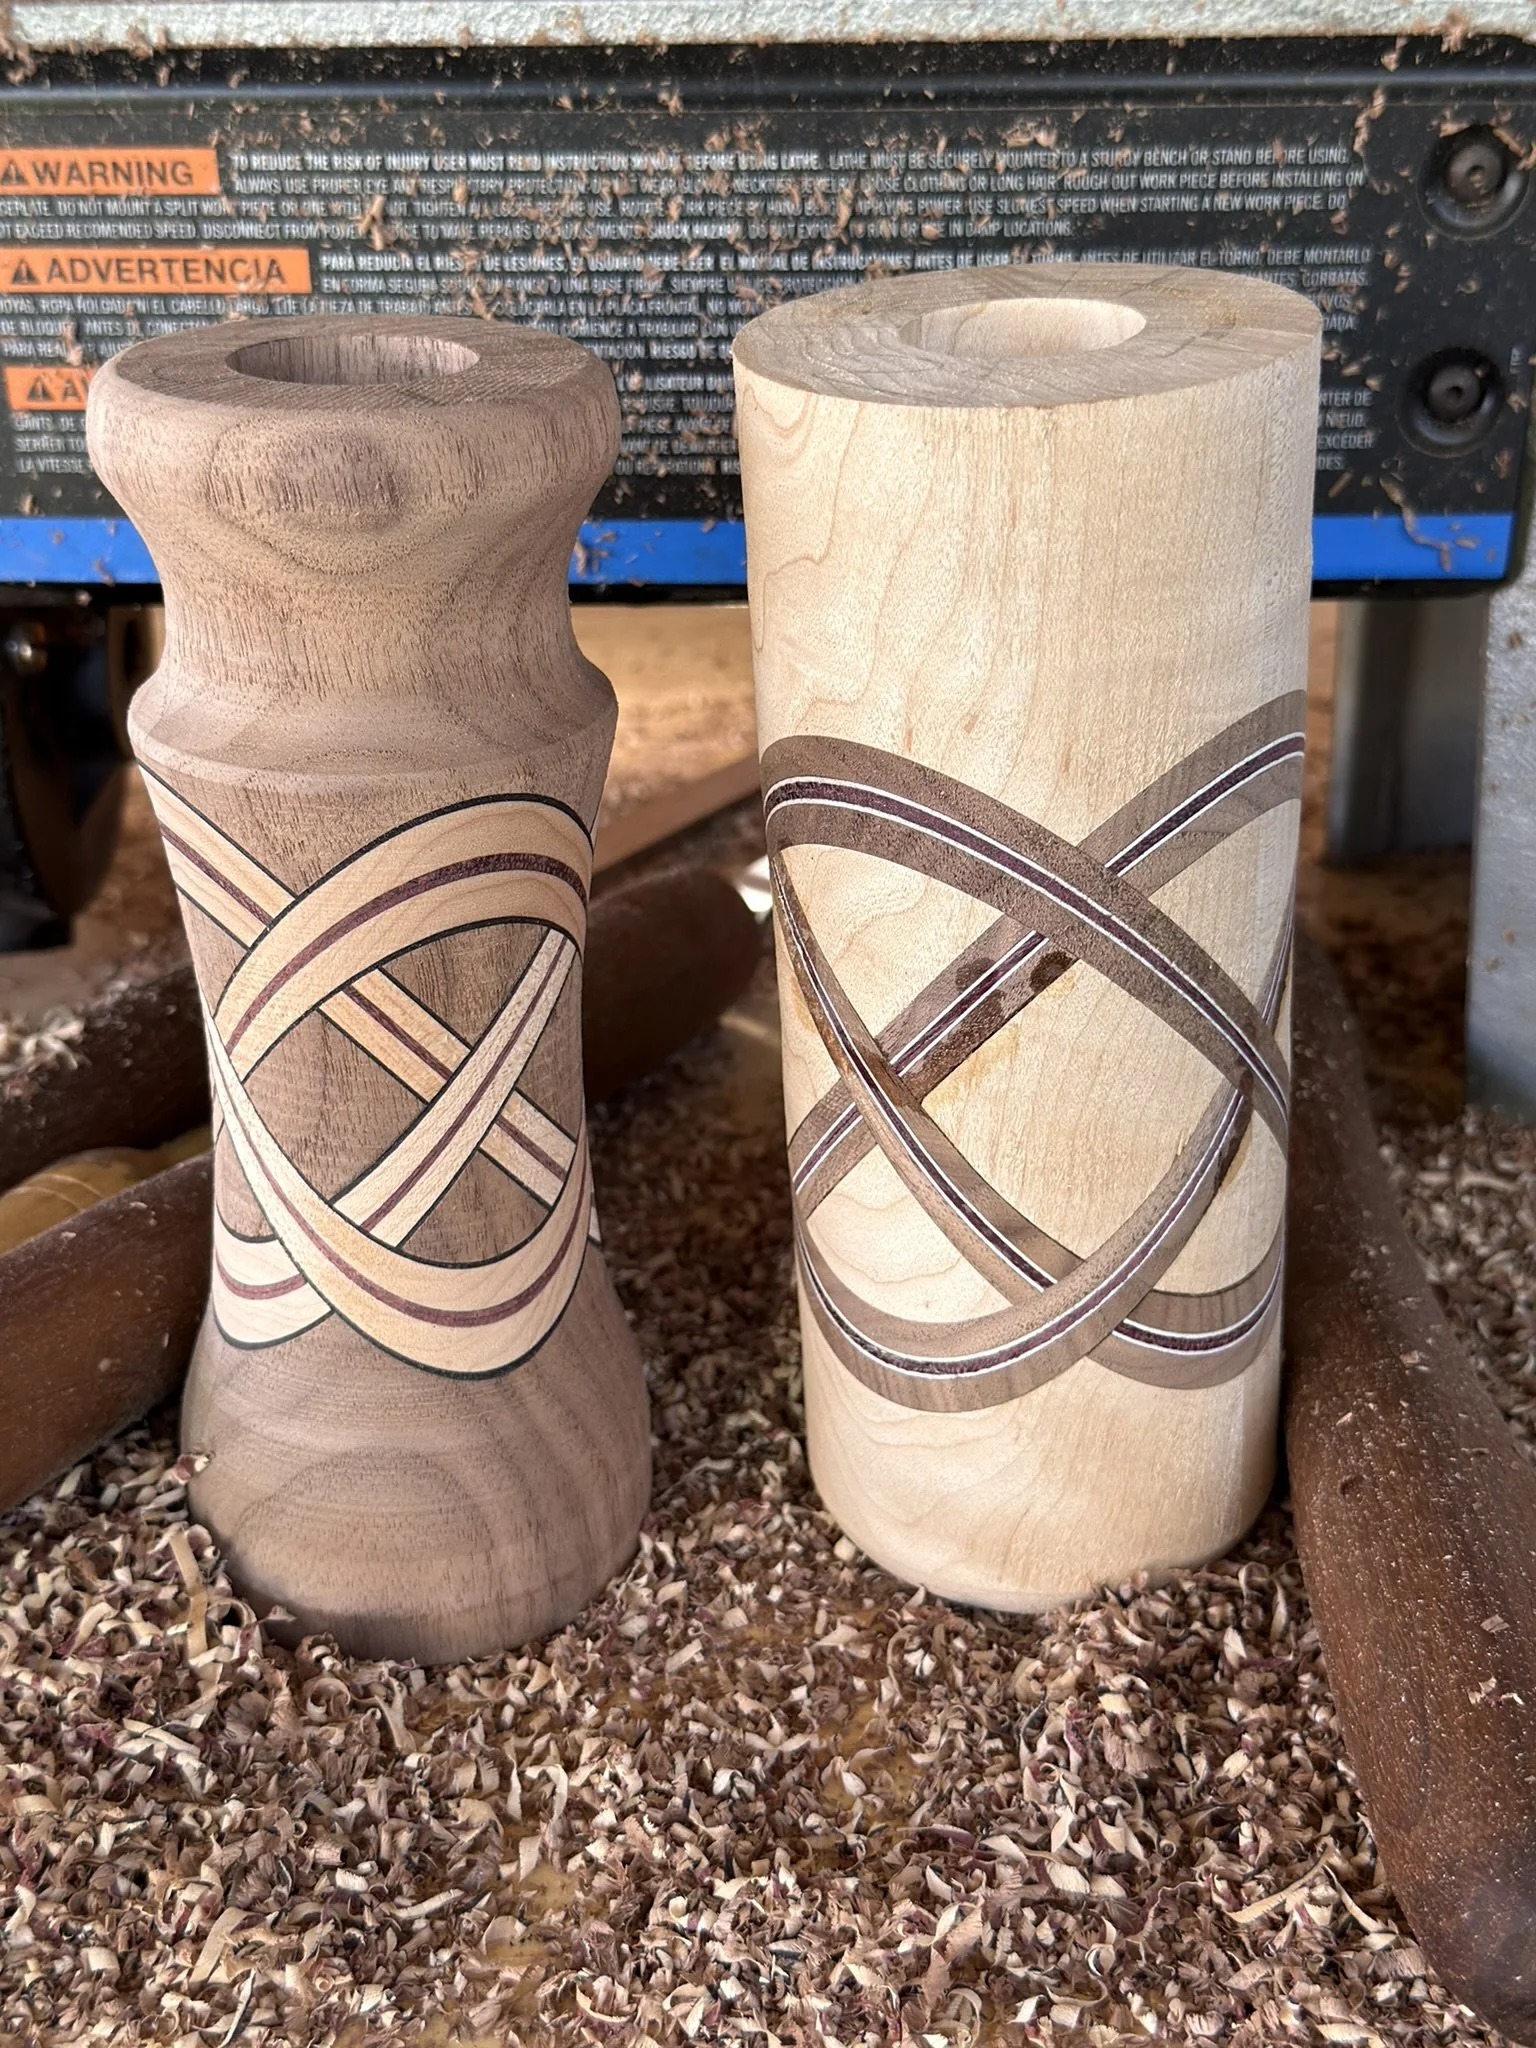
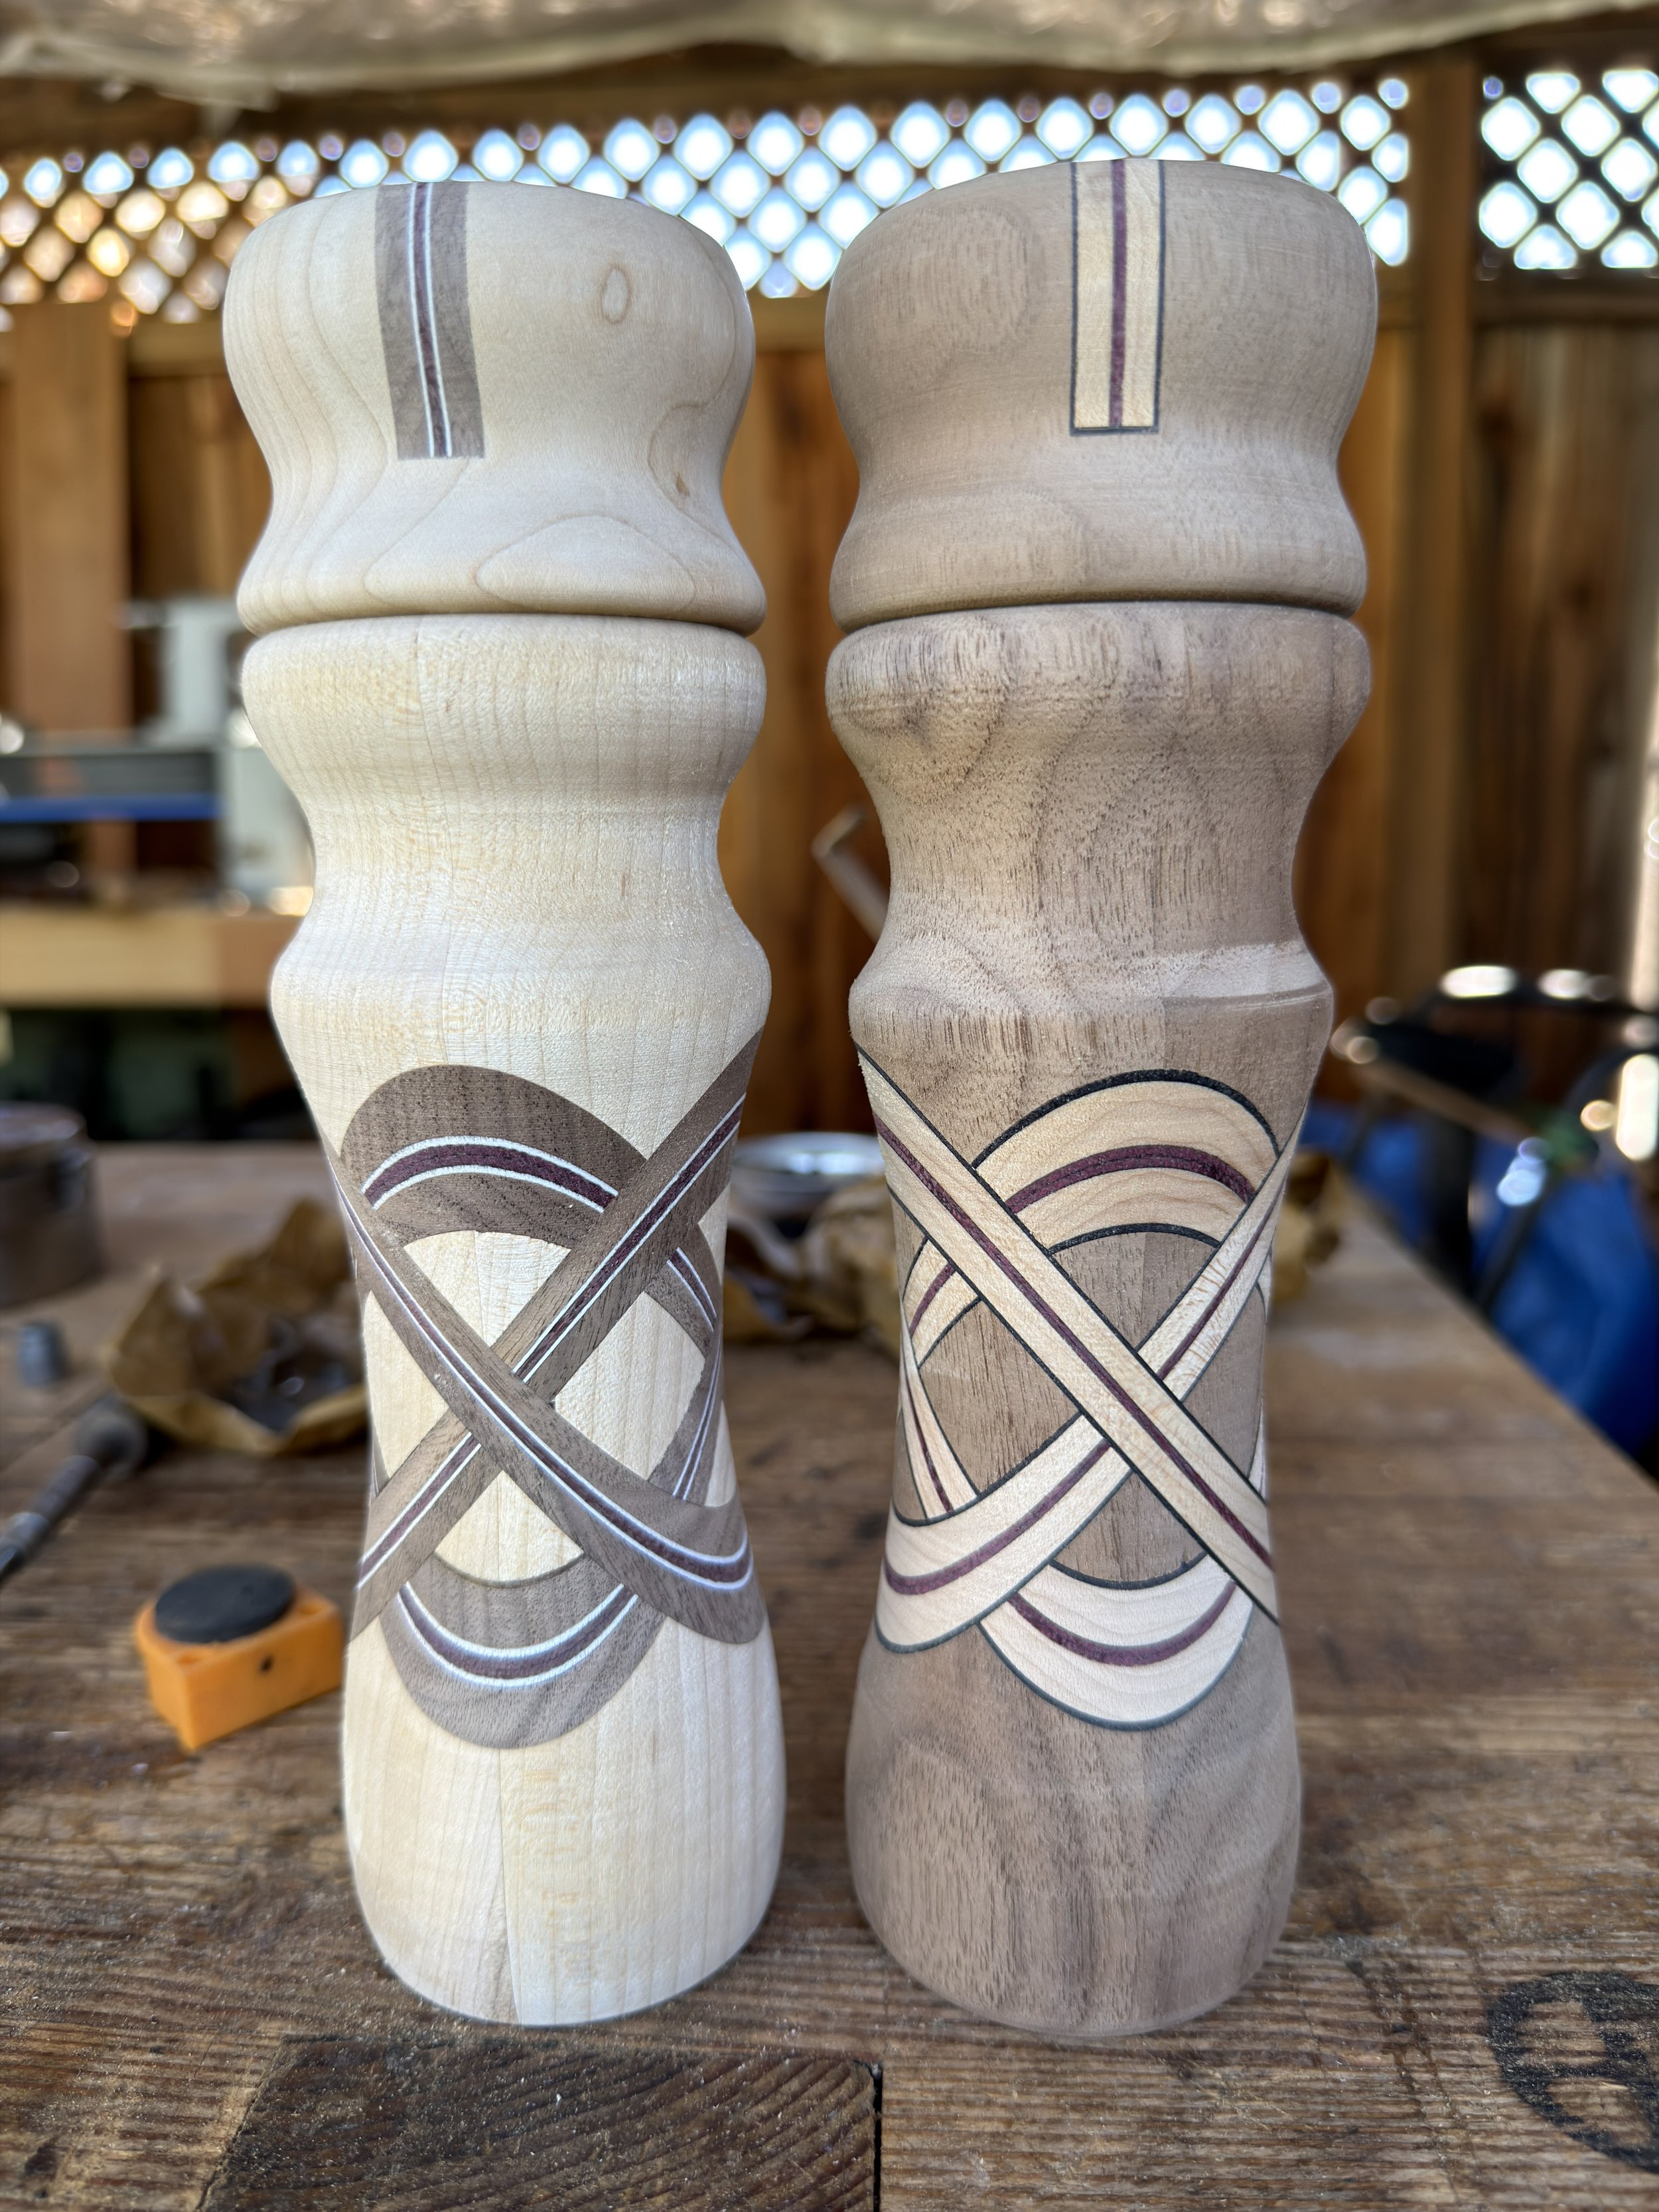
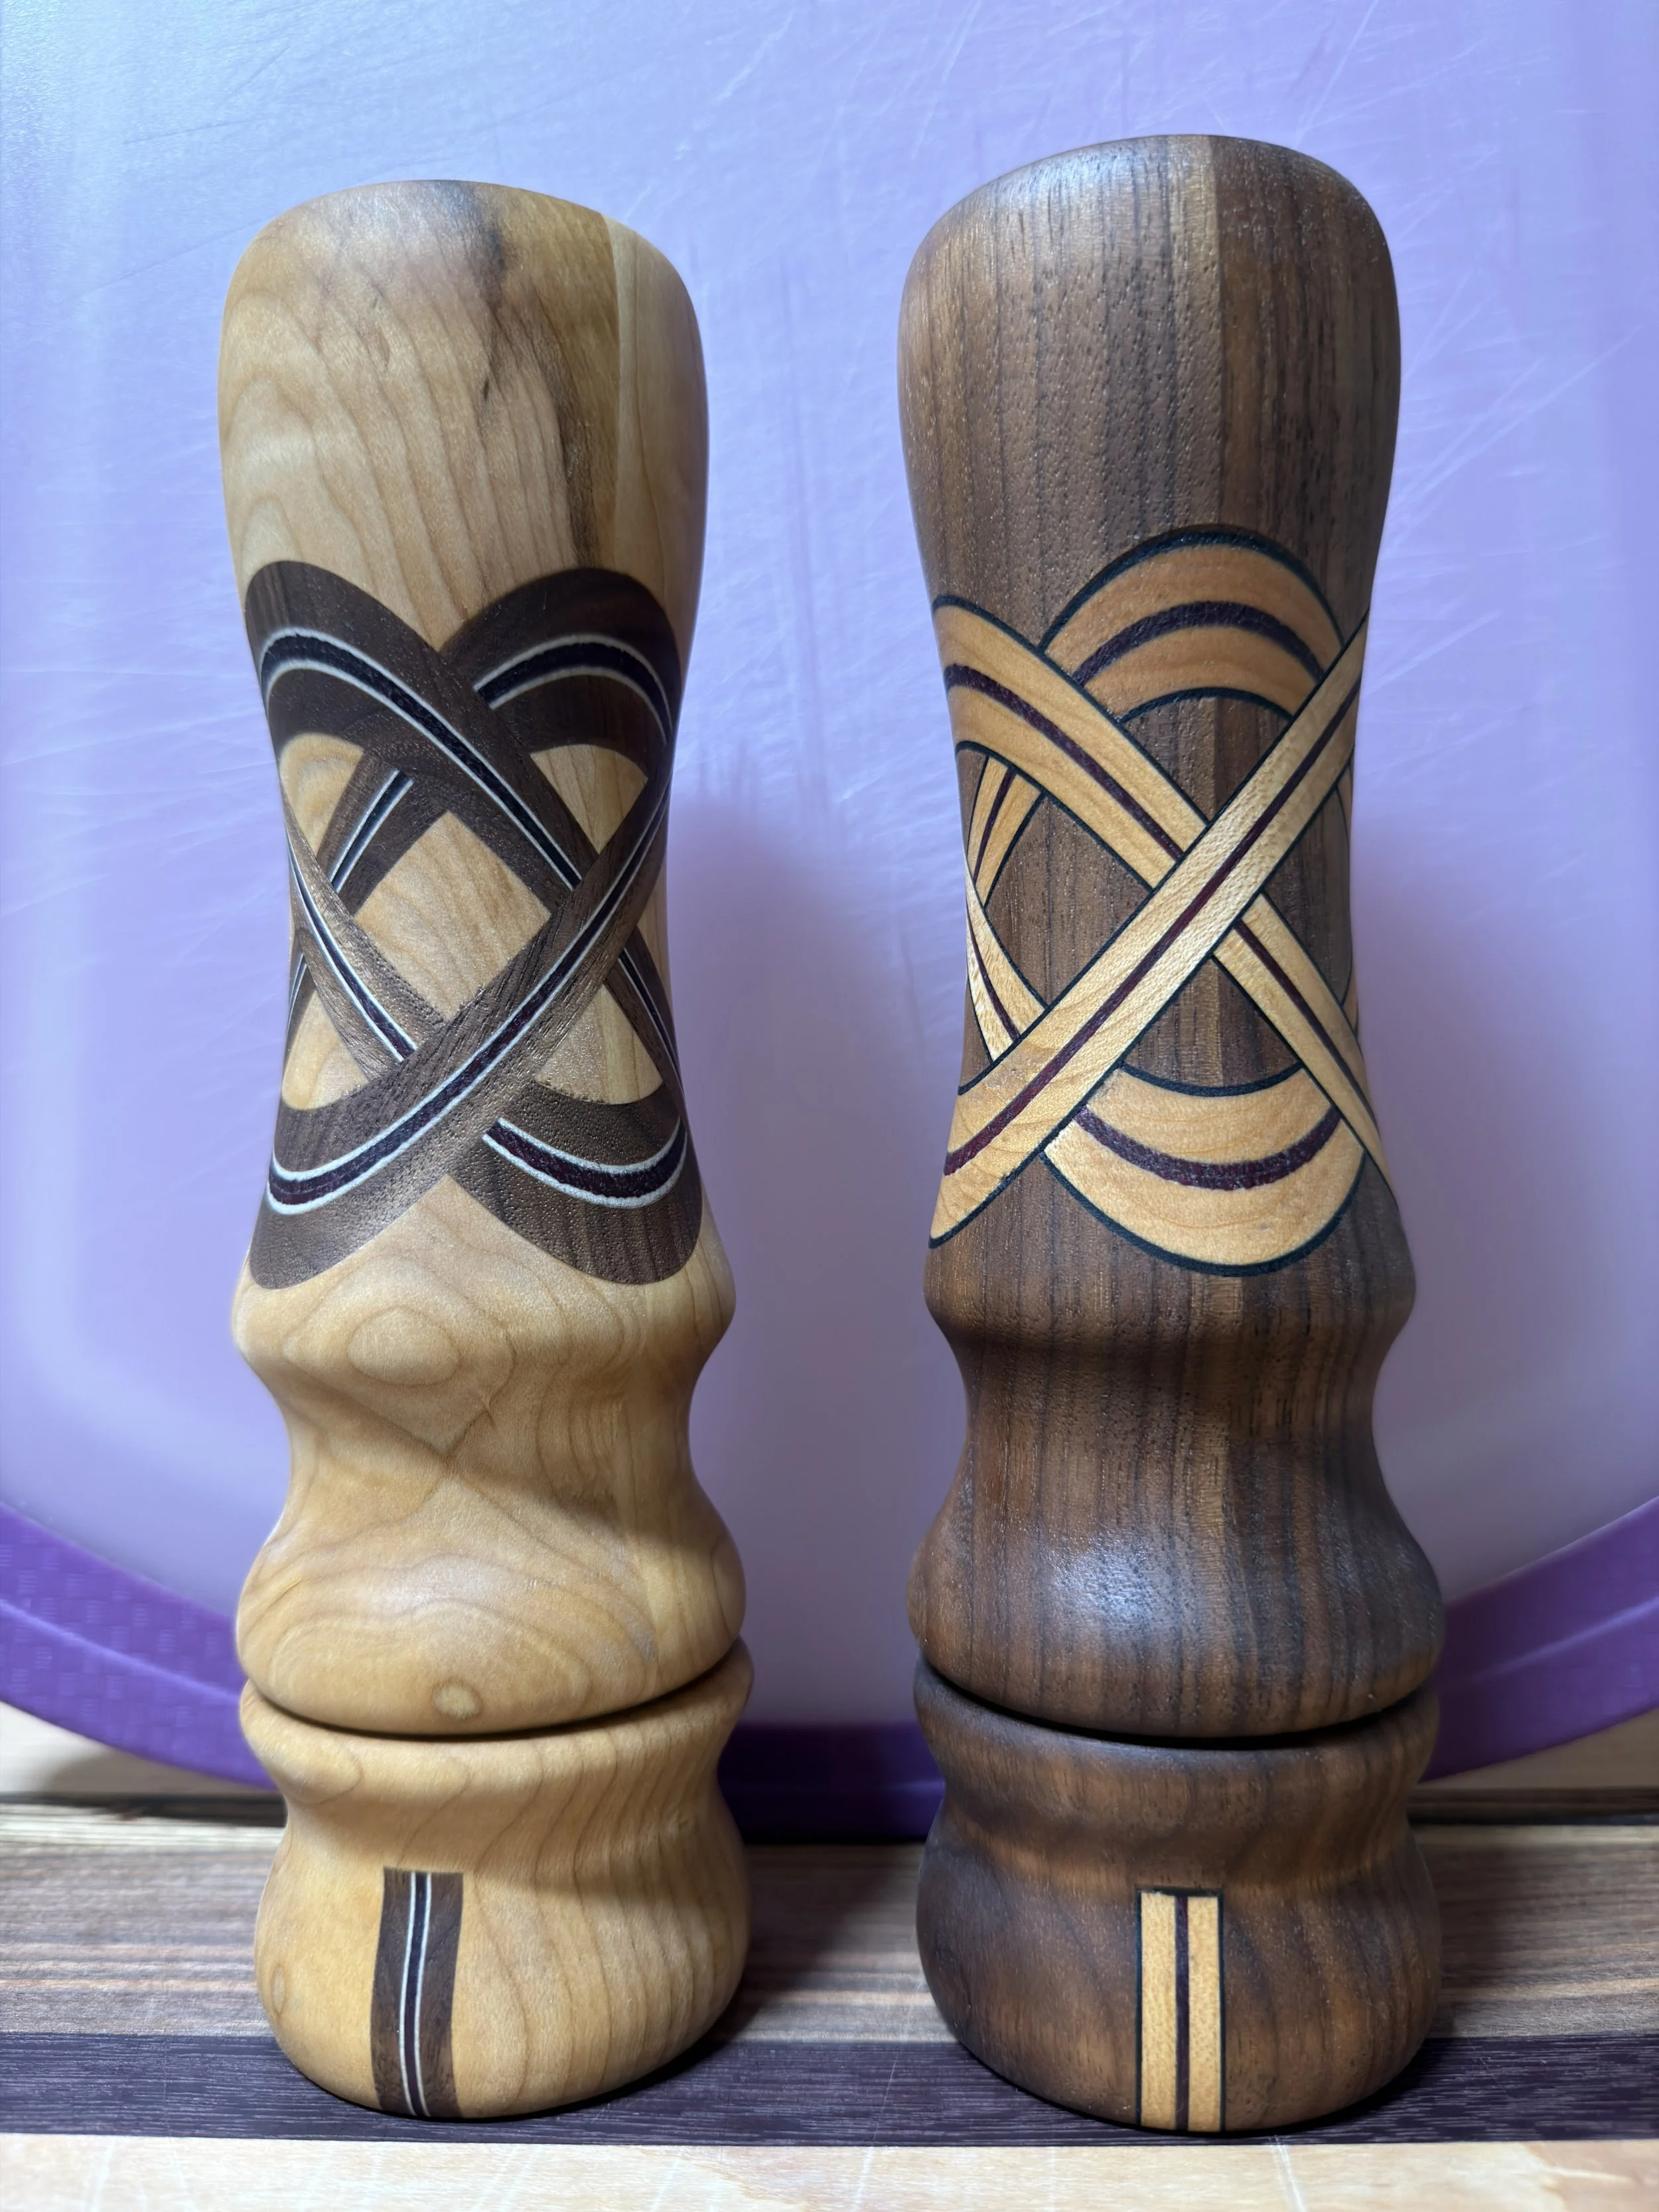
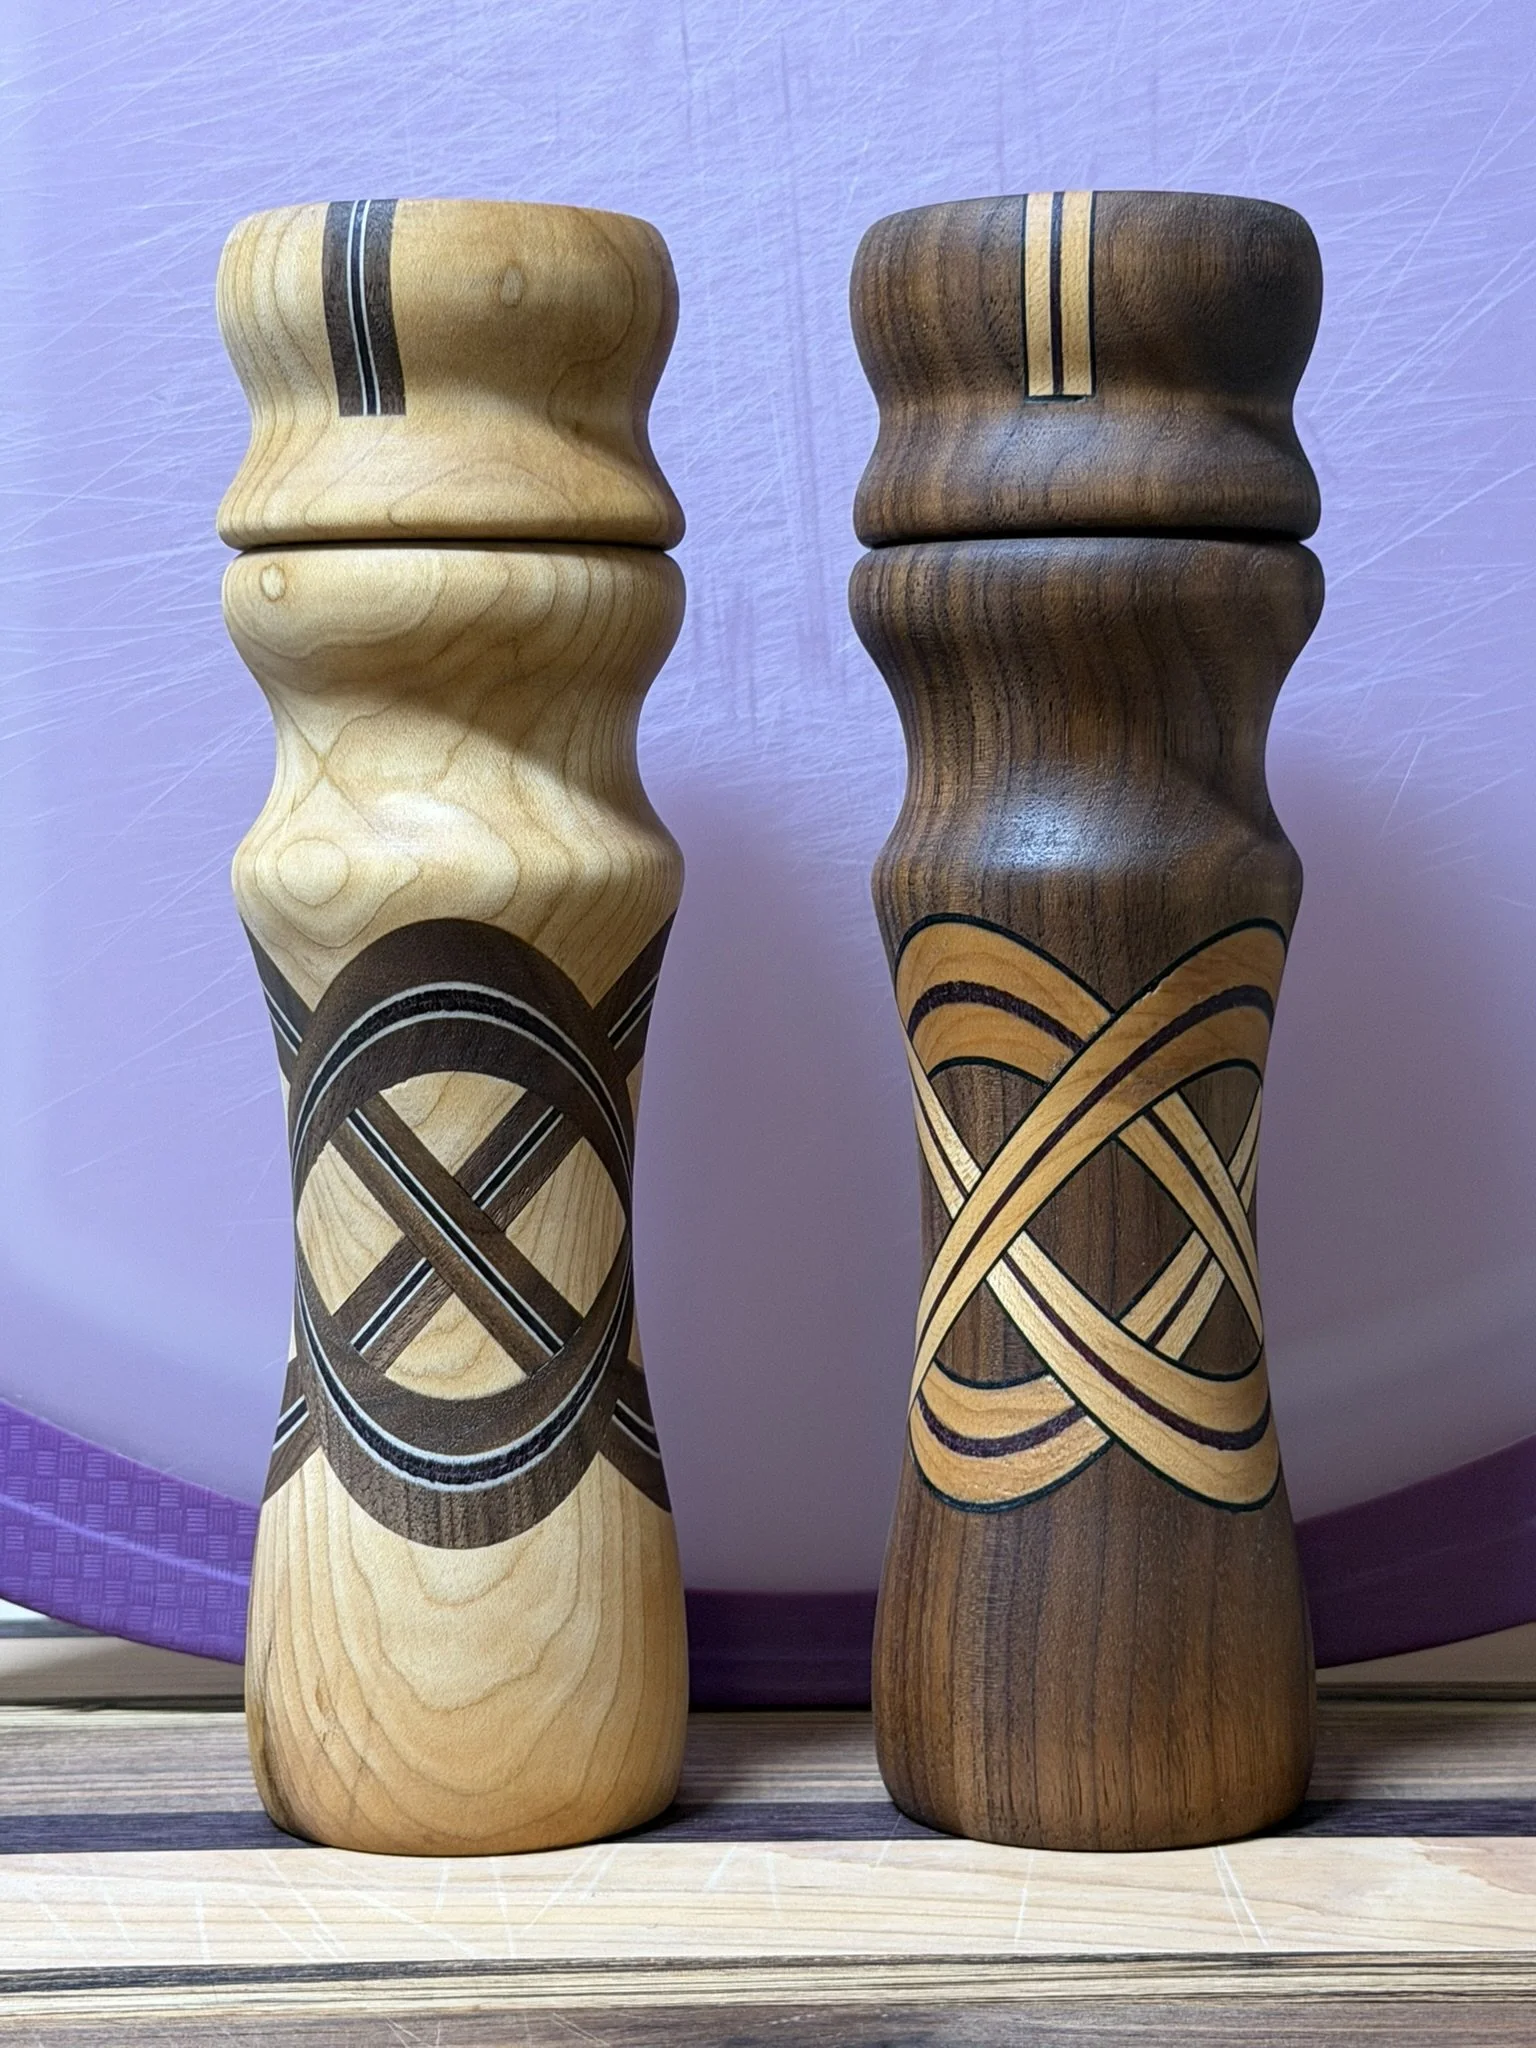
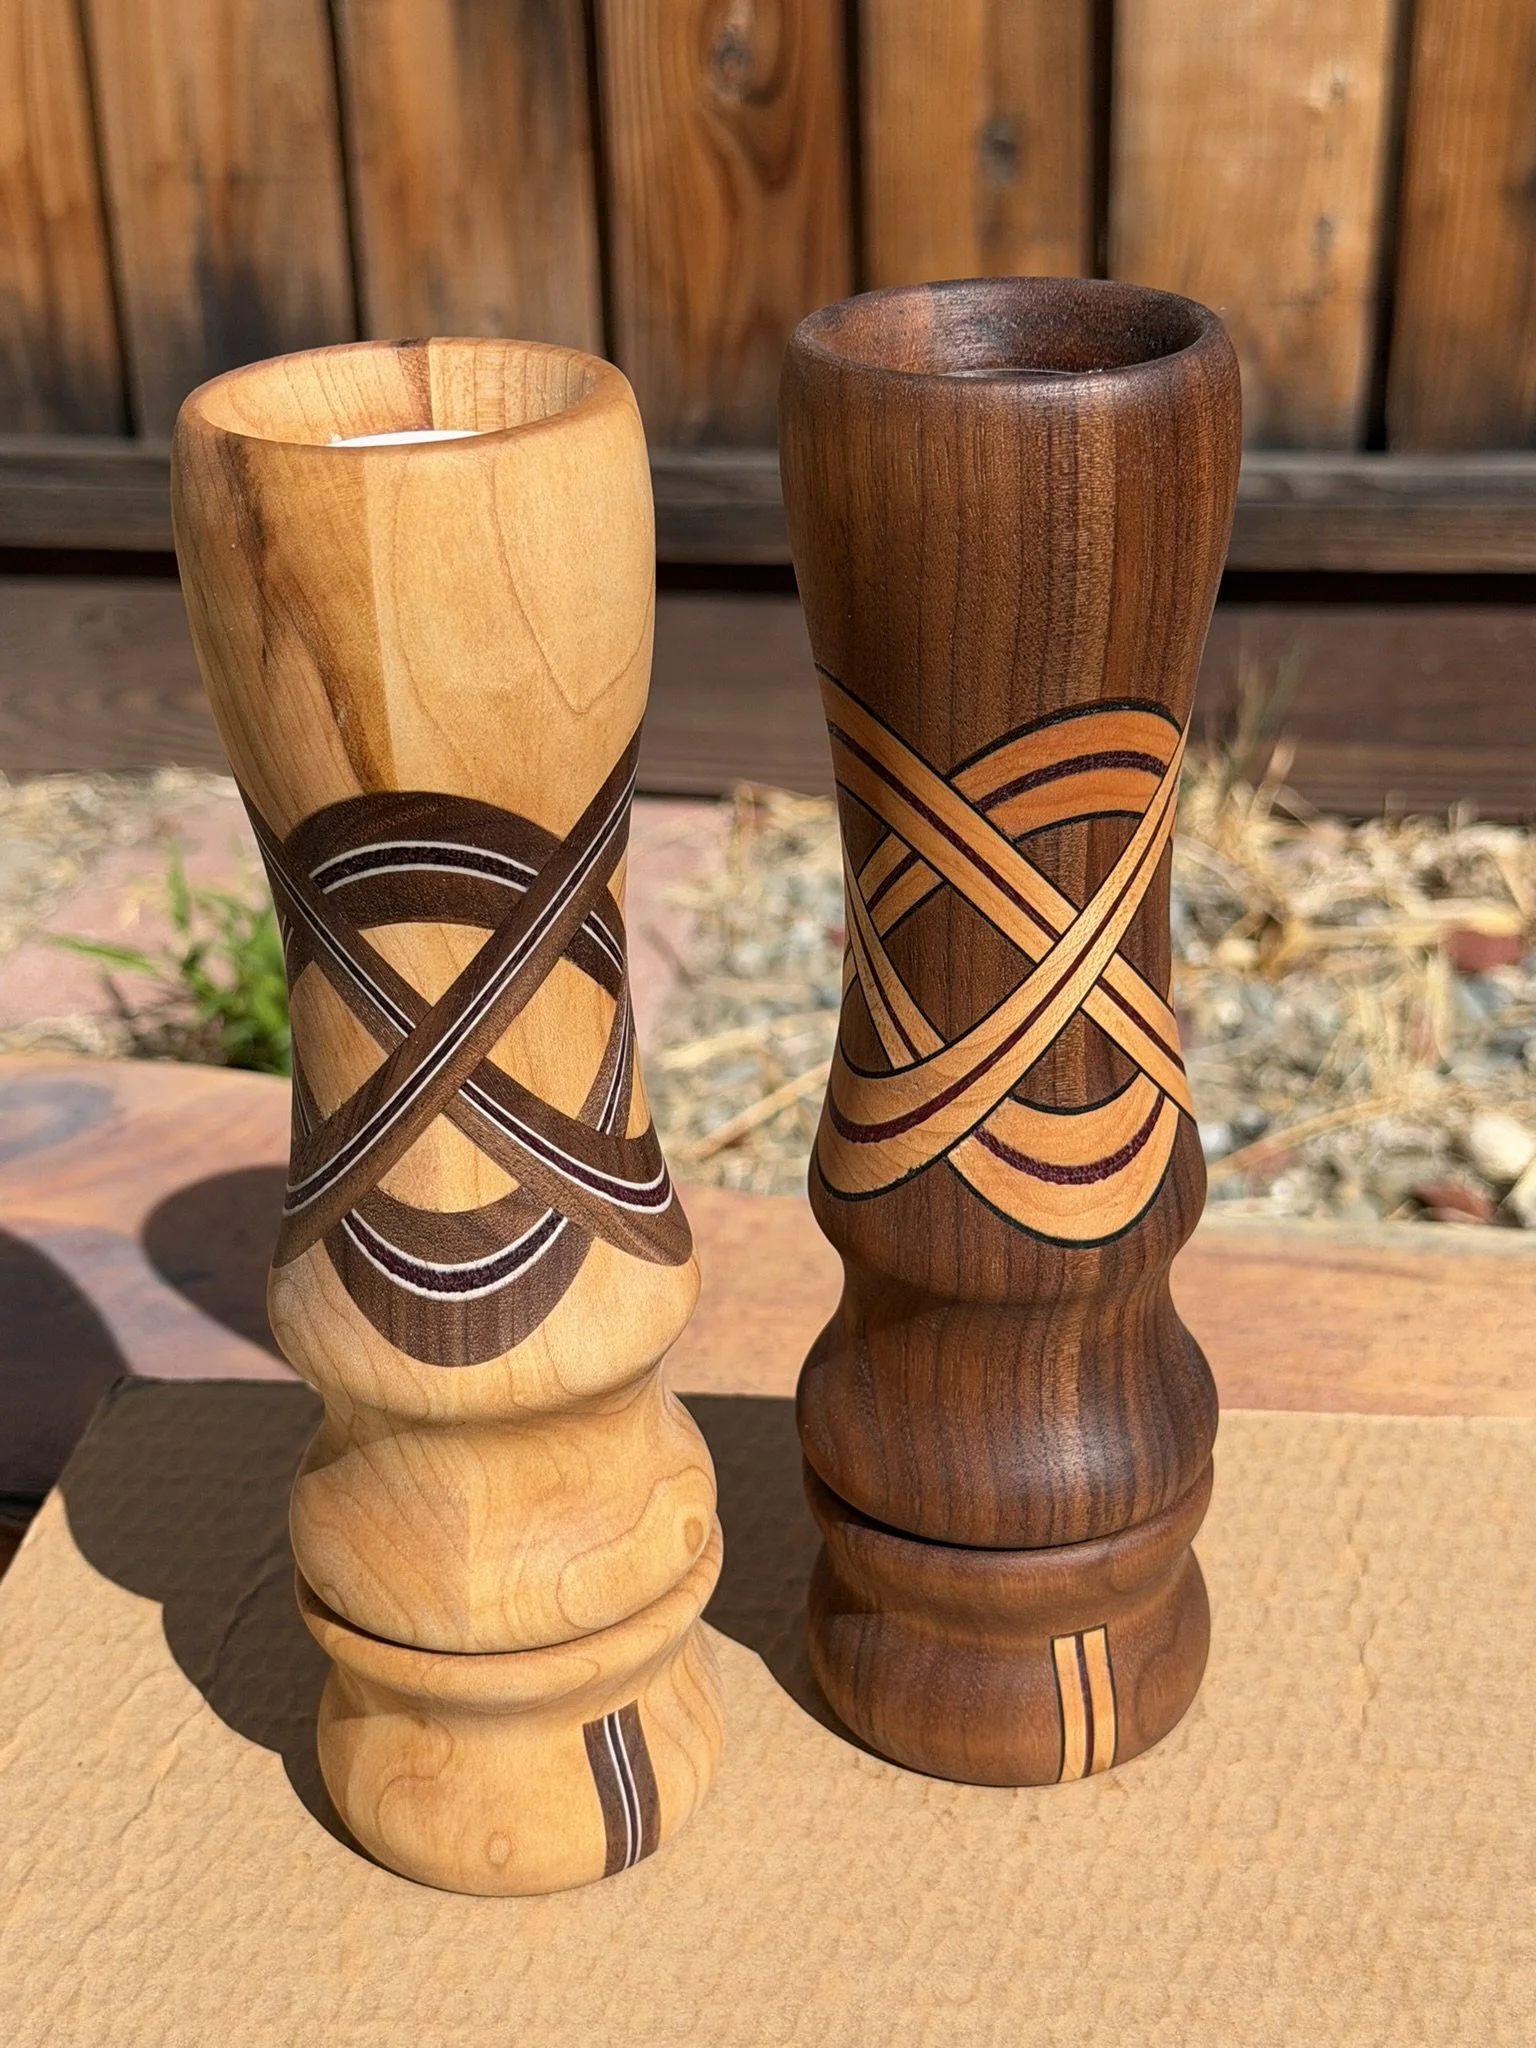
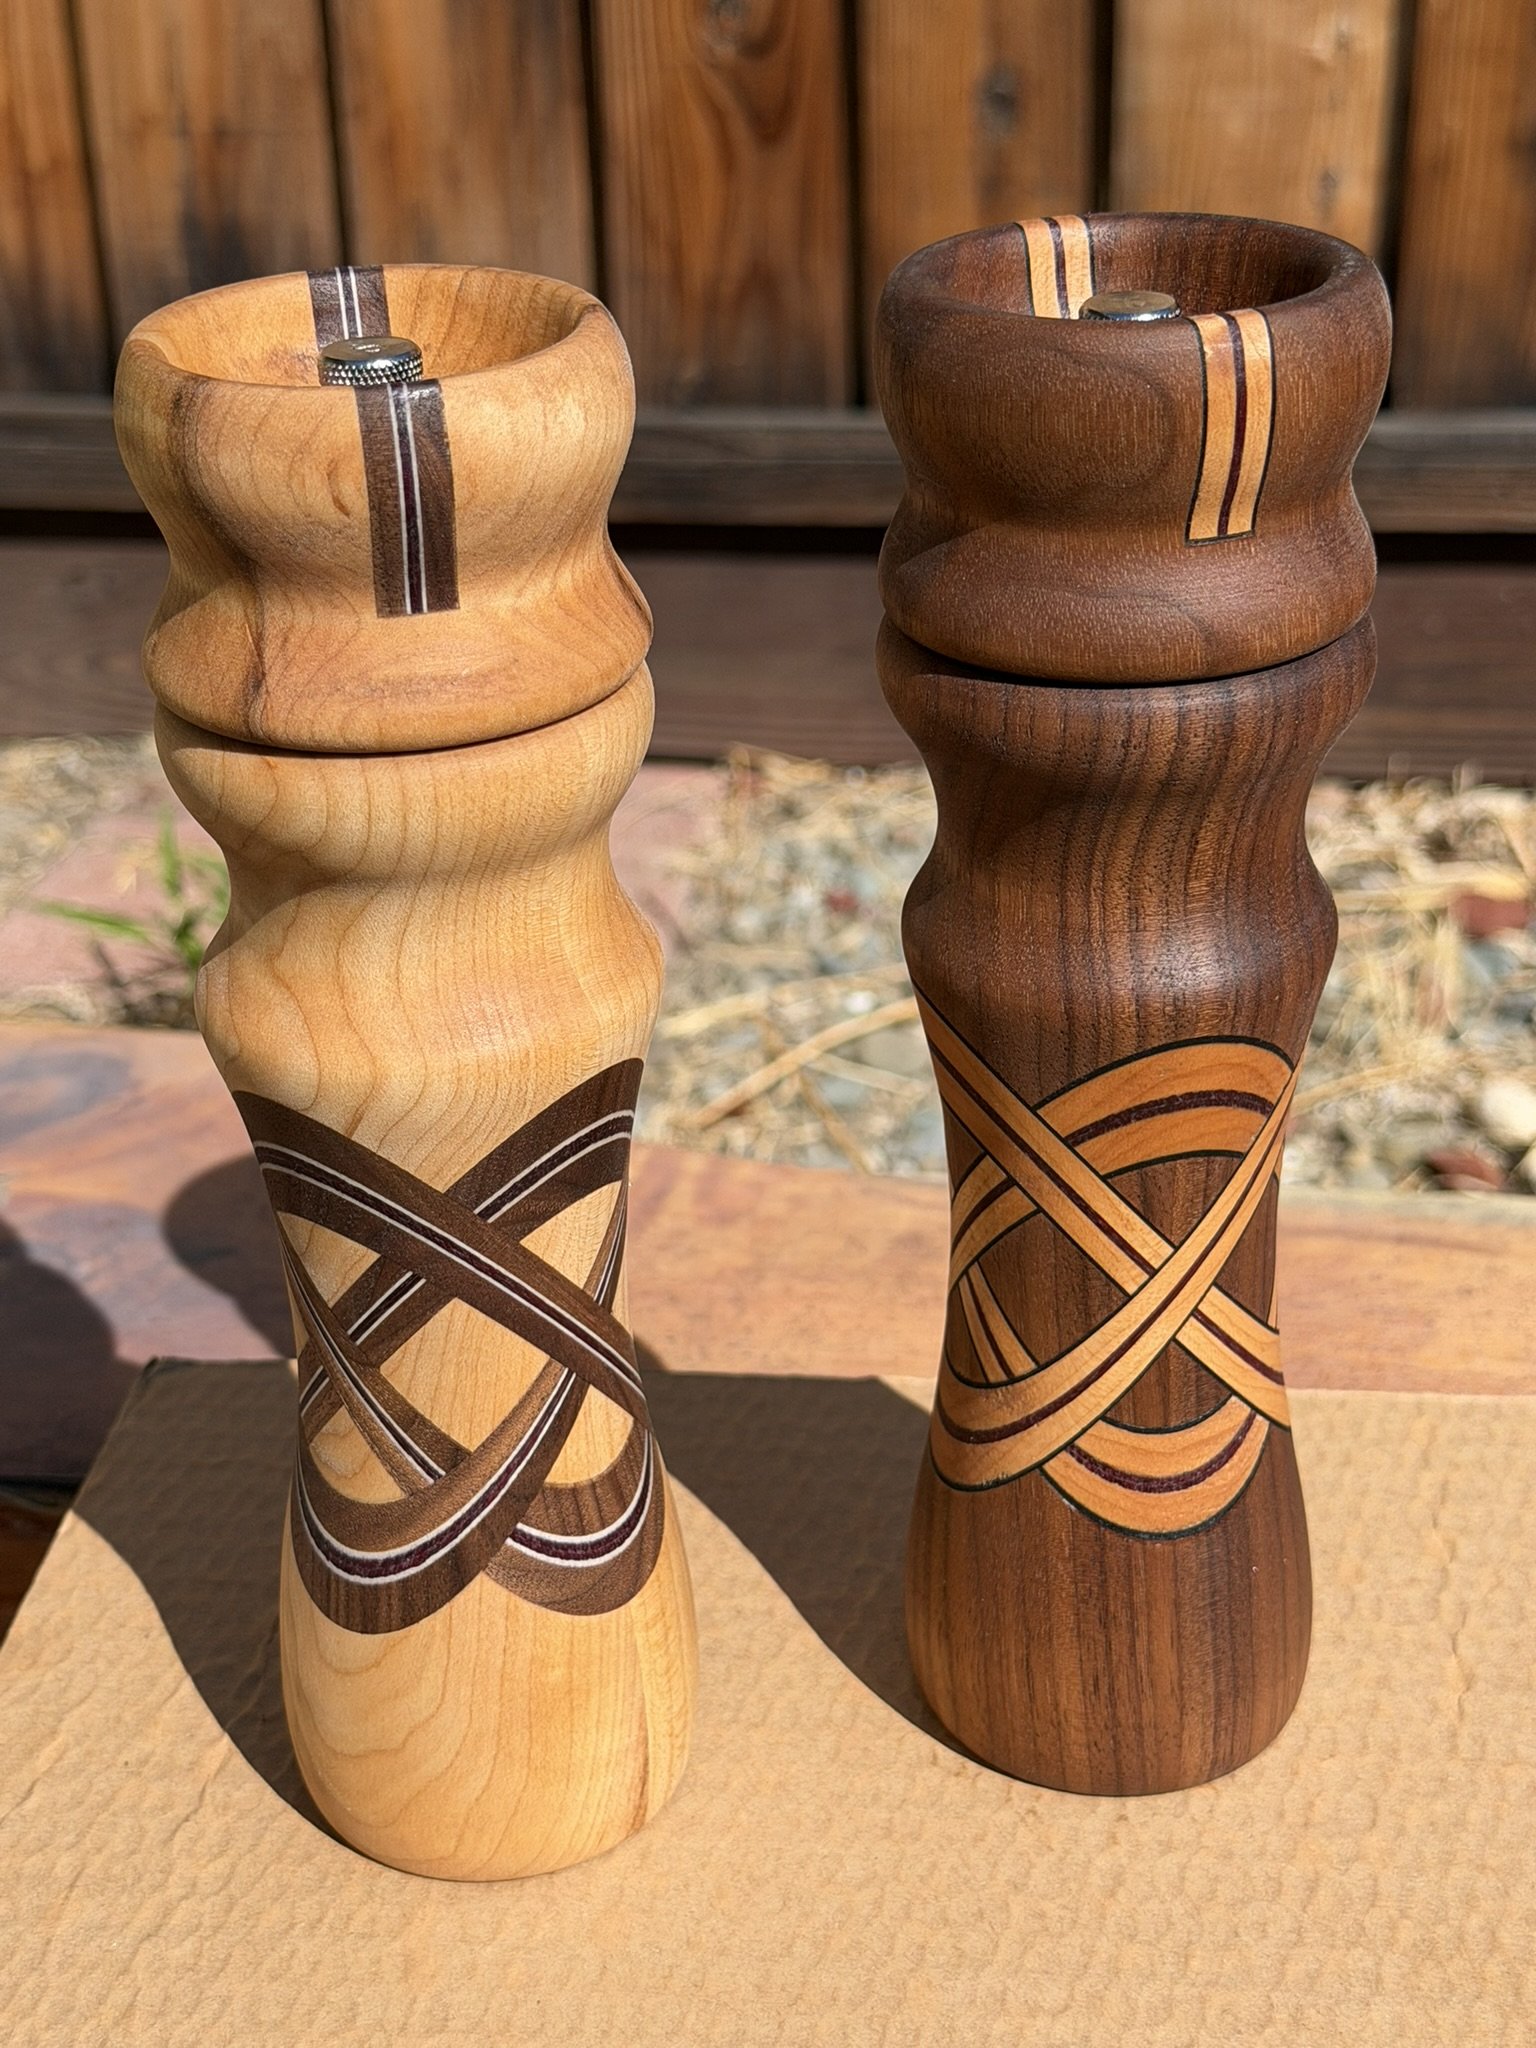
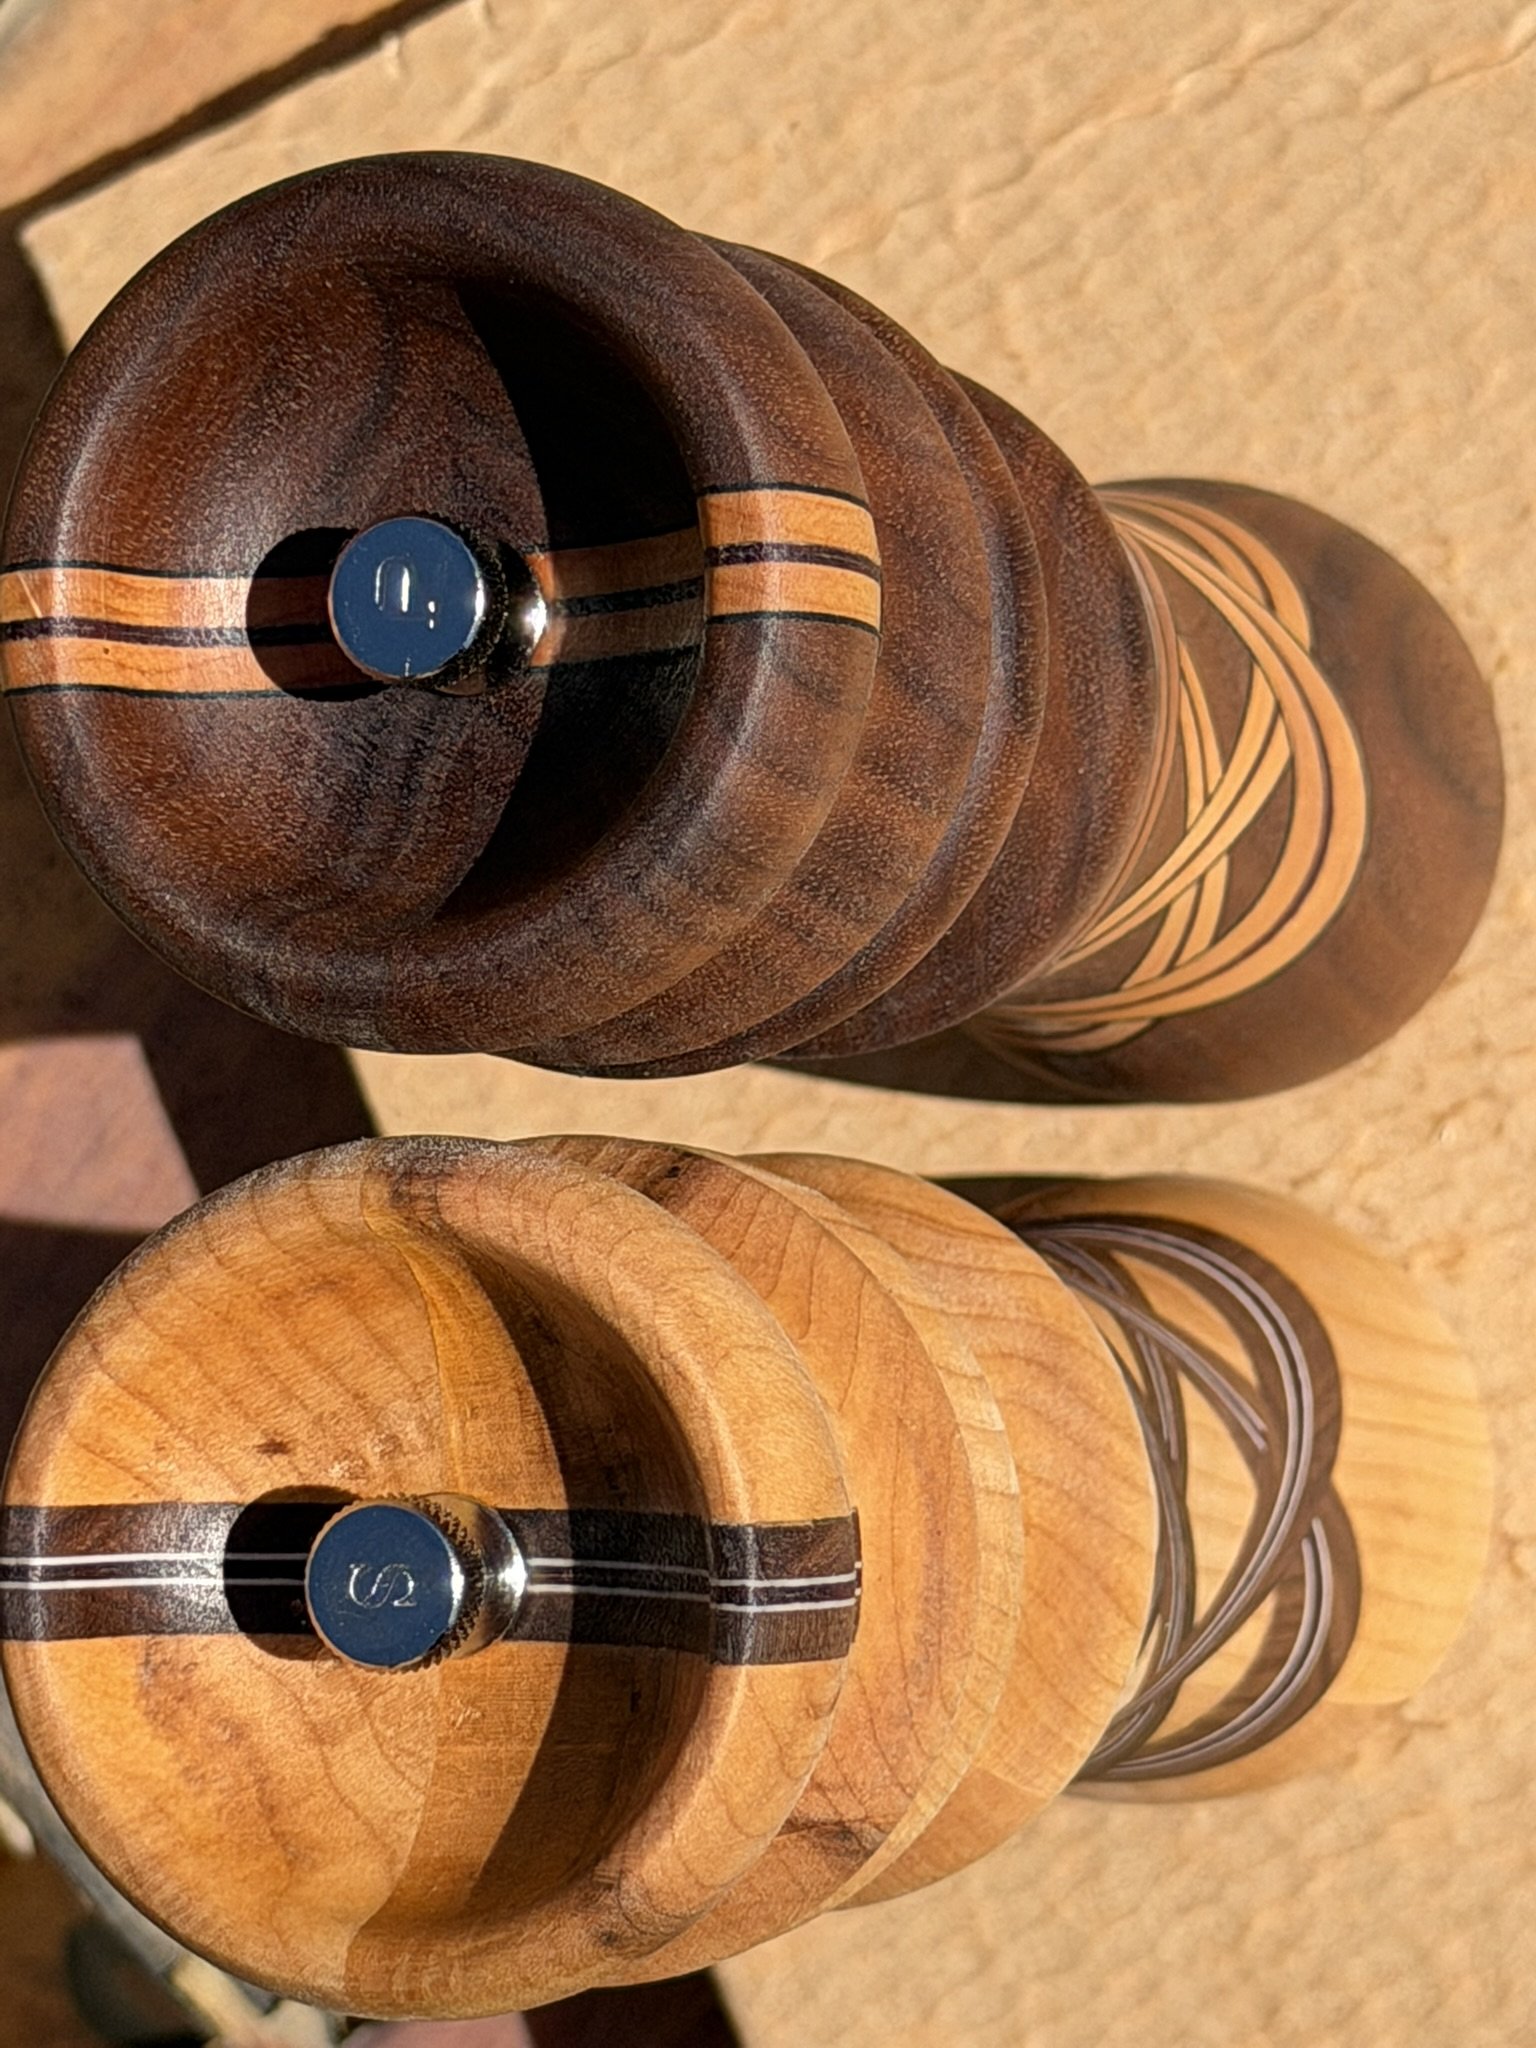
I happened upon a Salt and Pepper grinder kits for wood turning projects. I took this chance to try out this Celtic knot technique for lathe projects I once saw. I figured maple for the Salt and walnut for the Pepper grinders would fit well in many ways and had this idea of the inlays being the opposite wood. Since these inlays are the center of attention I started there. I bought some Purple heart, pure black, and bleached white veneers to play with and form the inlay pattern. I milled down my own maple and walnut to form the thicker portions in the veneers. Once I had the 2 patterns set I glued them up and moved on the the main maple and walnut bodies where I just glued up some thick pieces together to form a block a bit bigger than the plans called for, and about twice a long because I figured I’d mess something up later.
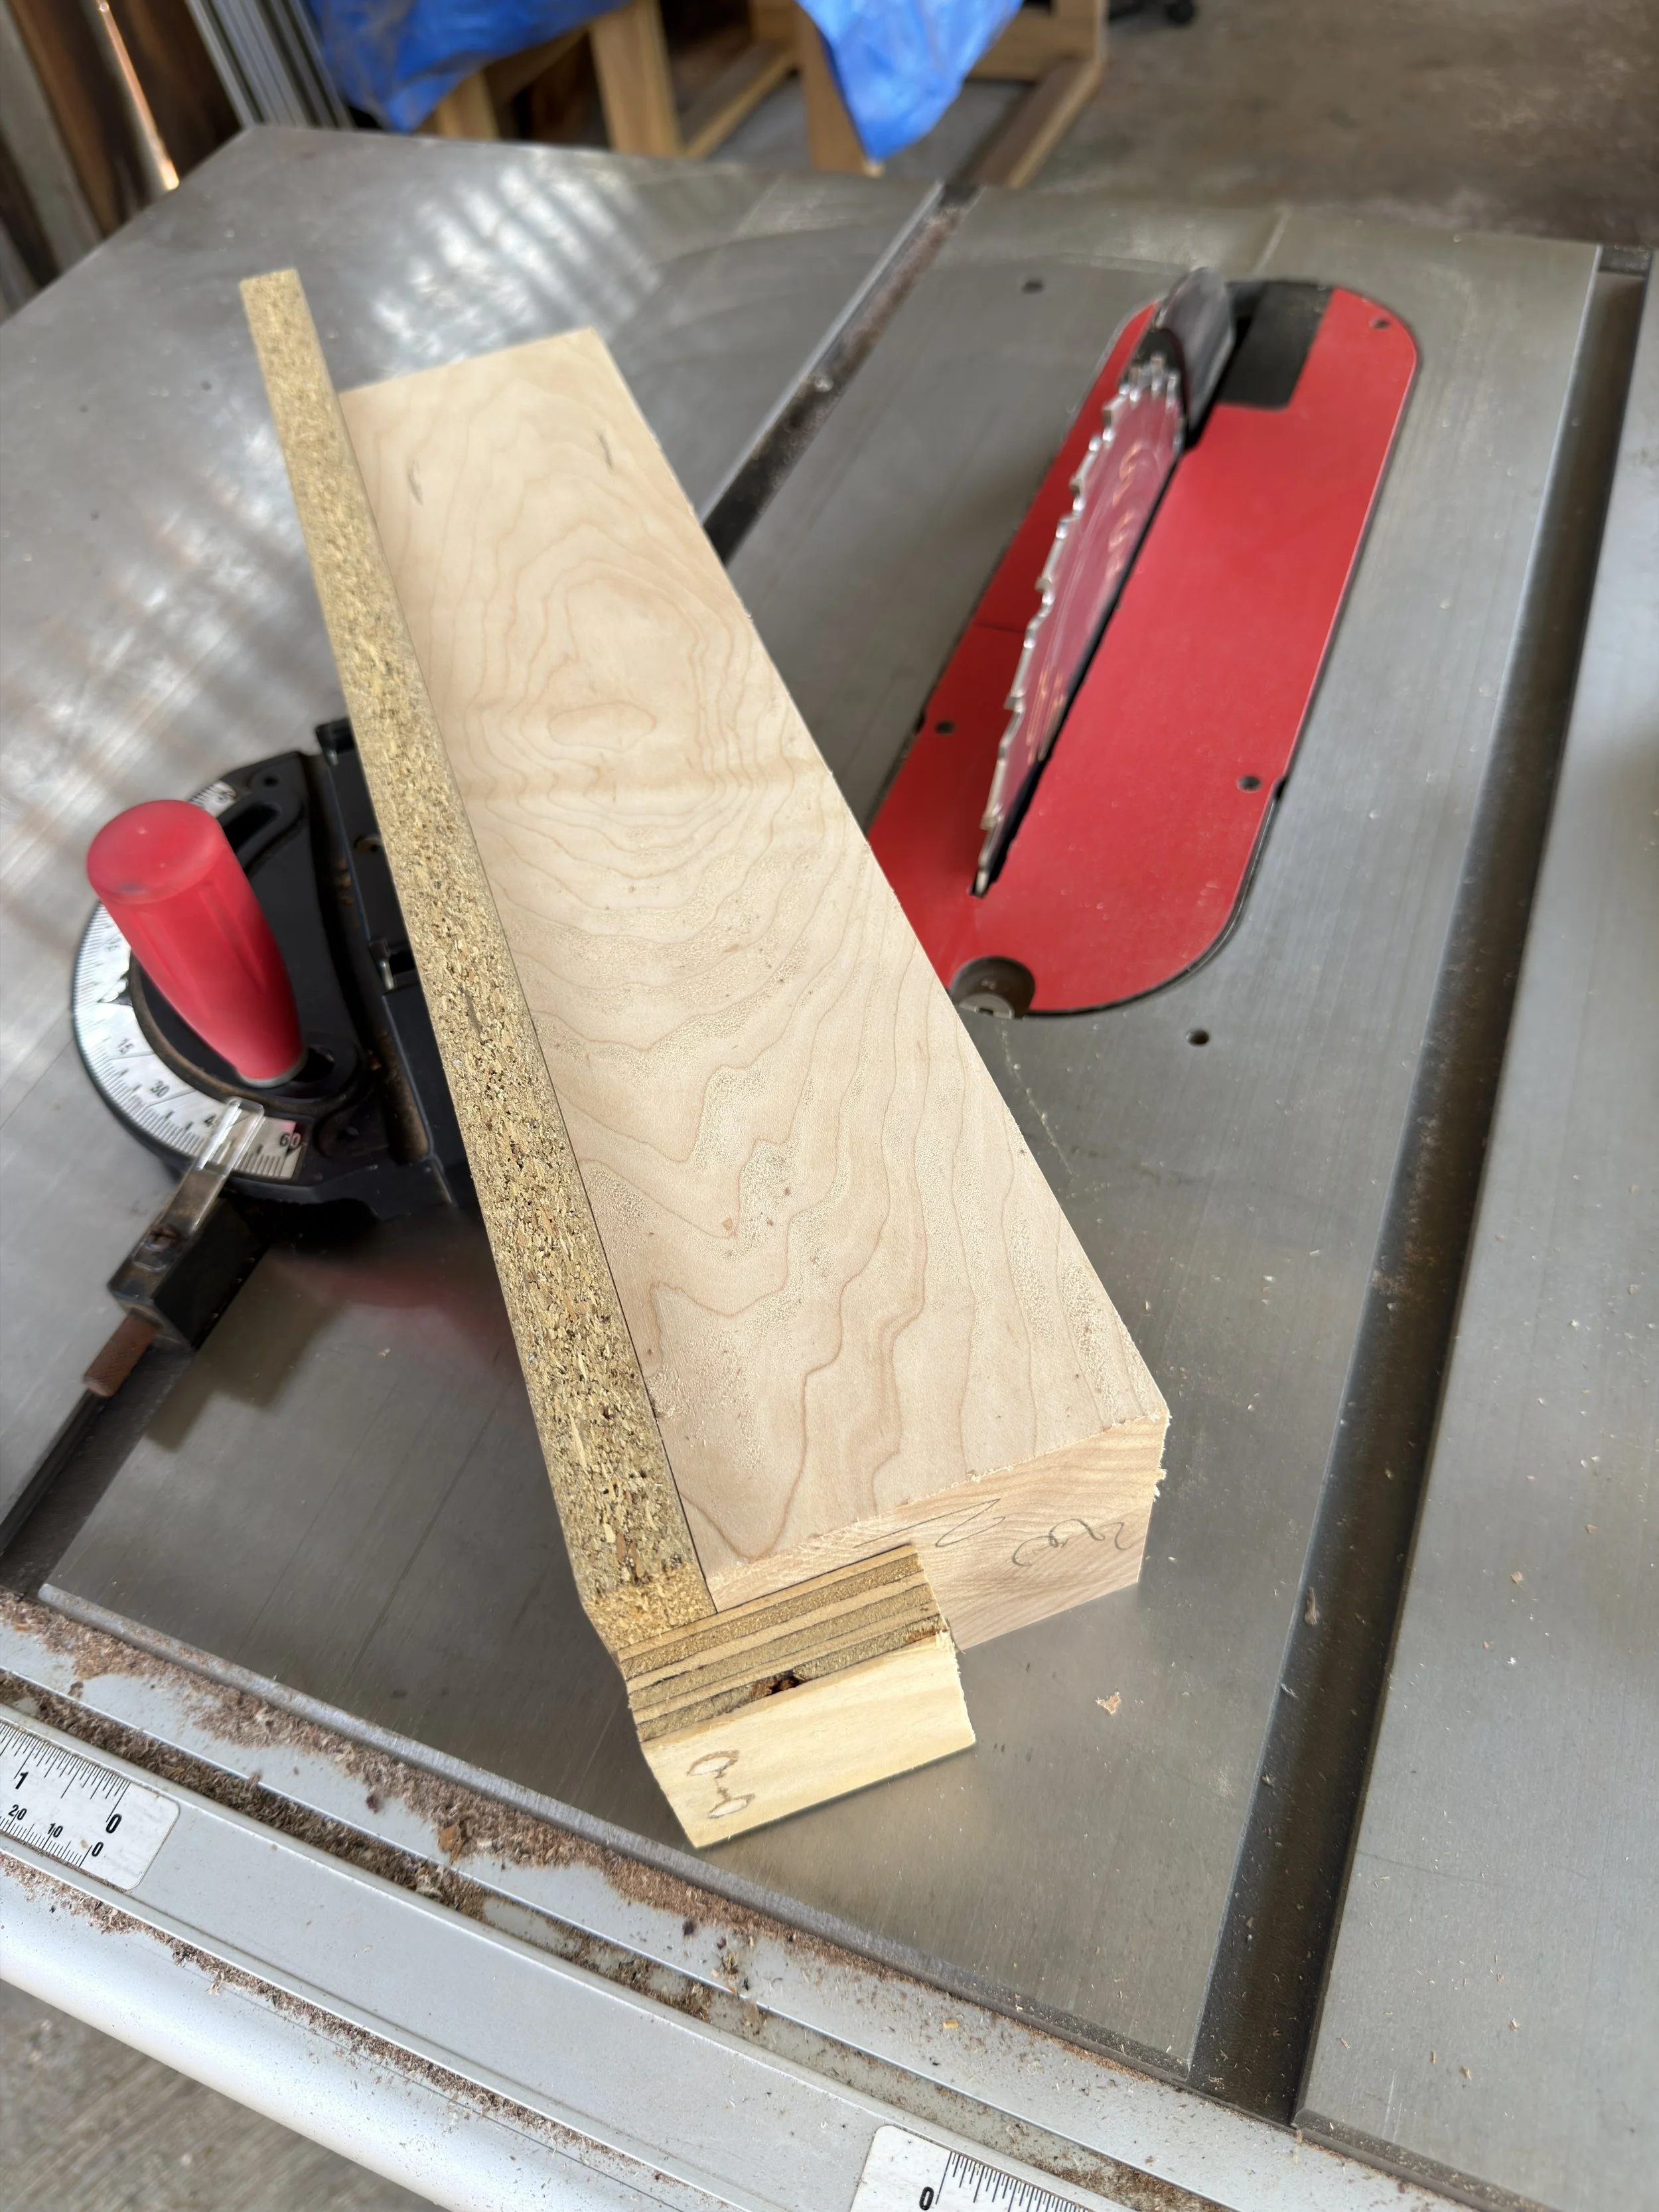
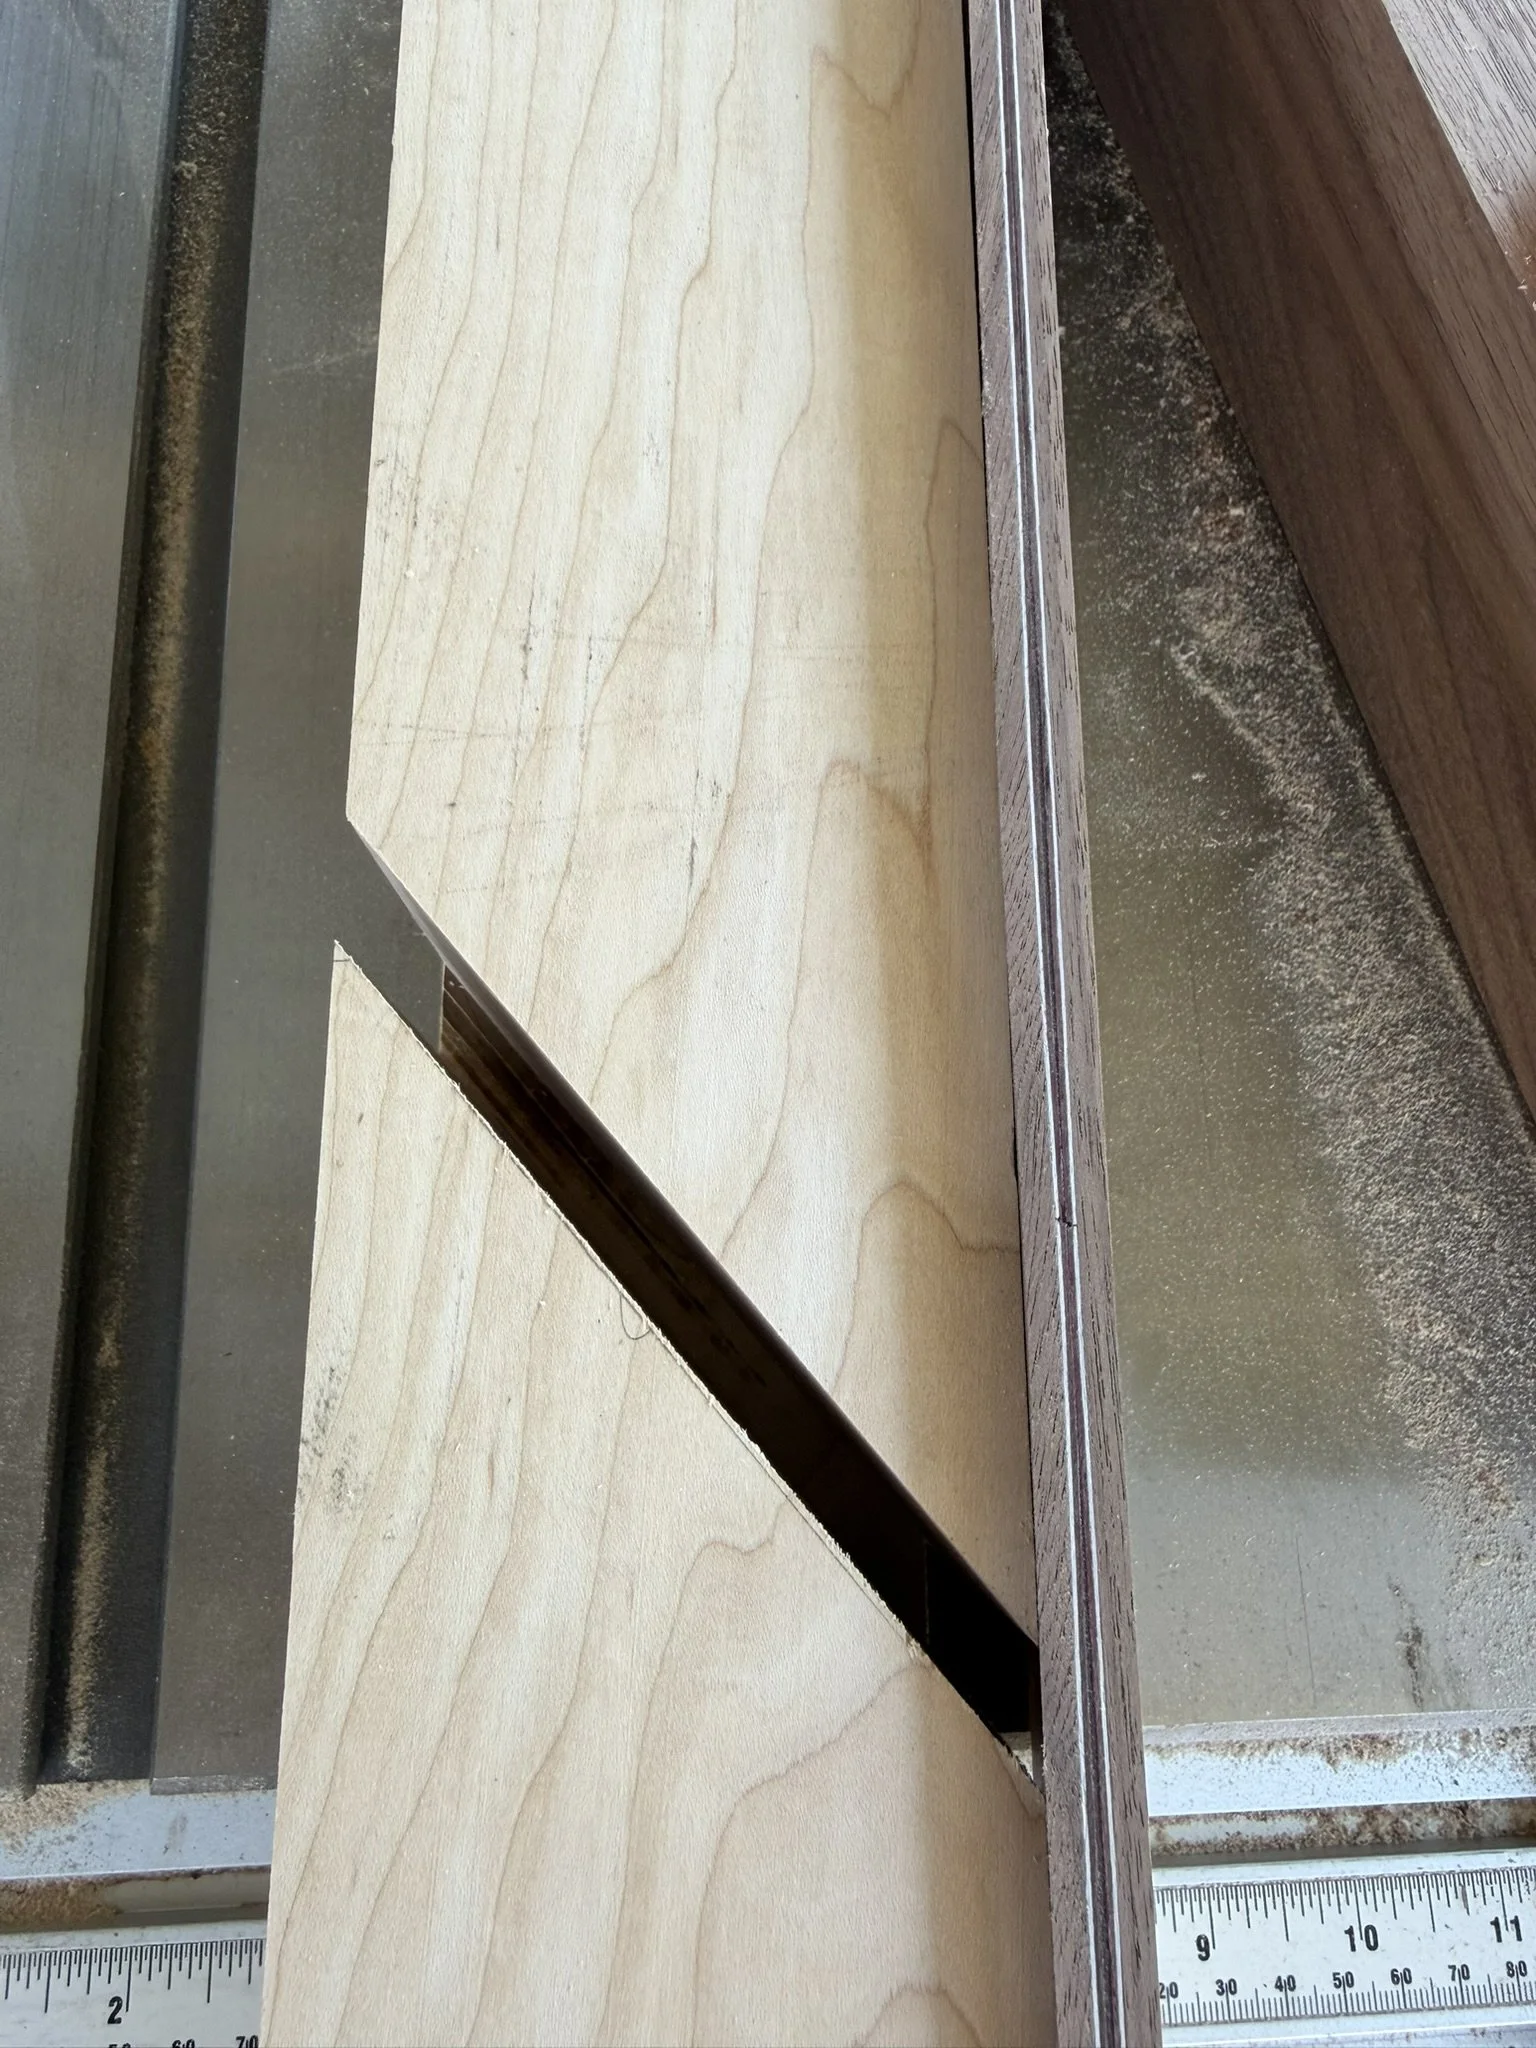
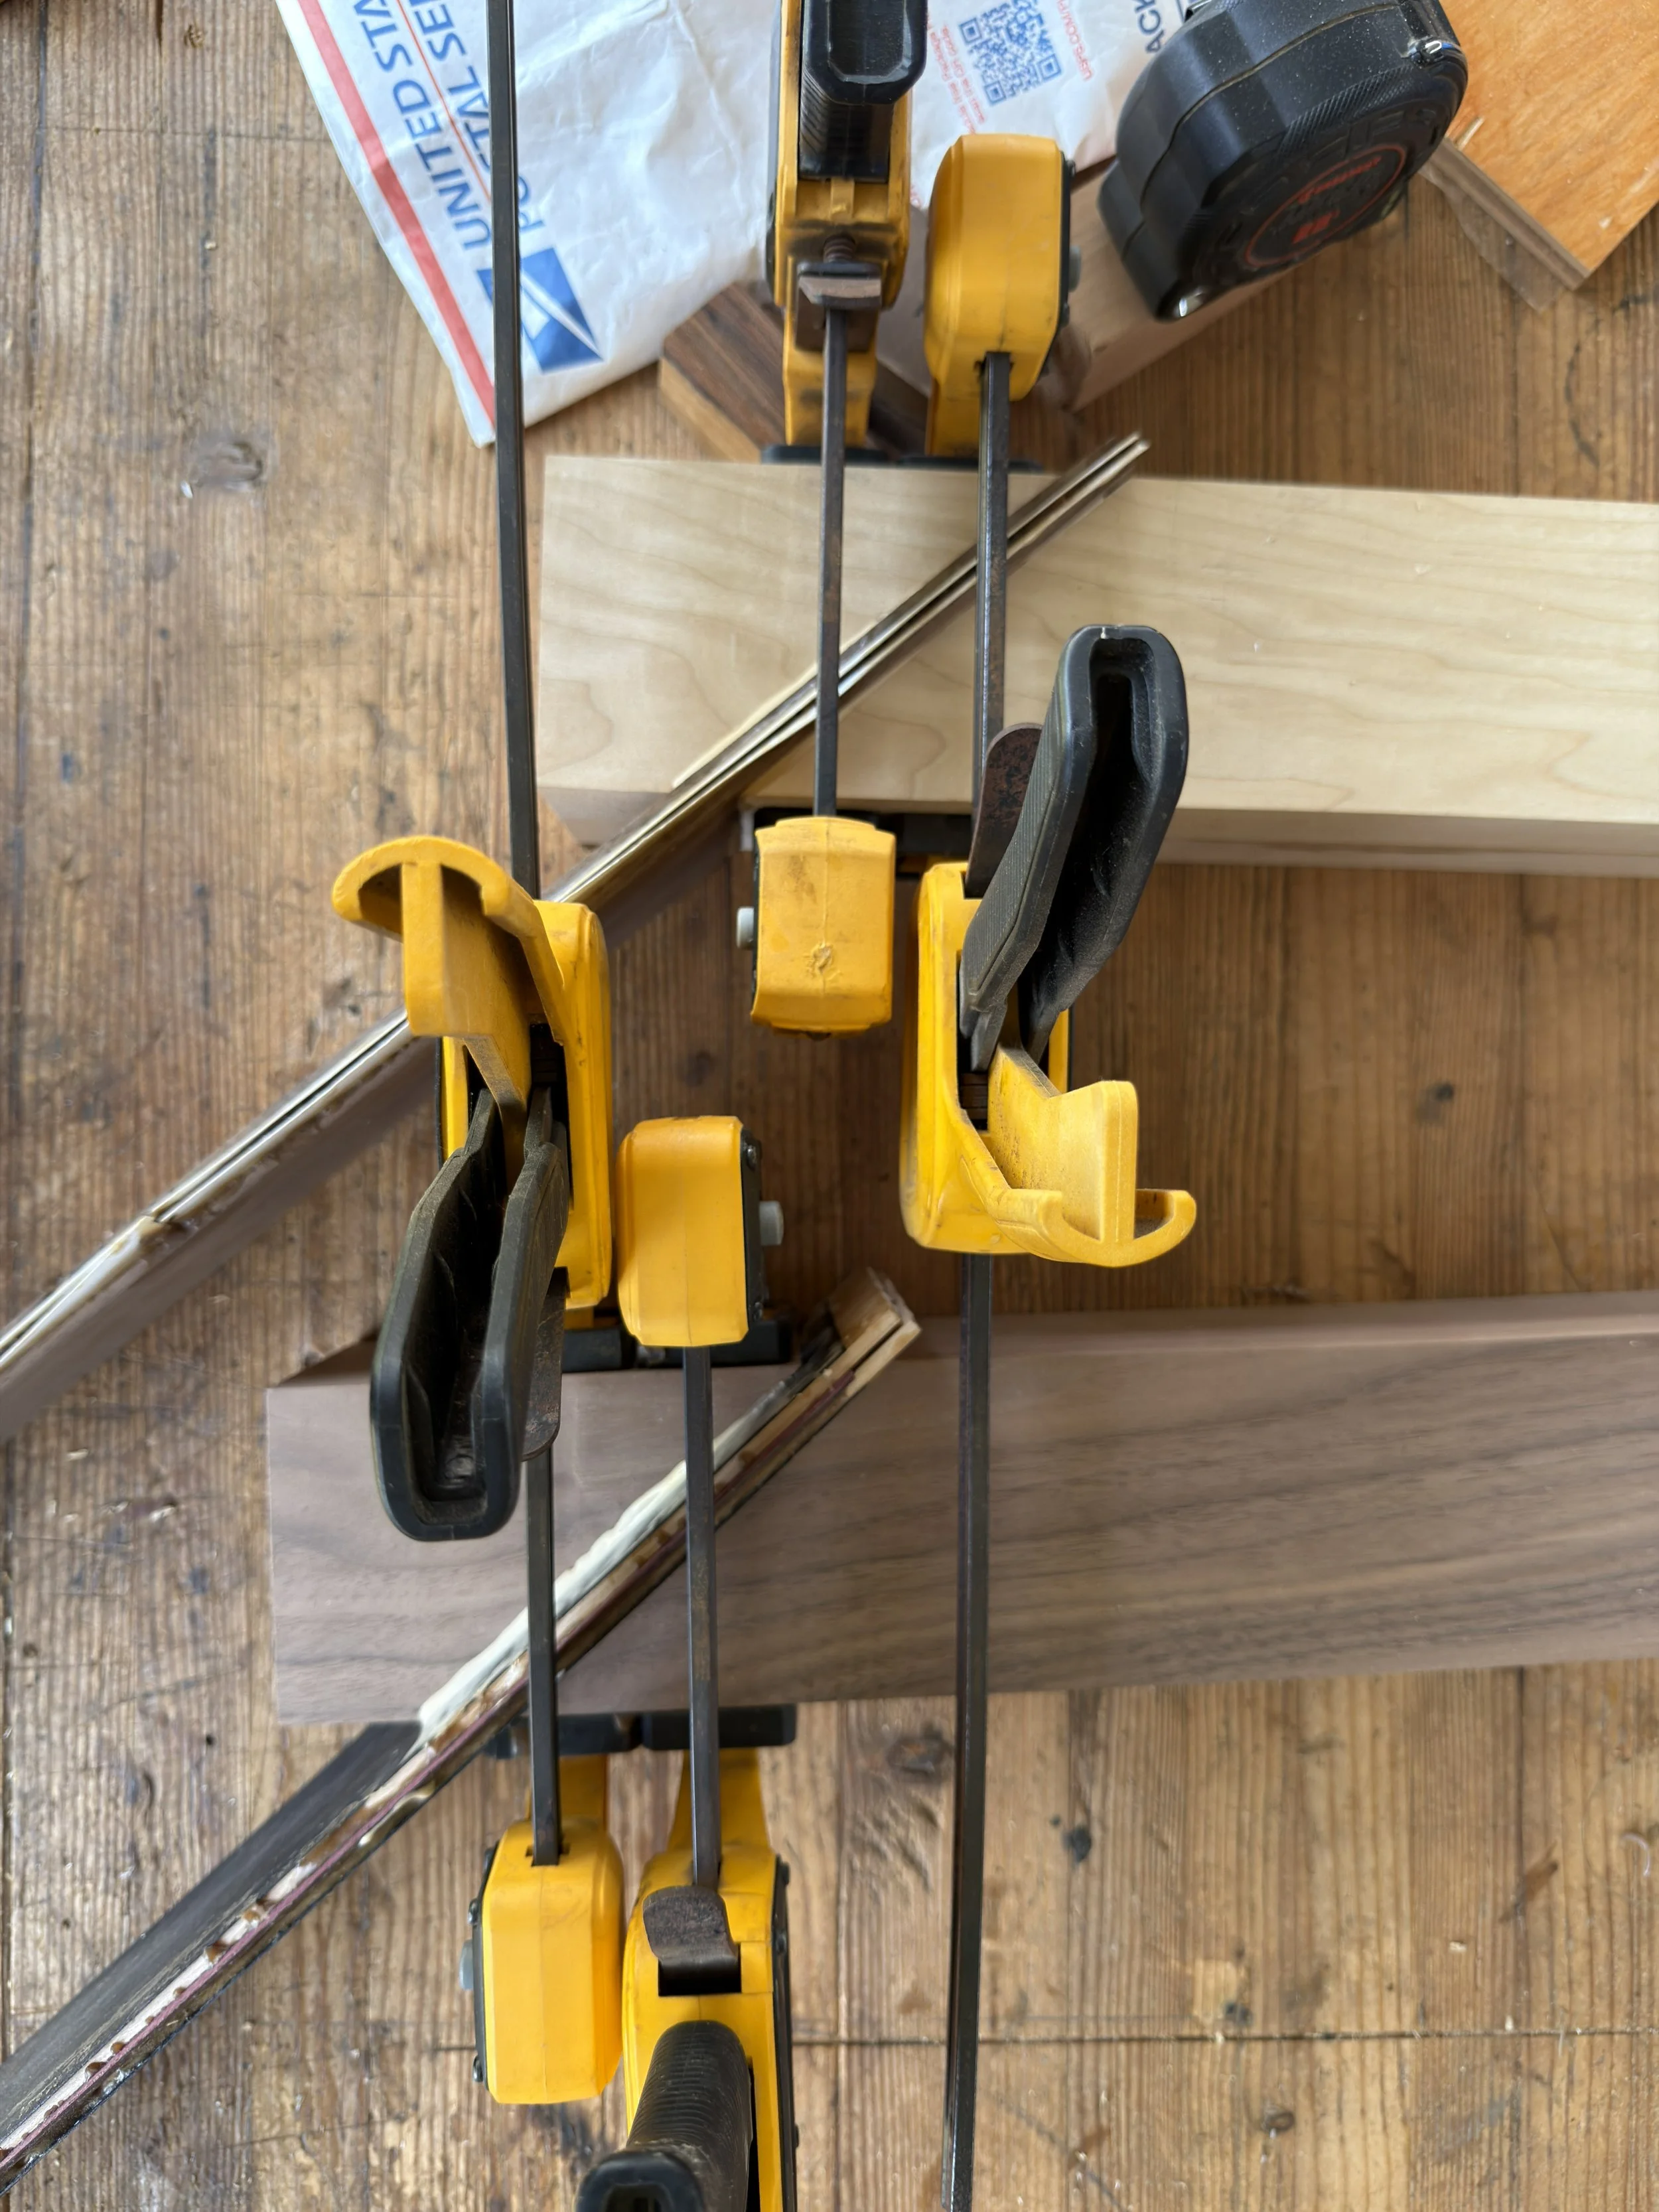
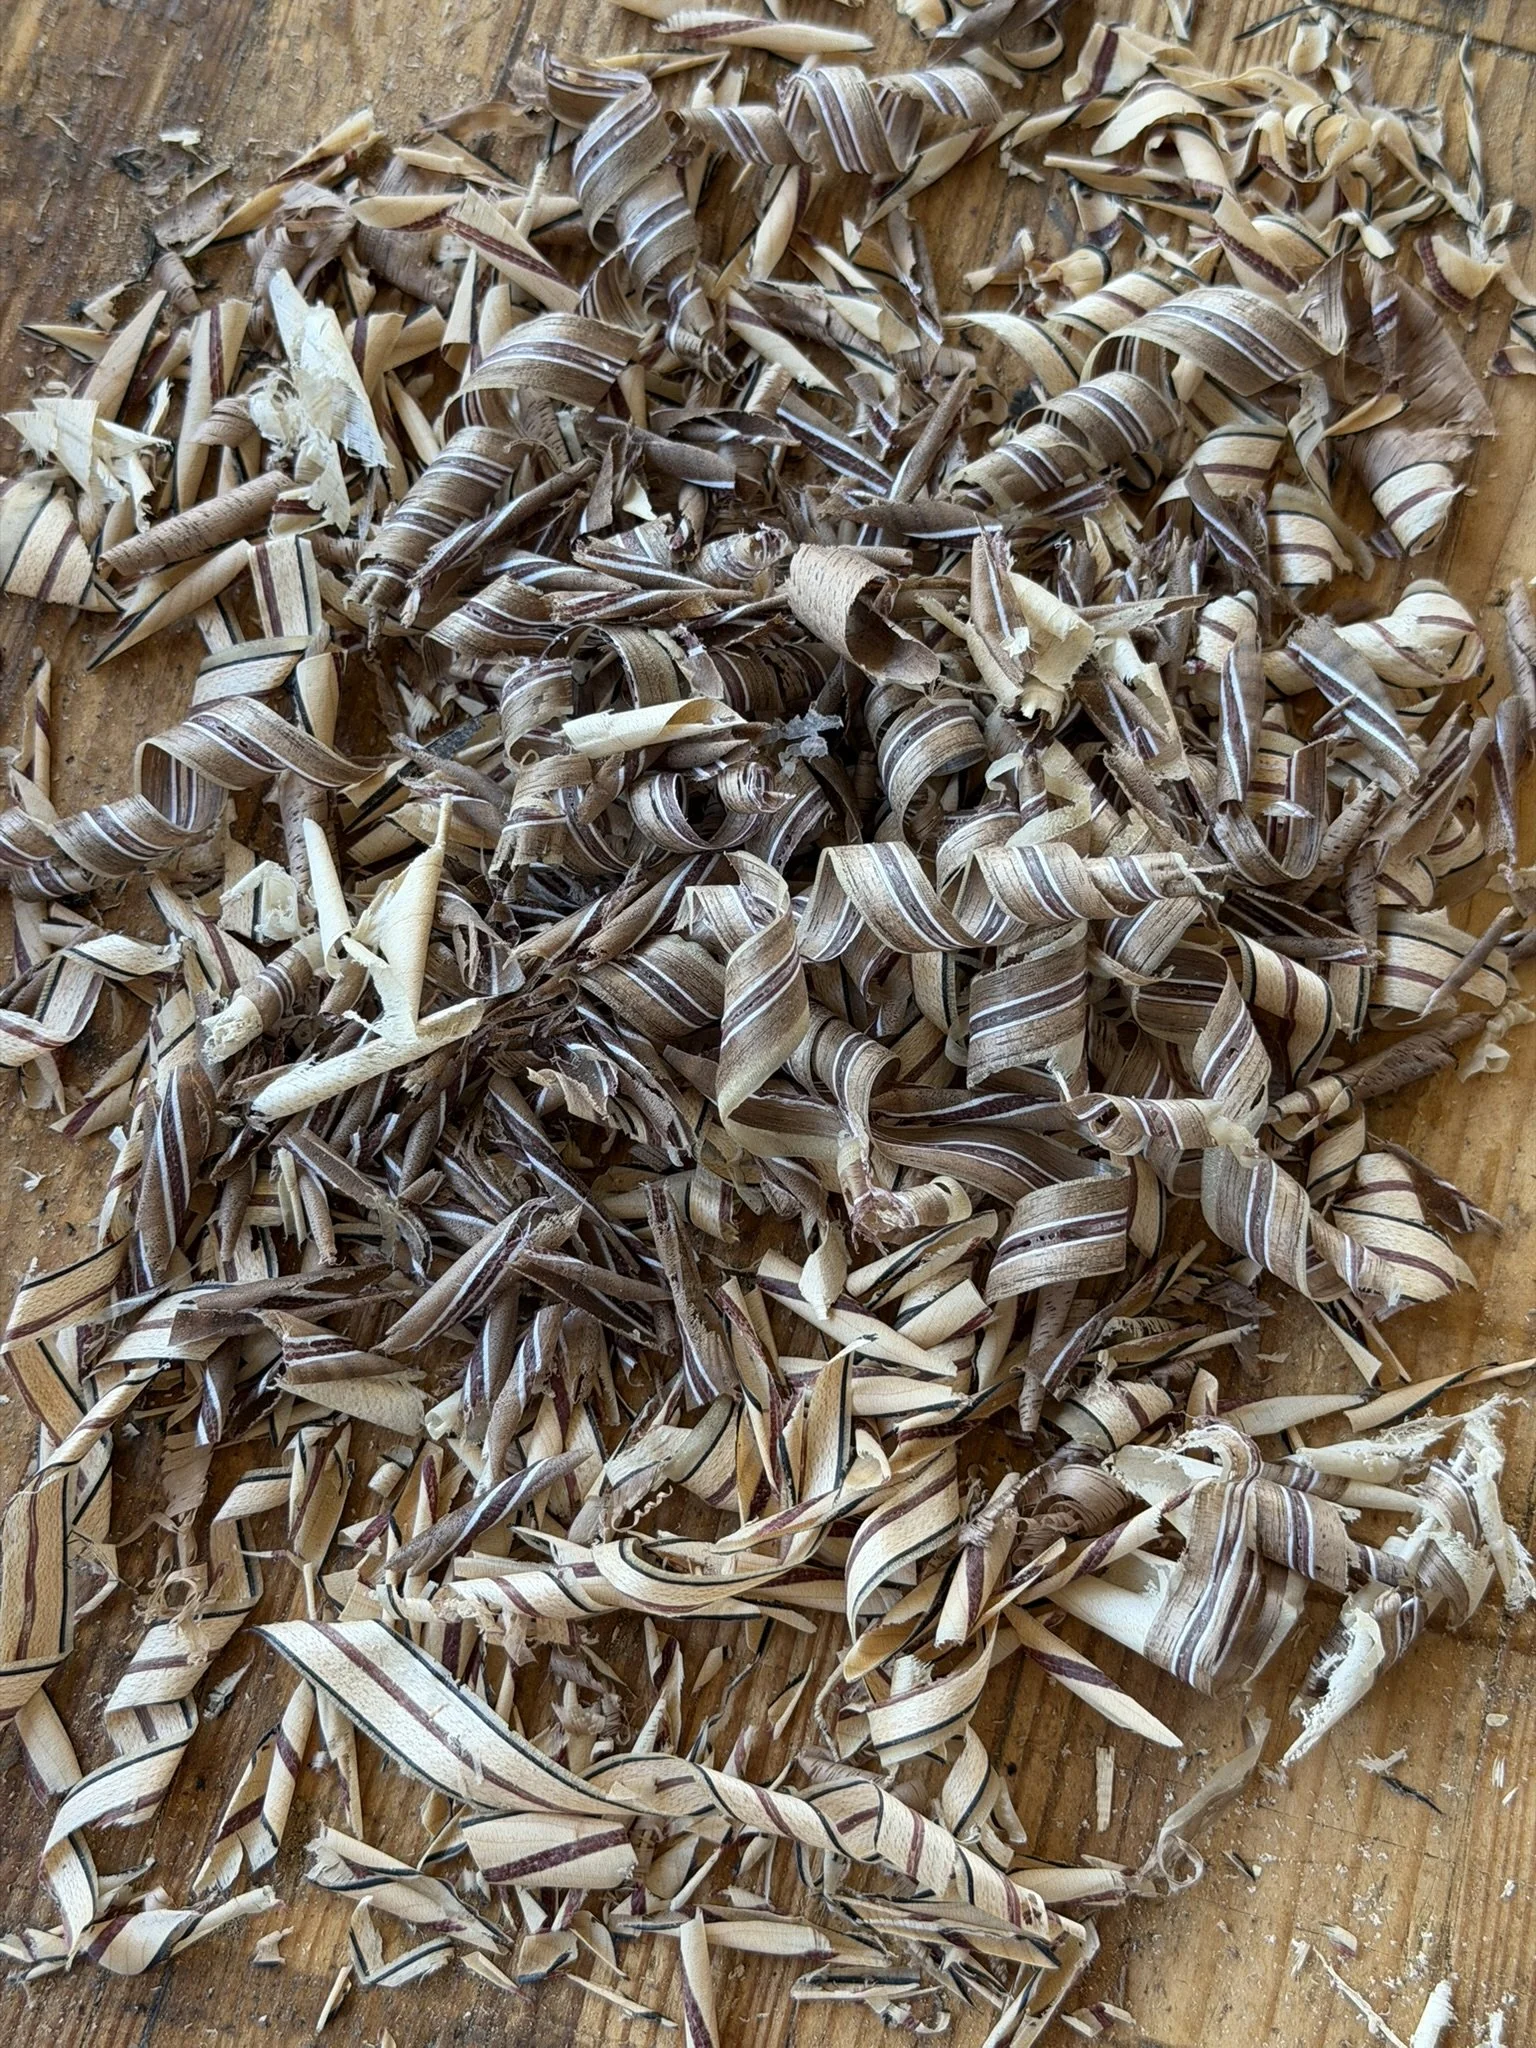
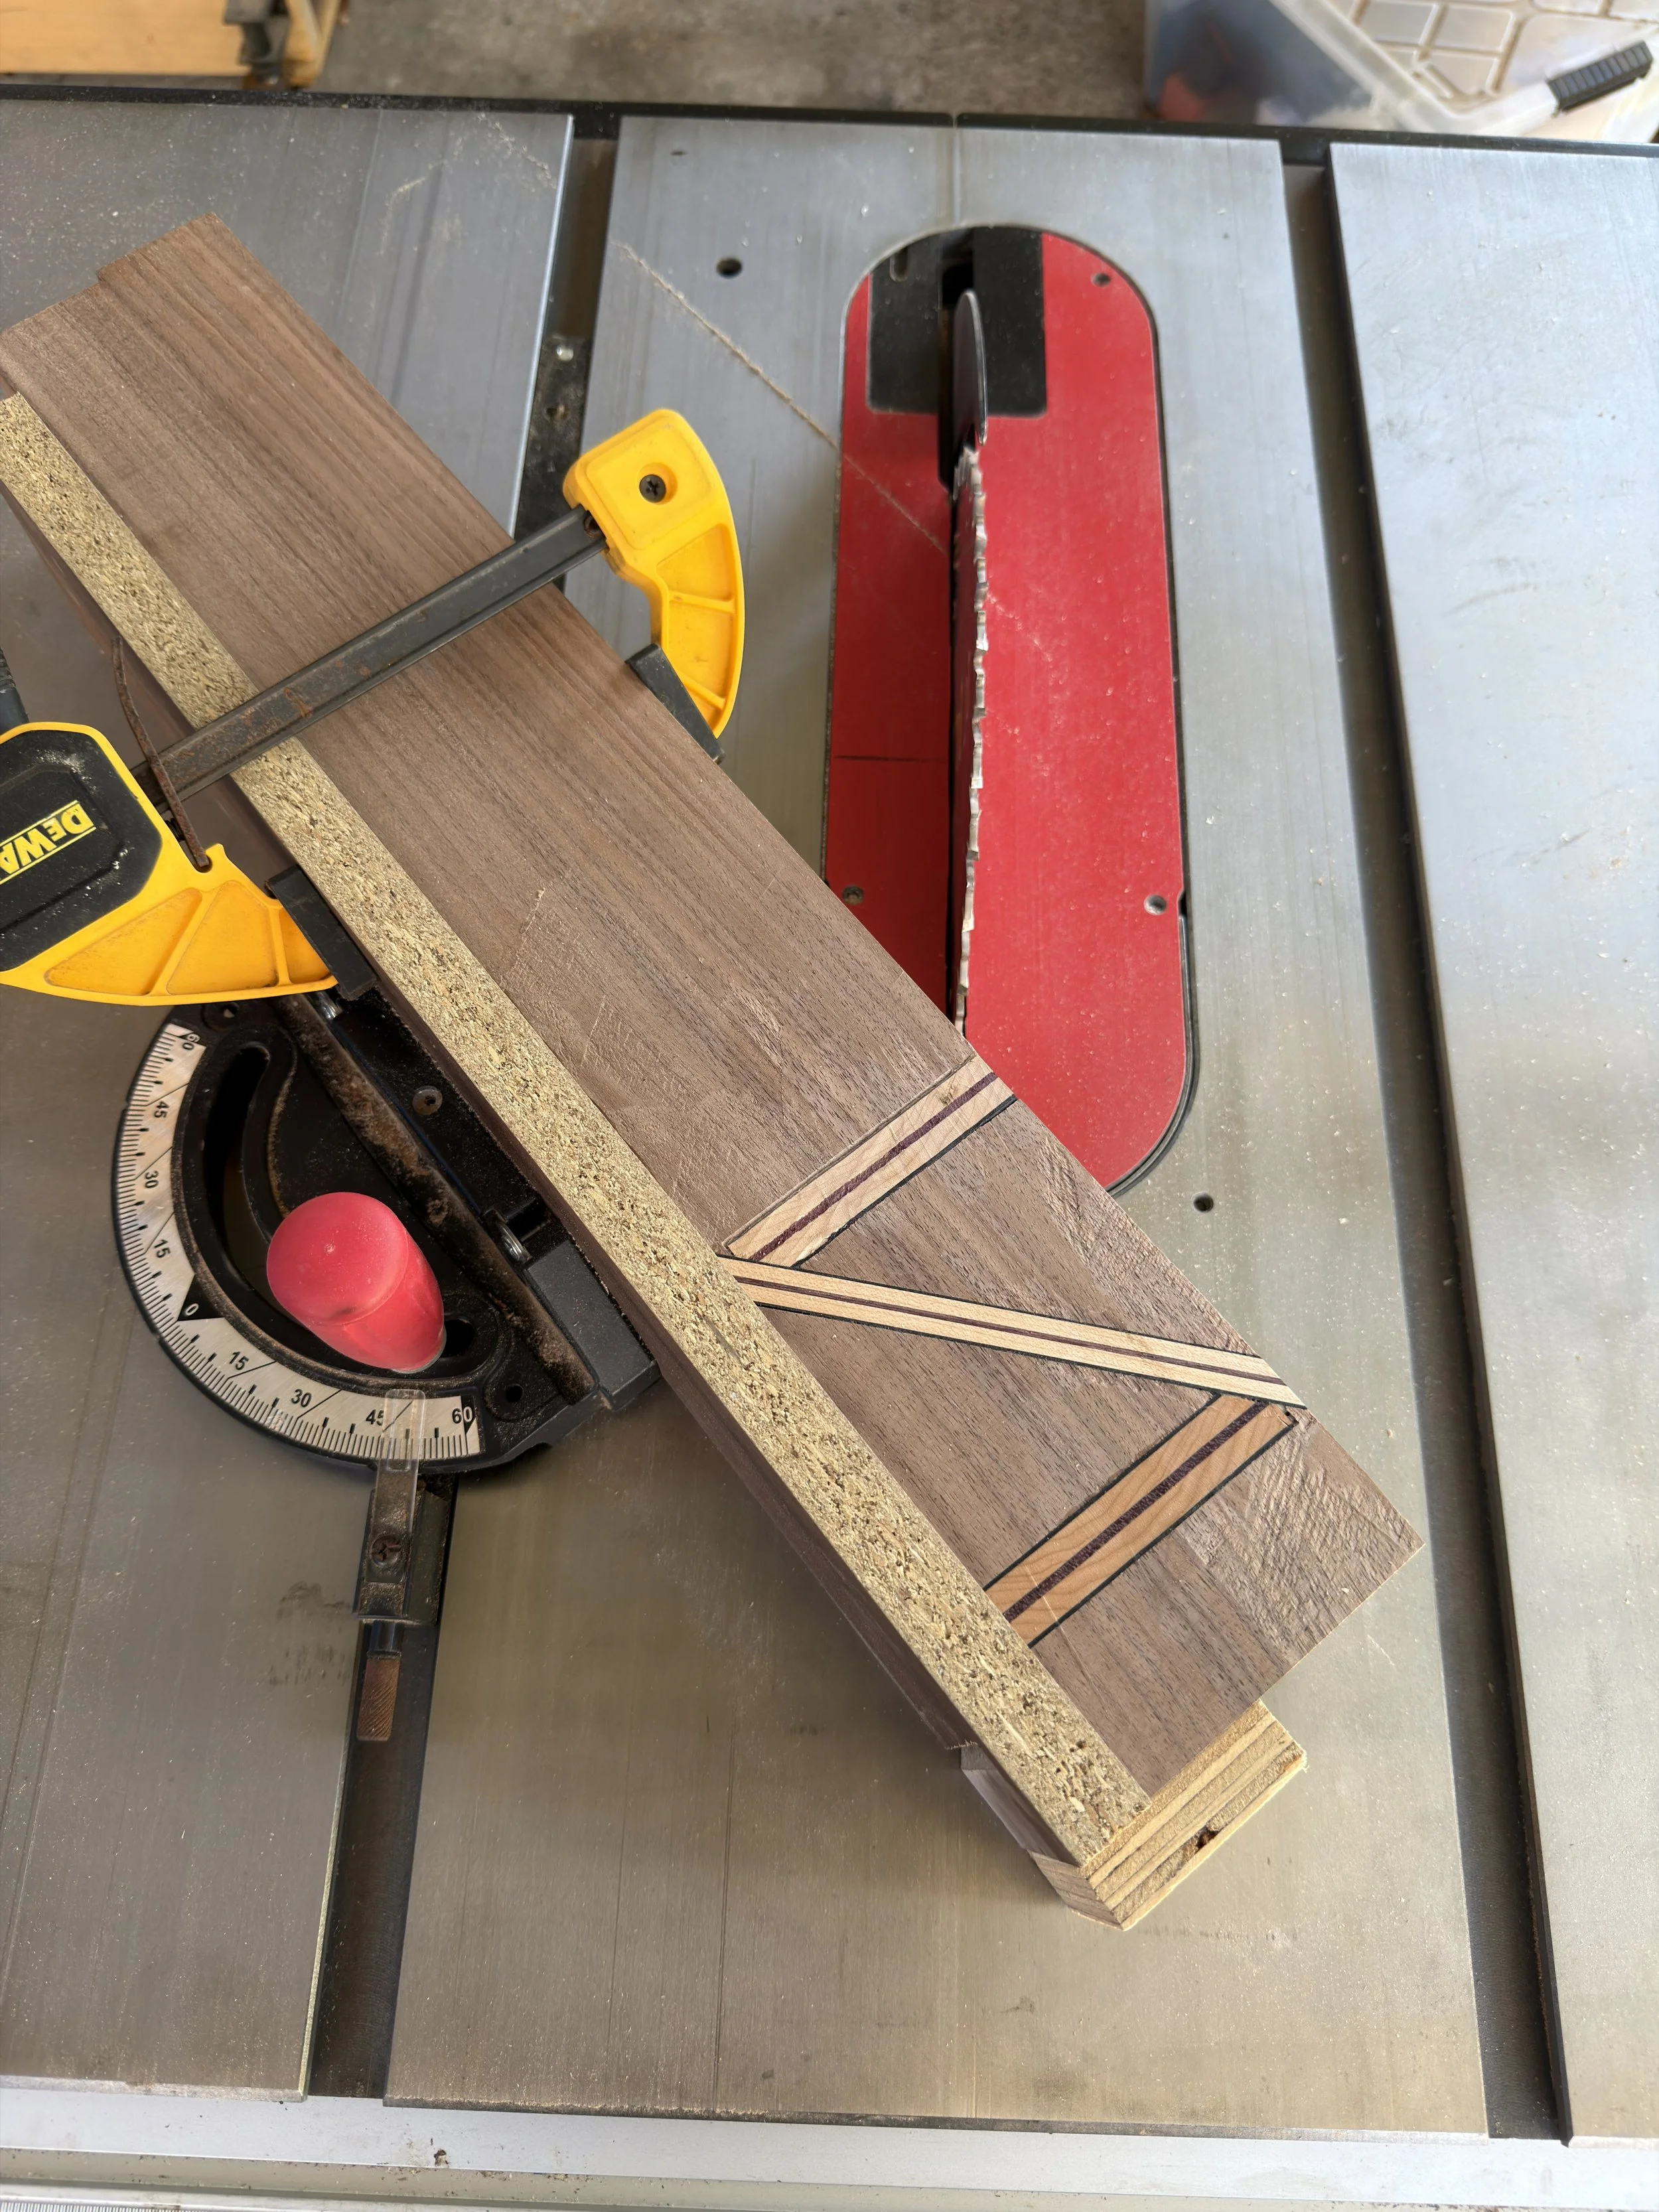
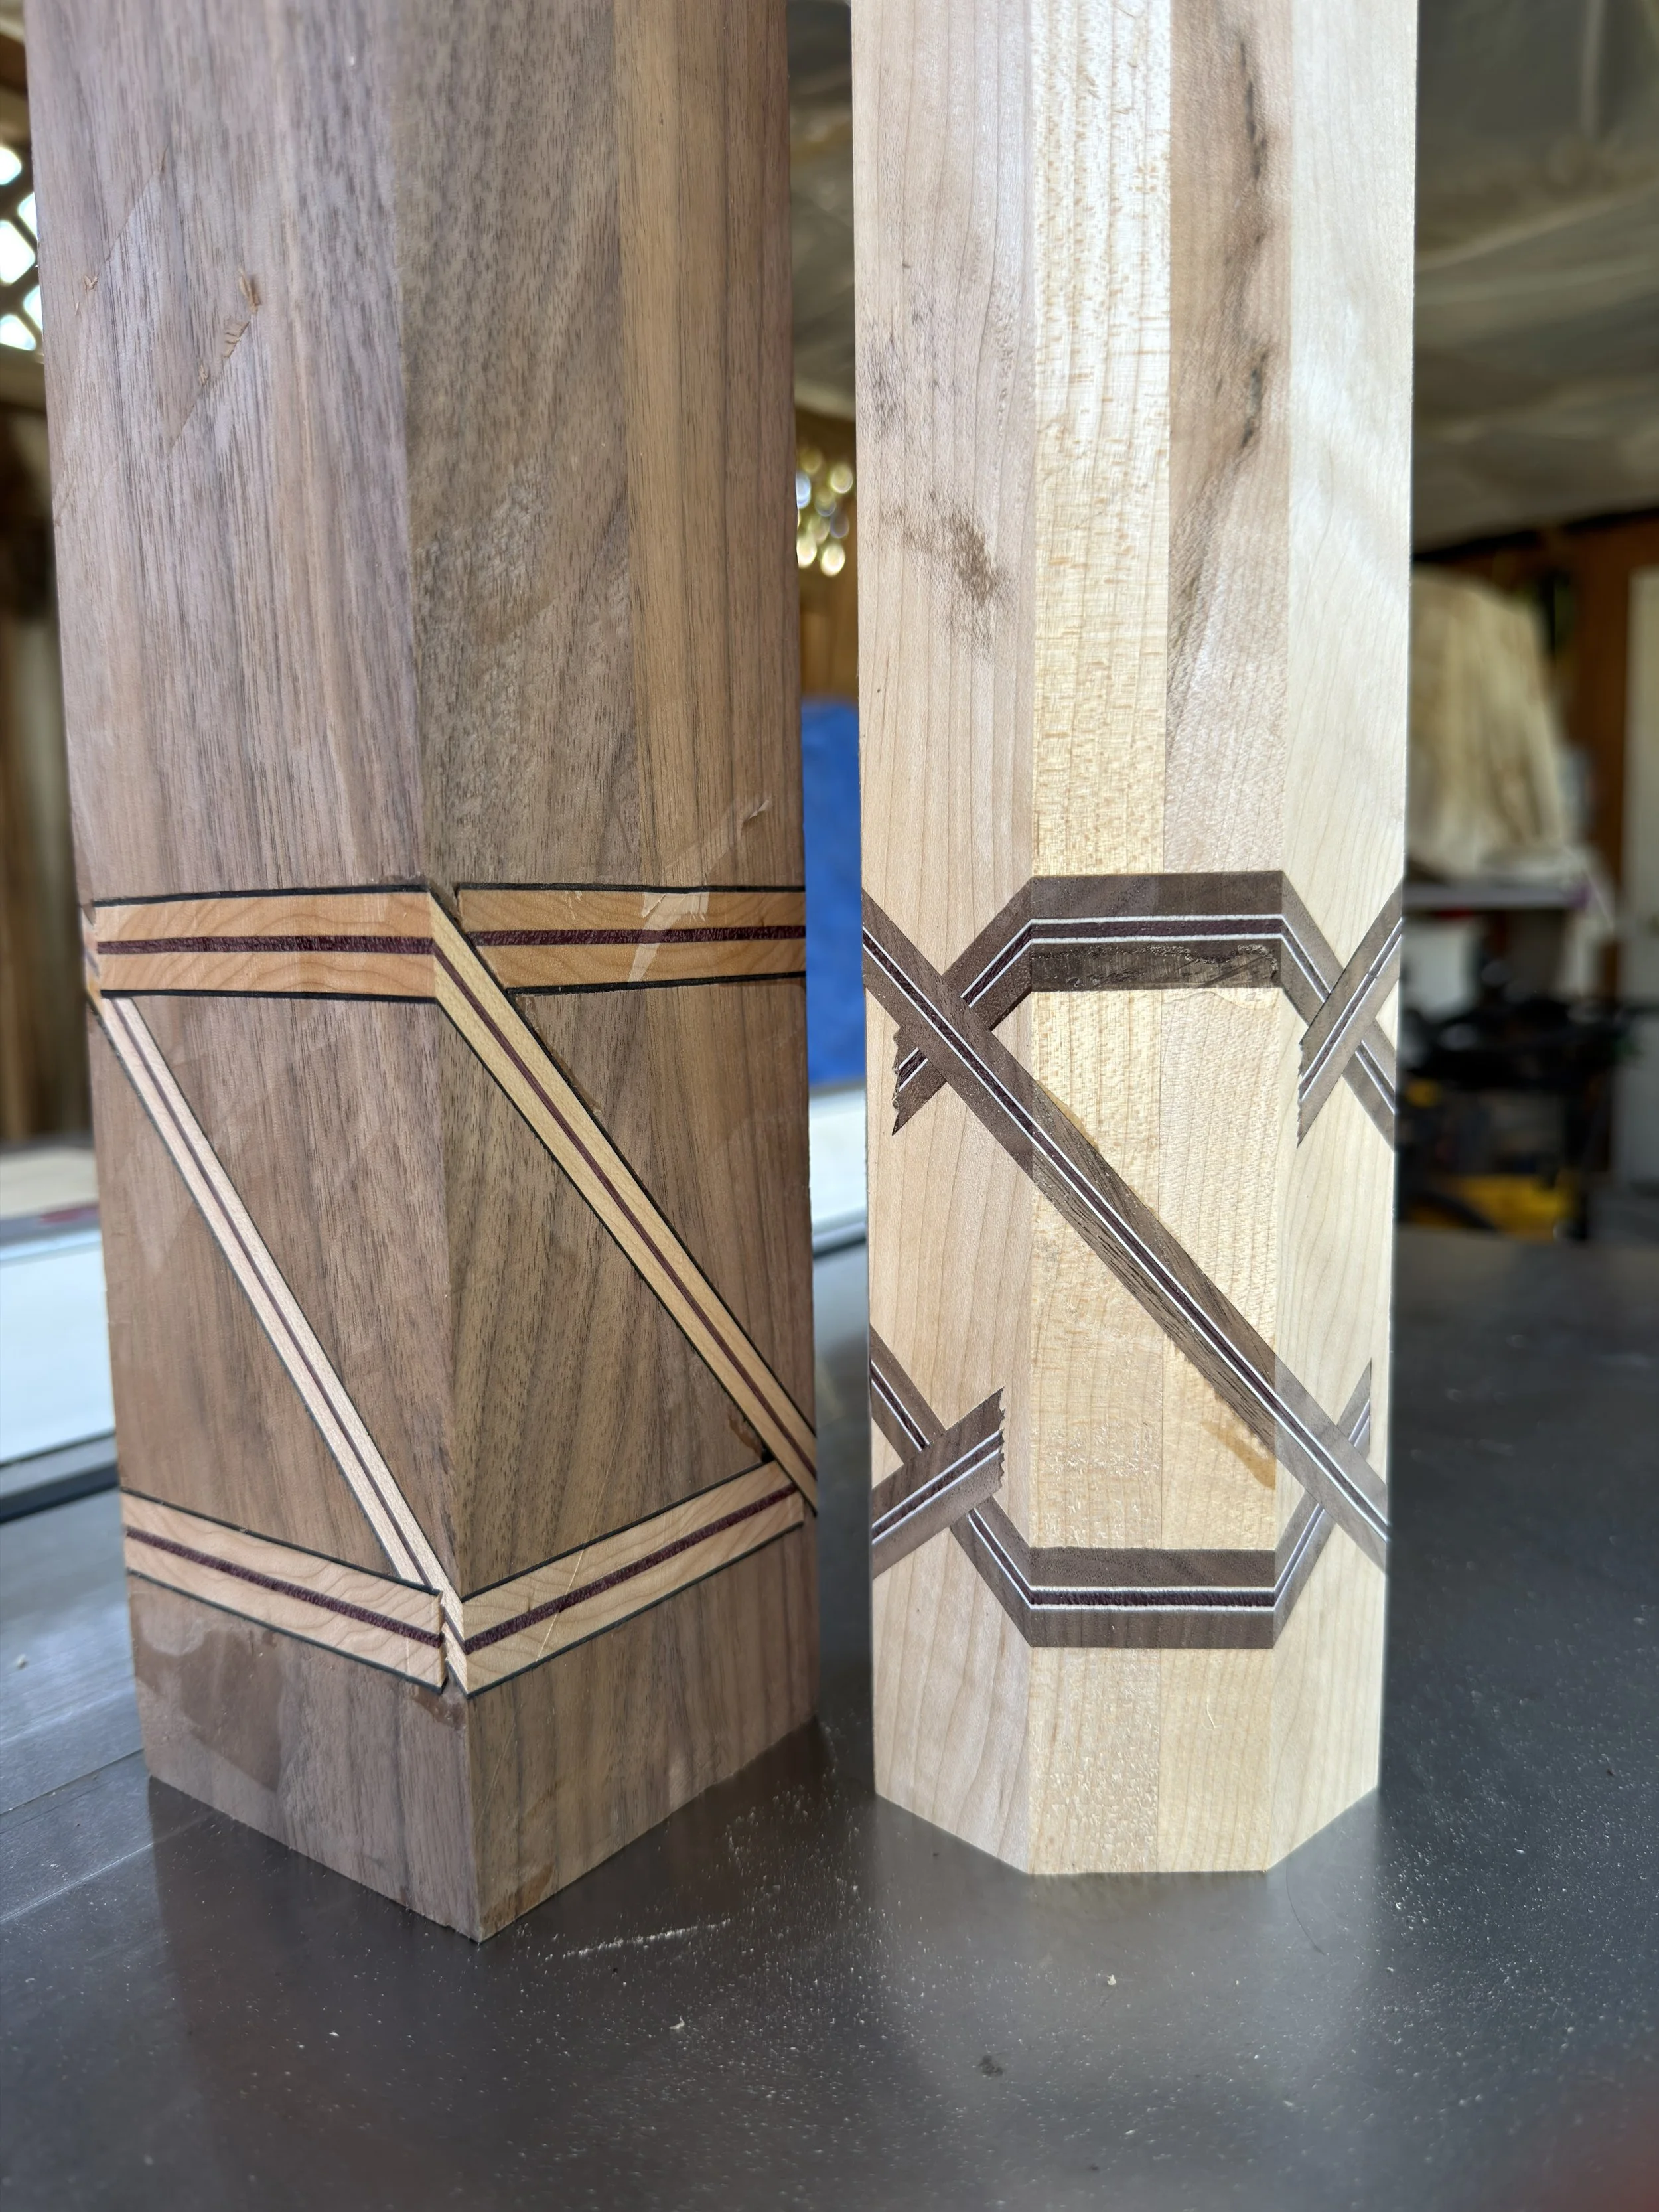
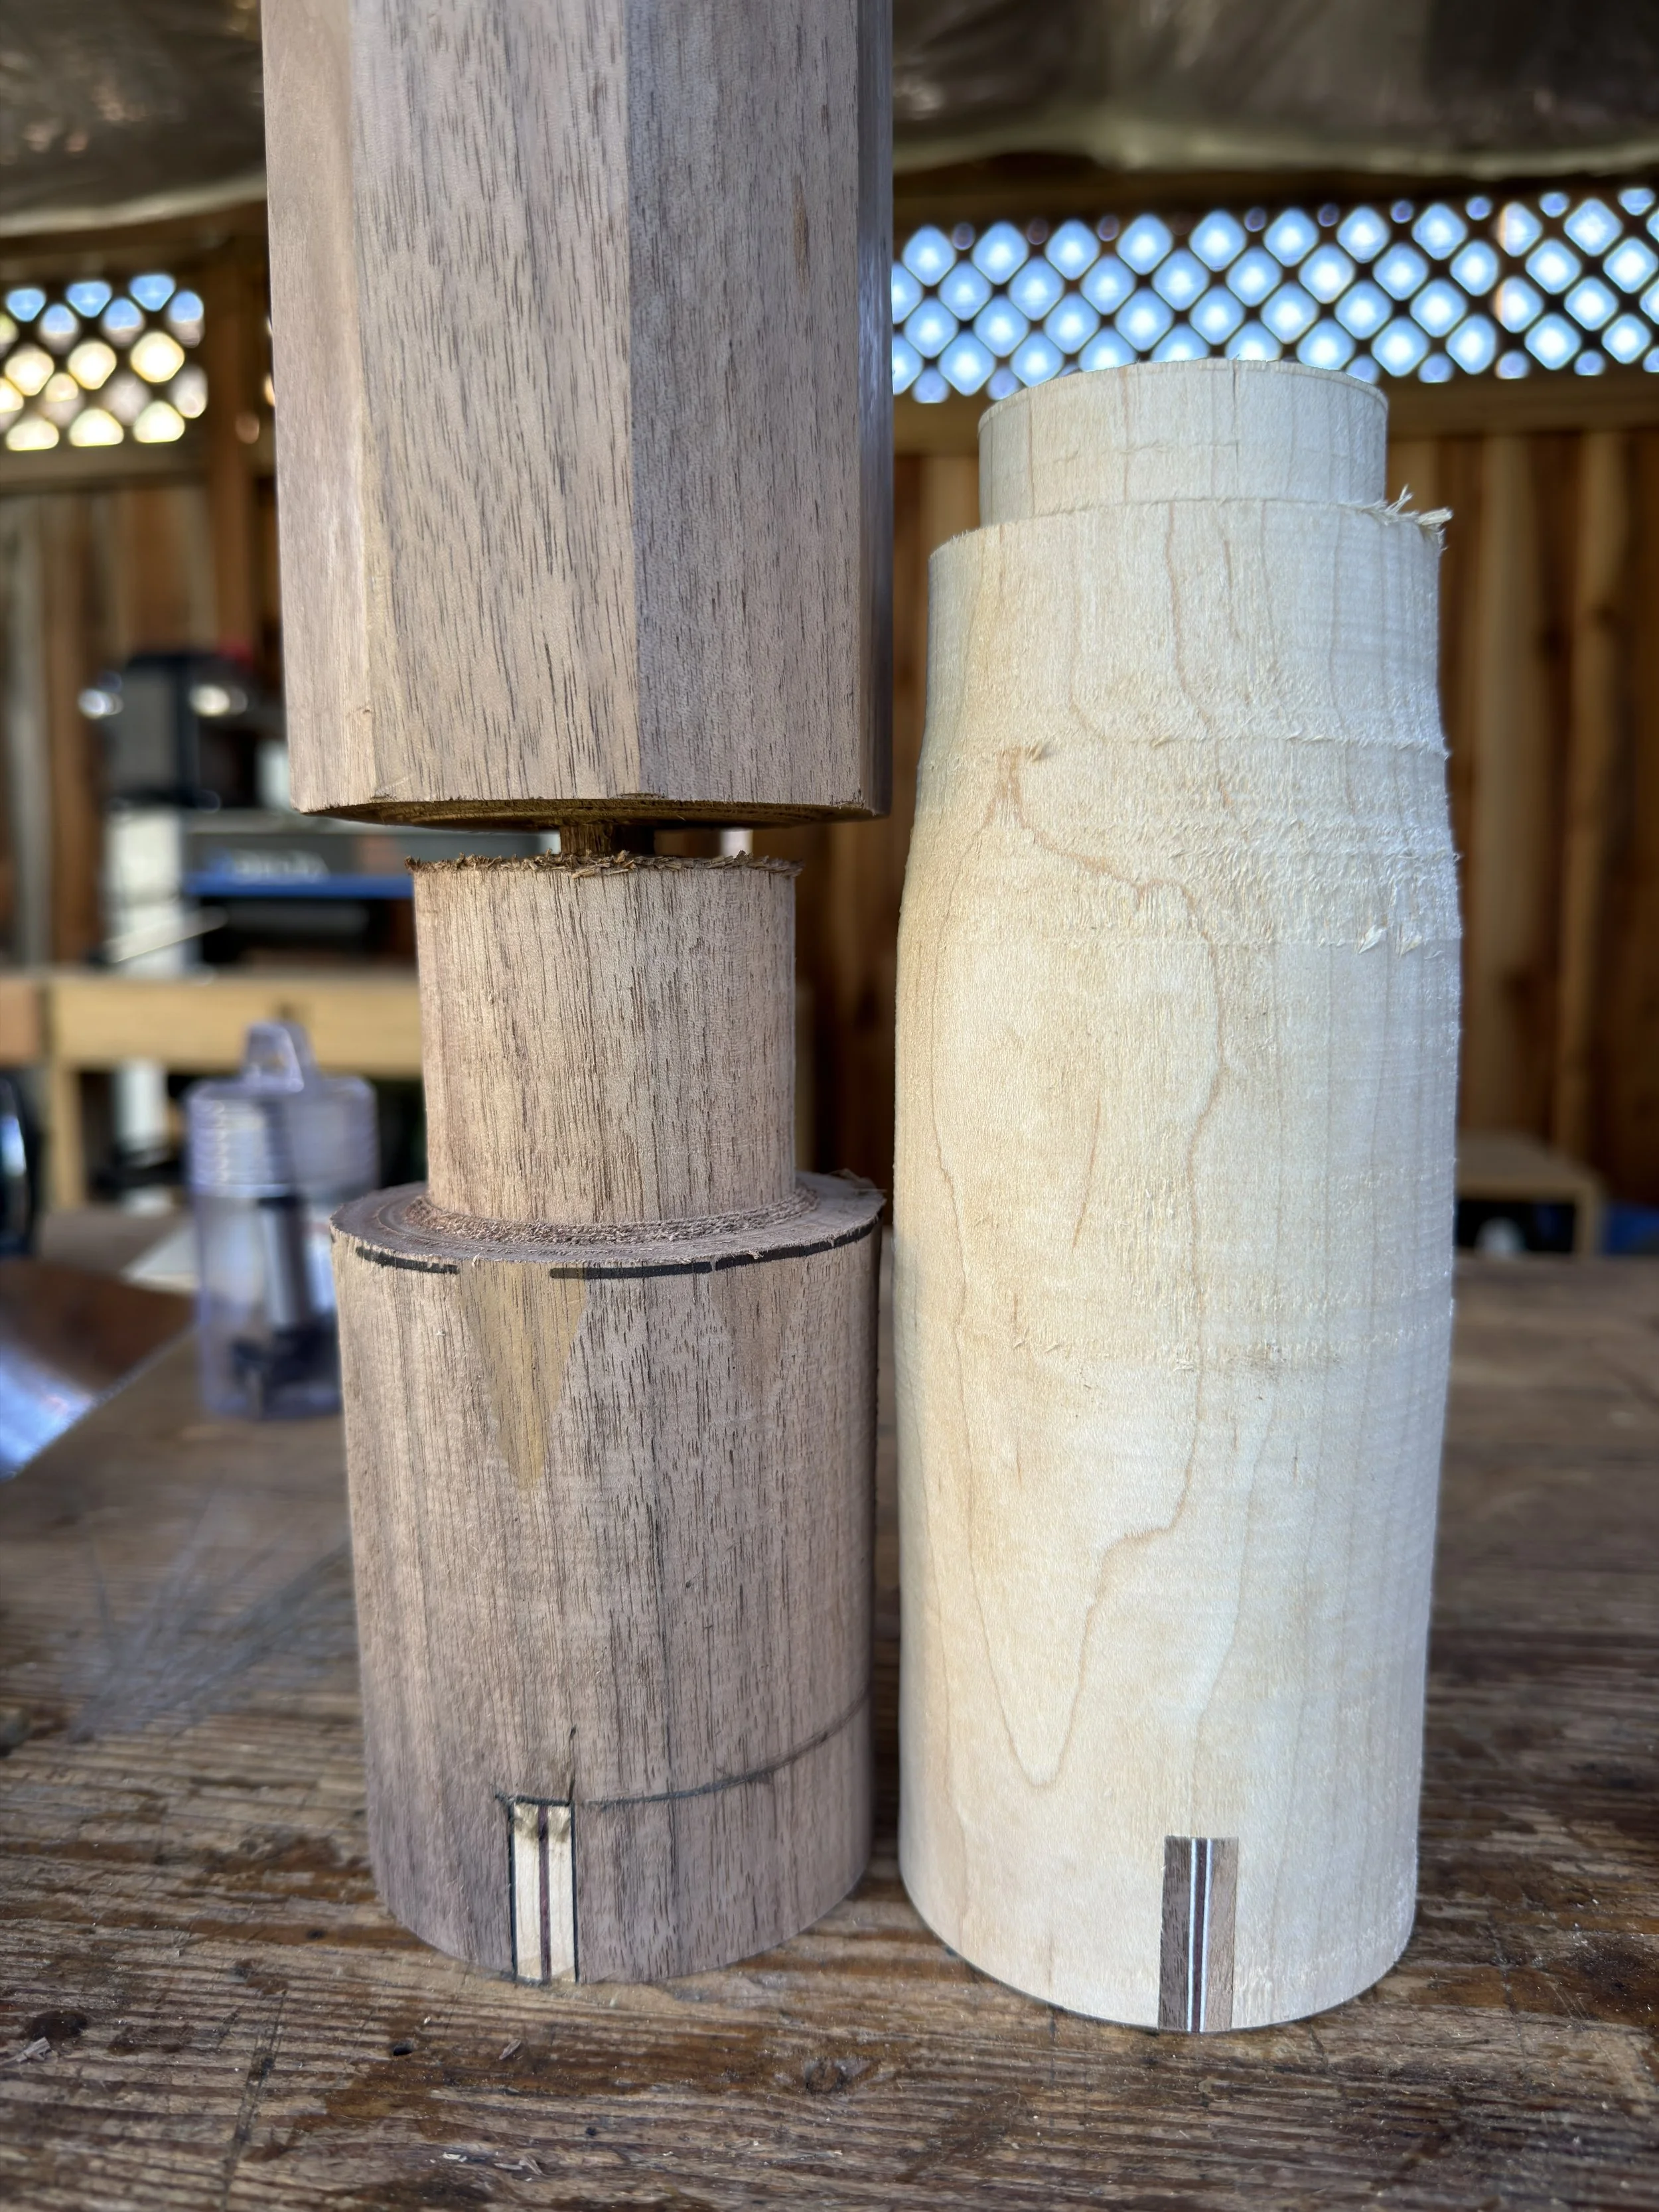
The entire magic of this technique lies in the next step: getting the inlays into the big blocks of wood. I set up a small sled to hold the big blocks at an angle to the saw blade and at a set distance. This is important so that each inlay cut starts the same. The blade did not go all the way through the block of wood, leaving a little bit holding the 2 sides together. This makes it so nothing shifts around or mis-aligns during glue up but also meant those cuts in the big blocks needed to perfectly match the width of the inlay to get that perfect fit. It took about 3 full width passes to get most of that cut done, and then another 5~10 passes where I barely removed anything so that I could sneak in on that perfect fit. Once things fit just right I’d glue in the inlay and move on to the second block and do it all again. I made sure to give glue a few hours to set before I cleaned up the bit of inlay that stuck out of the block of wood before I put it back in my sled, rotated it a set amount, and started the process yet again.
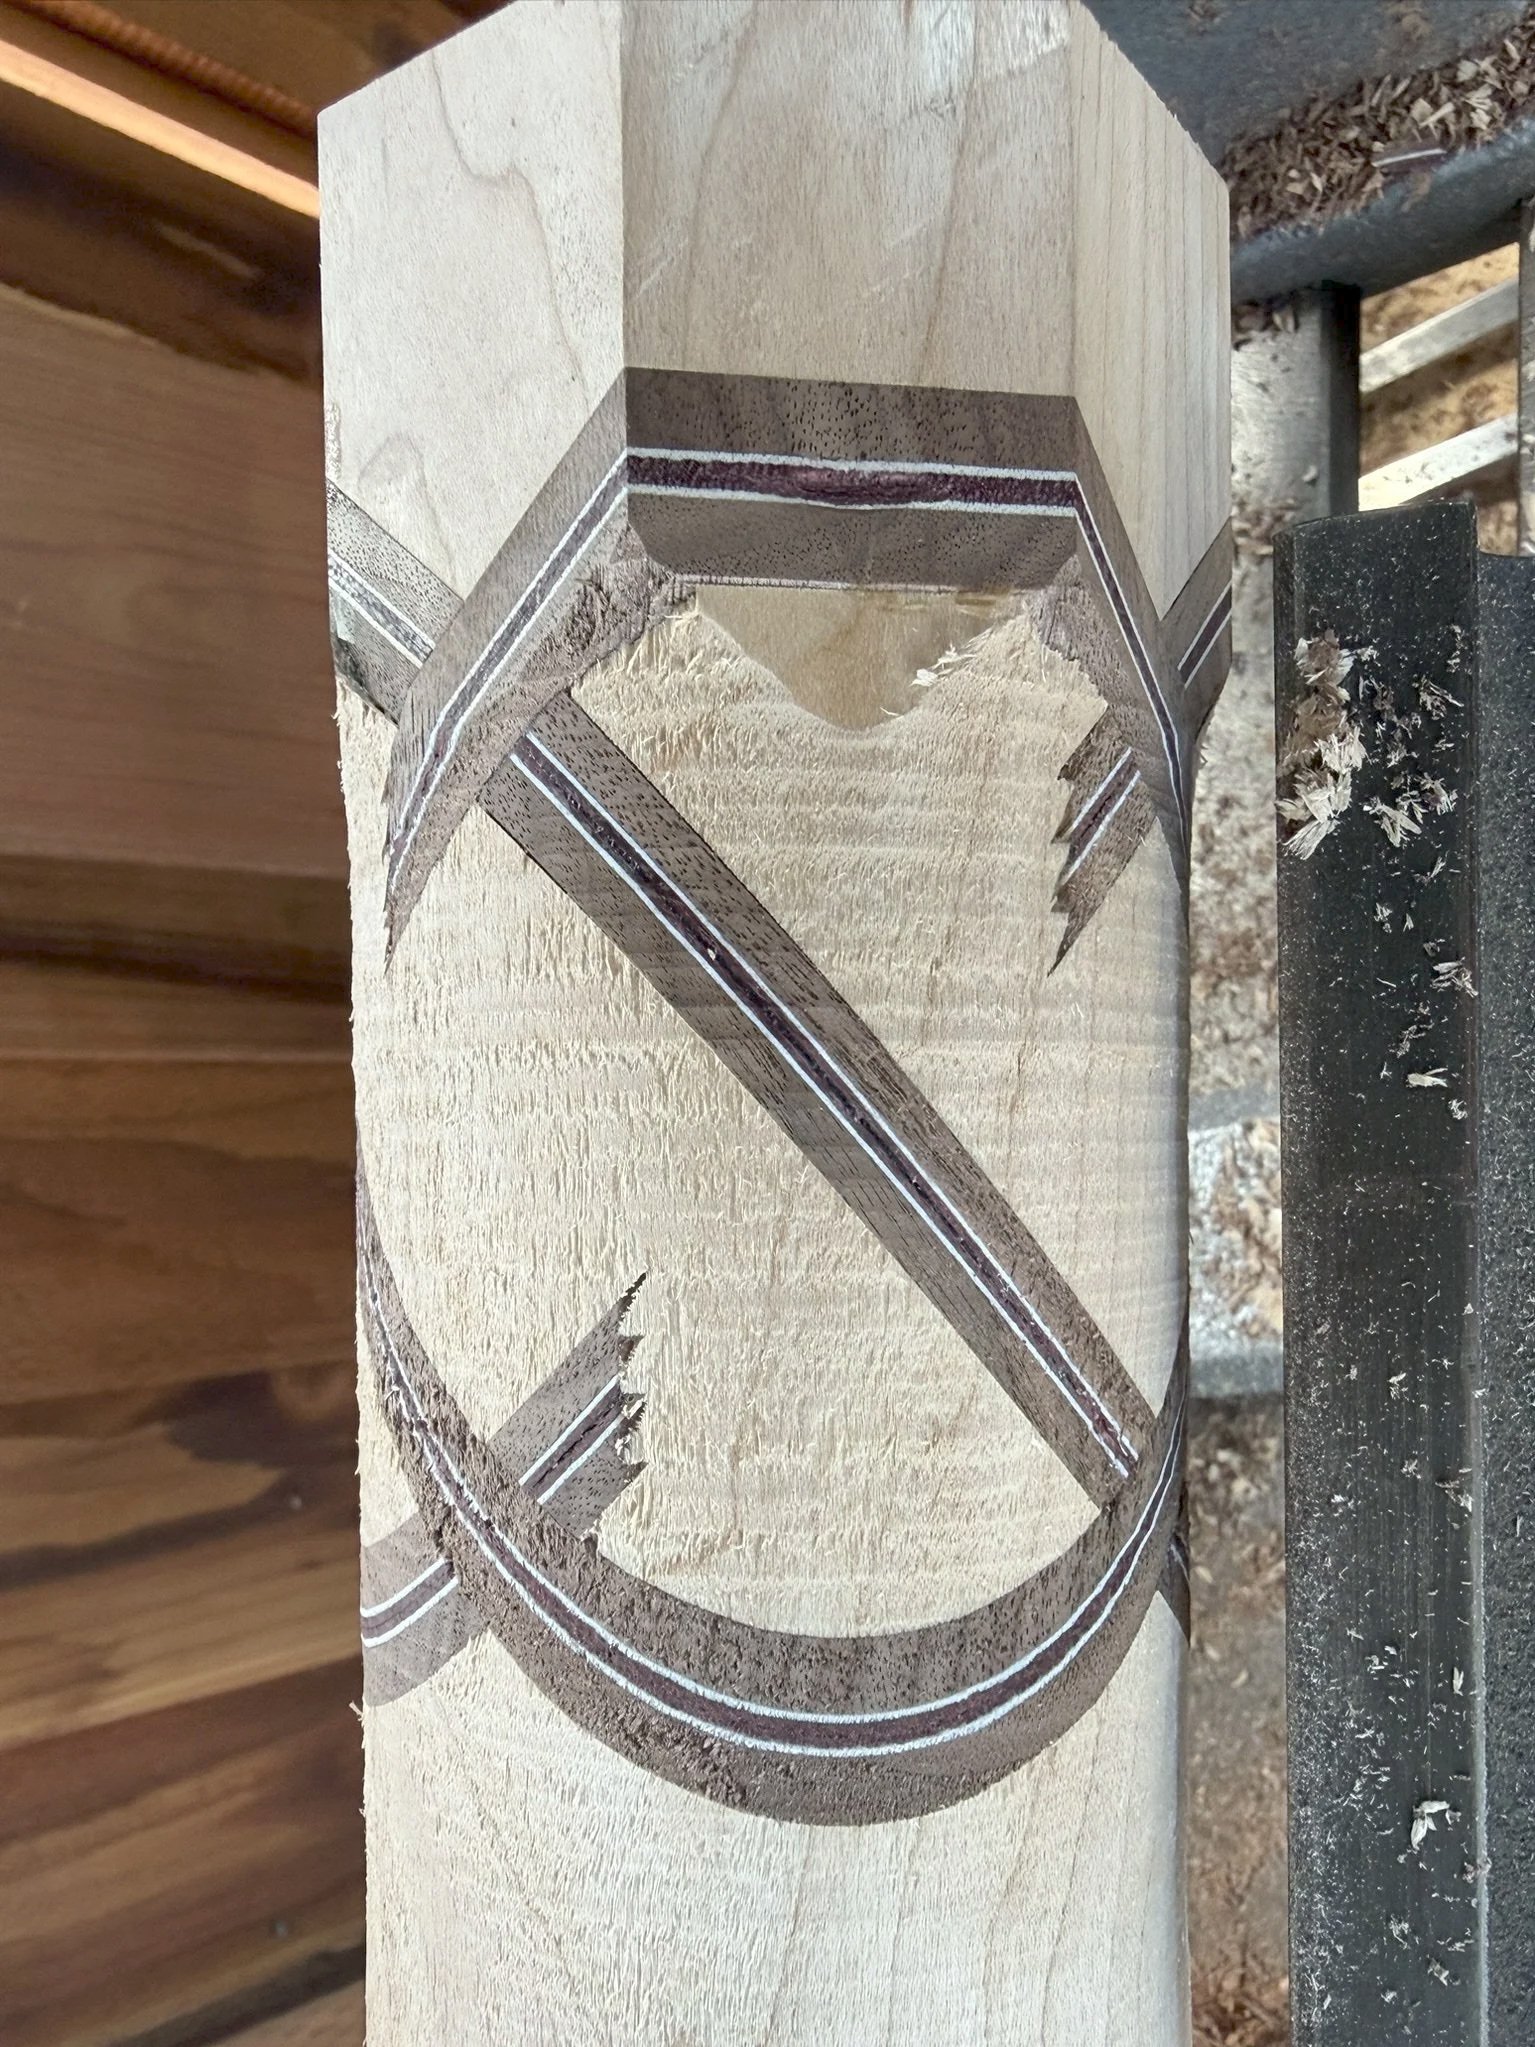
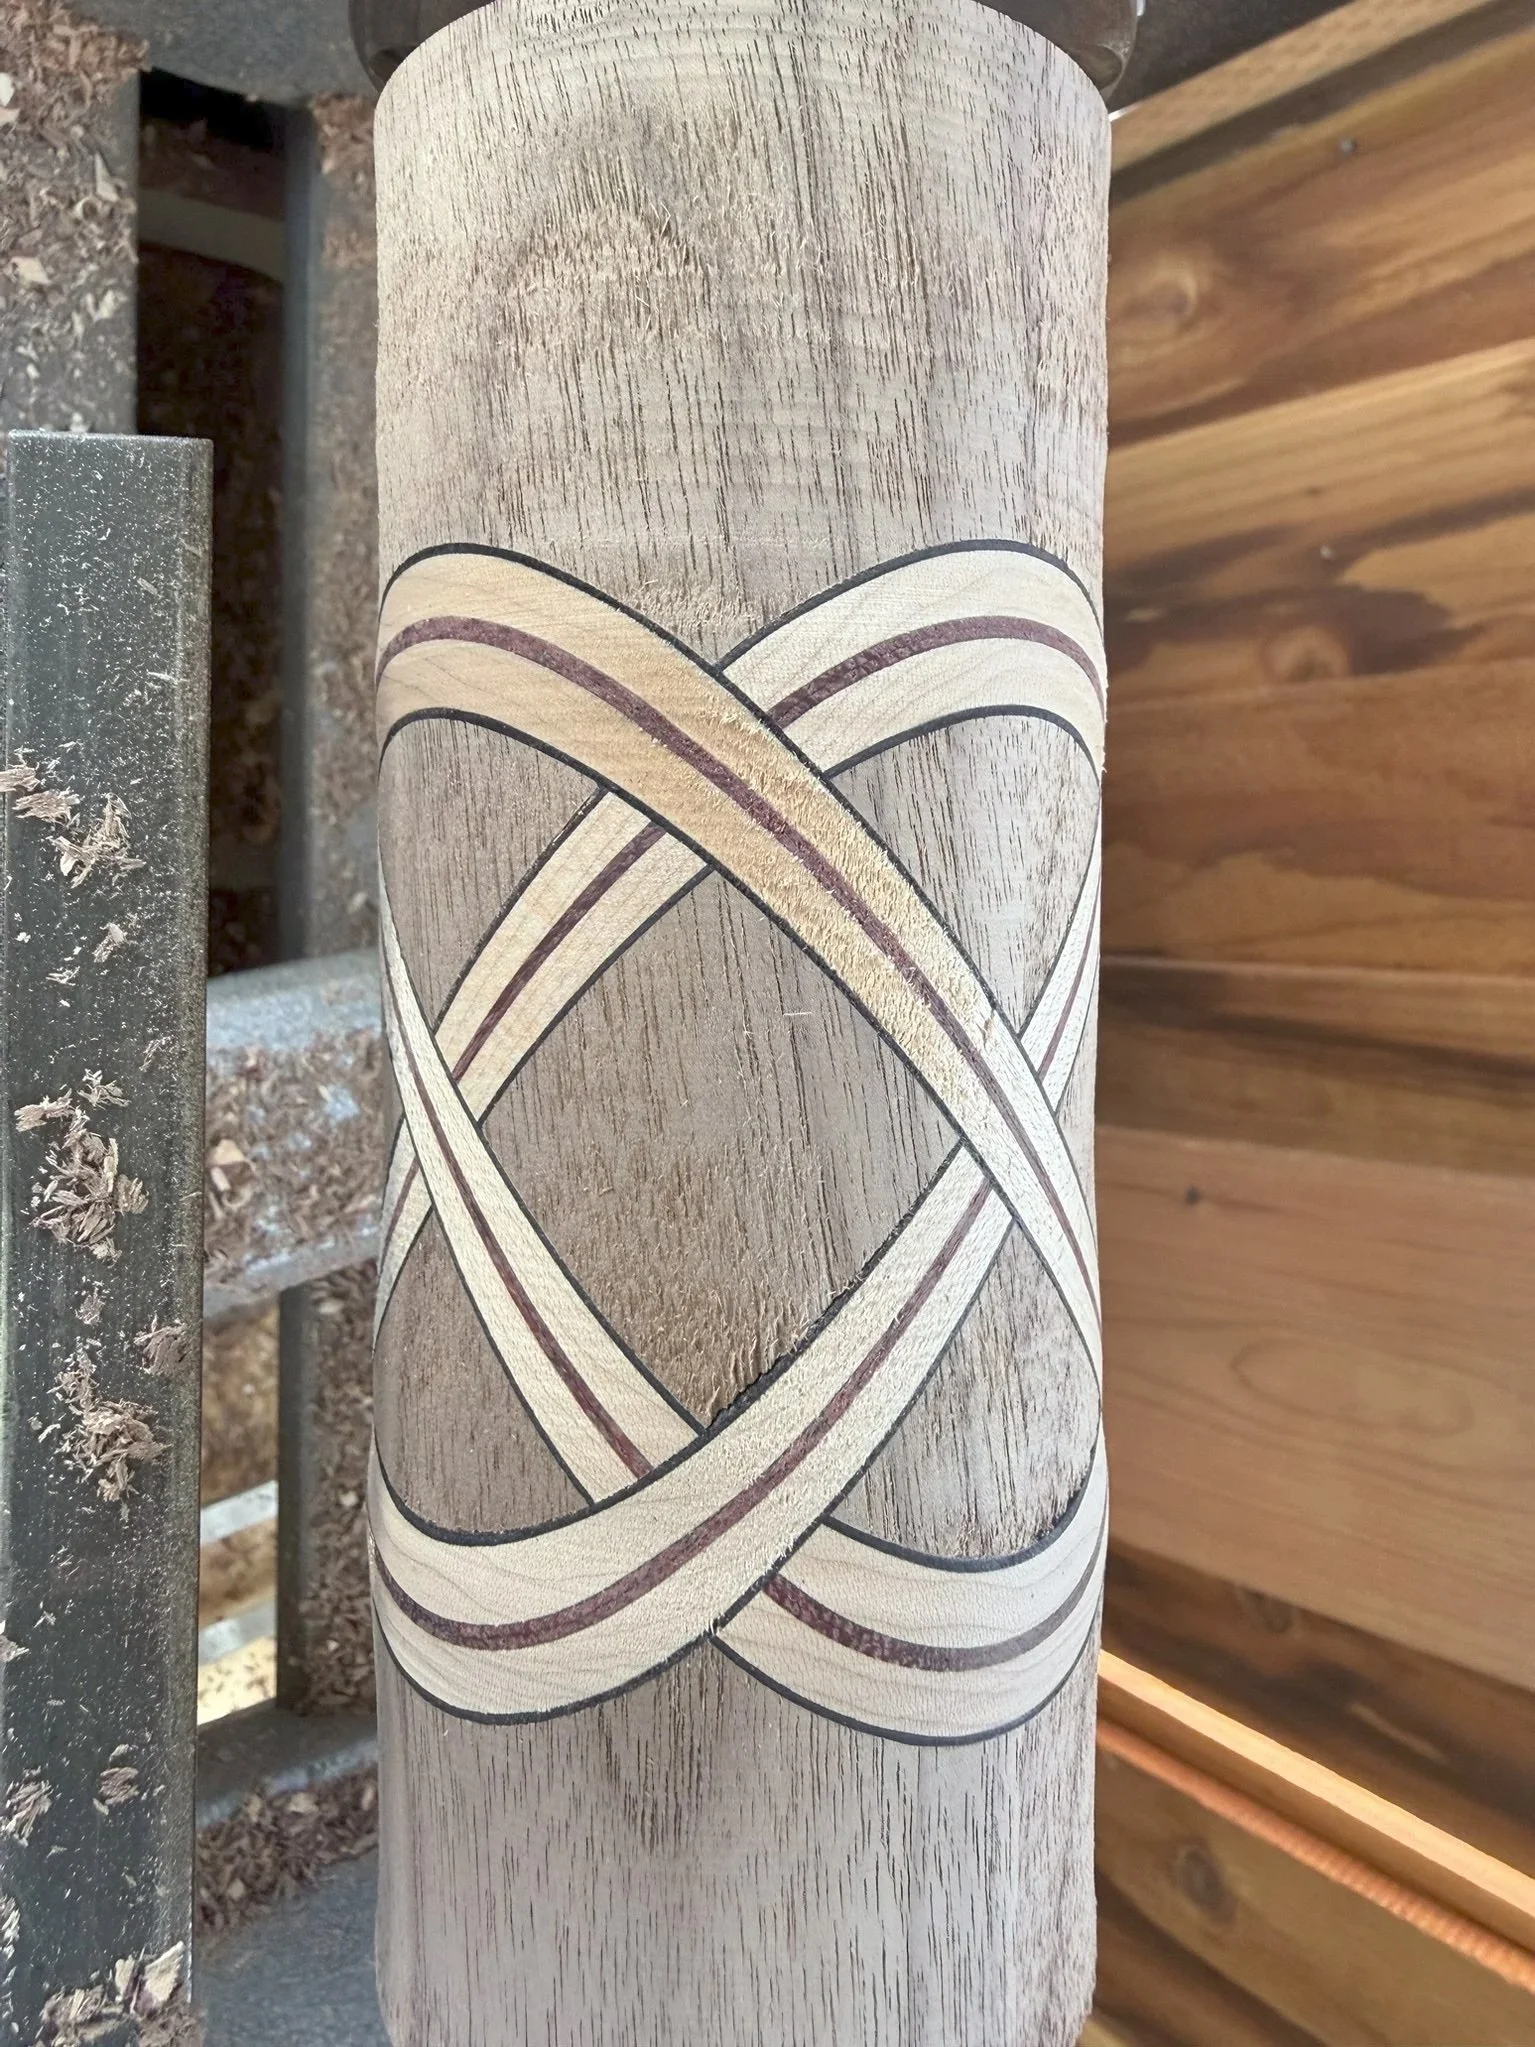
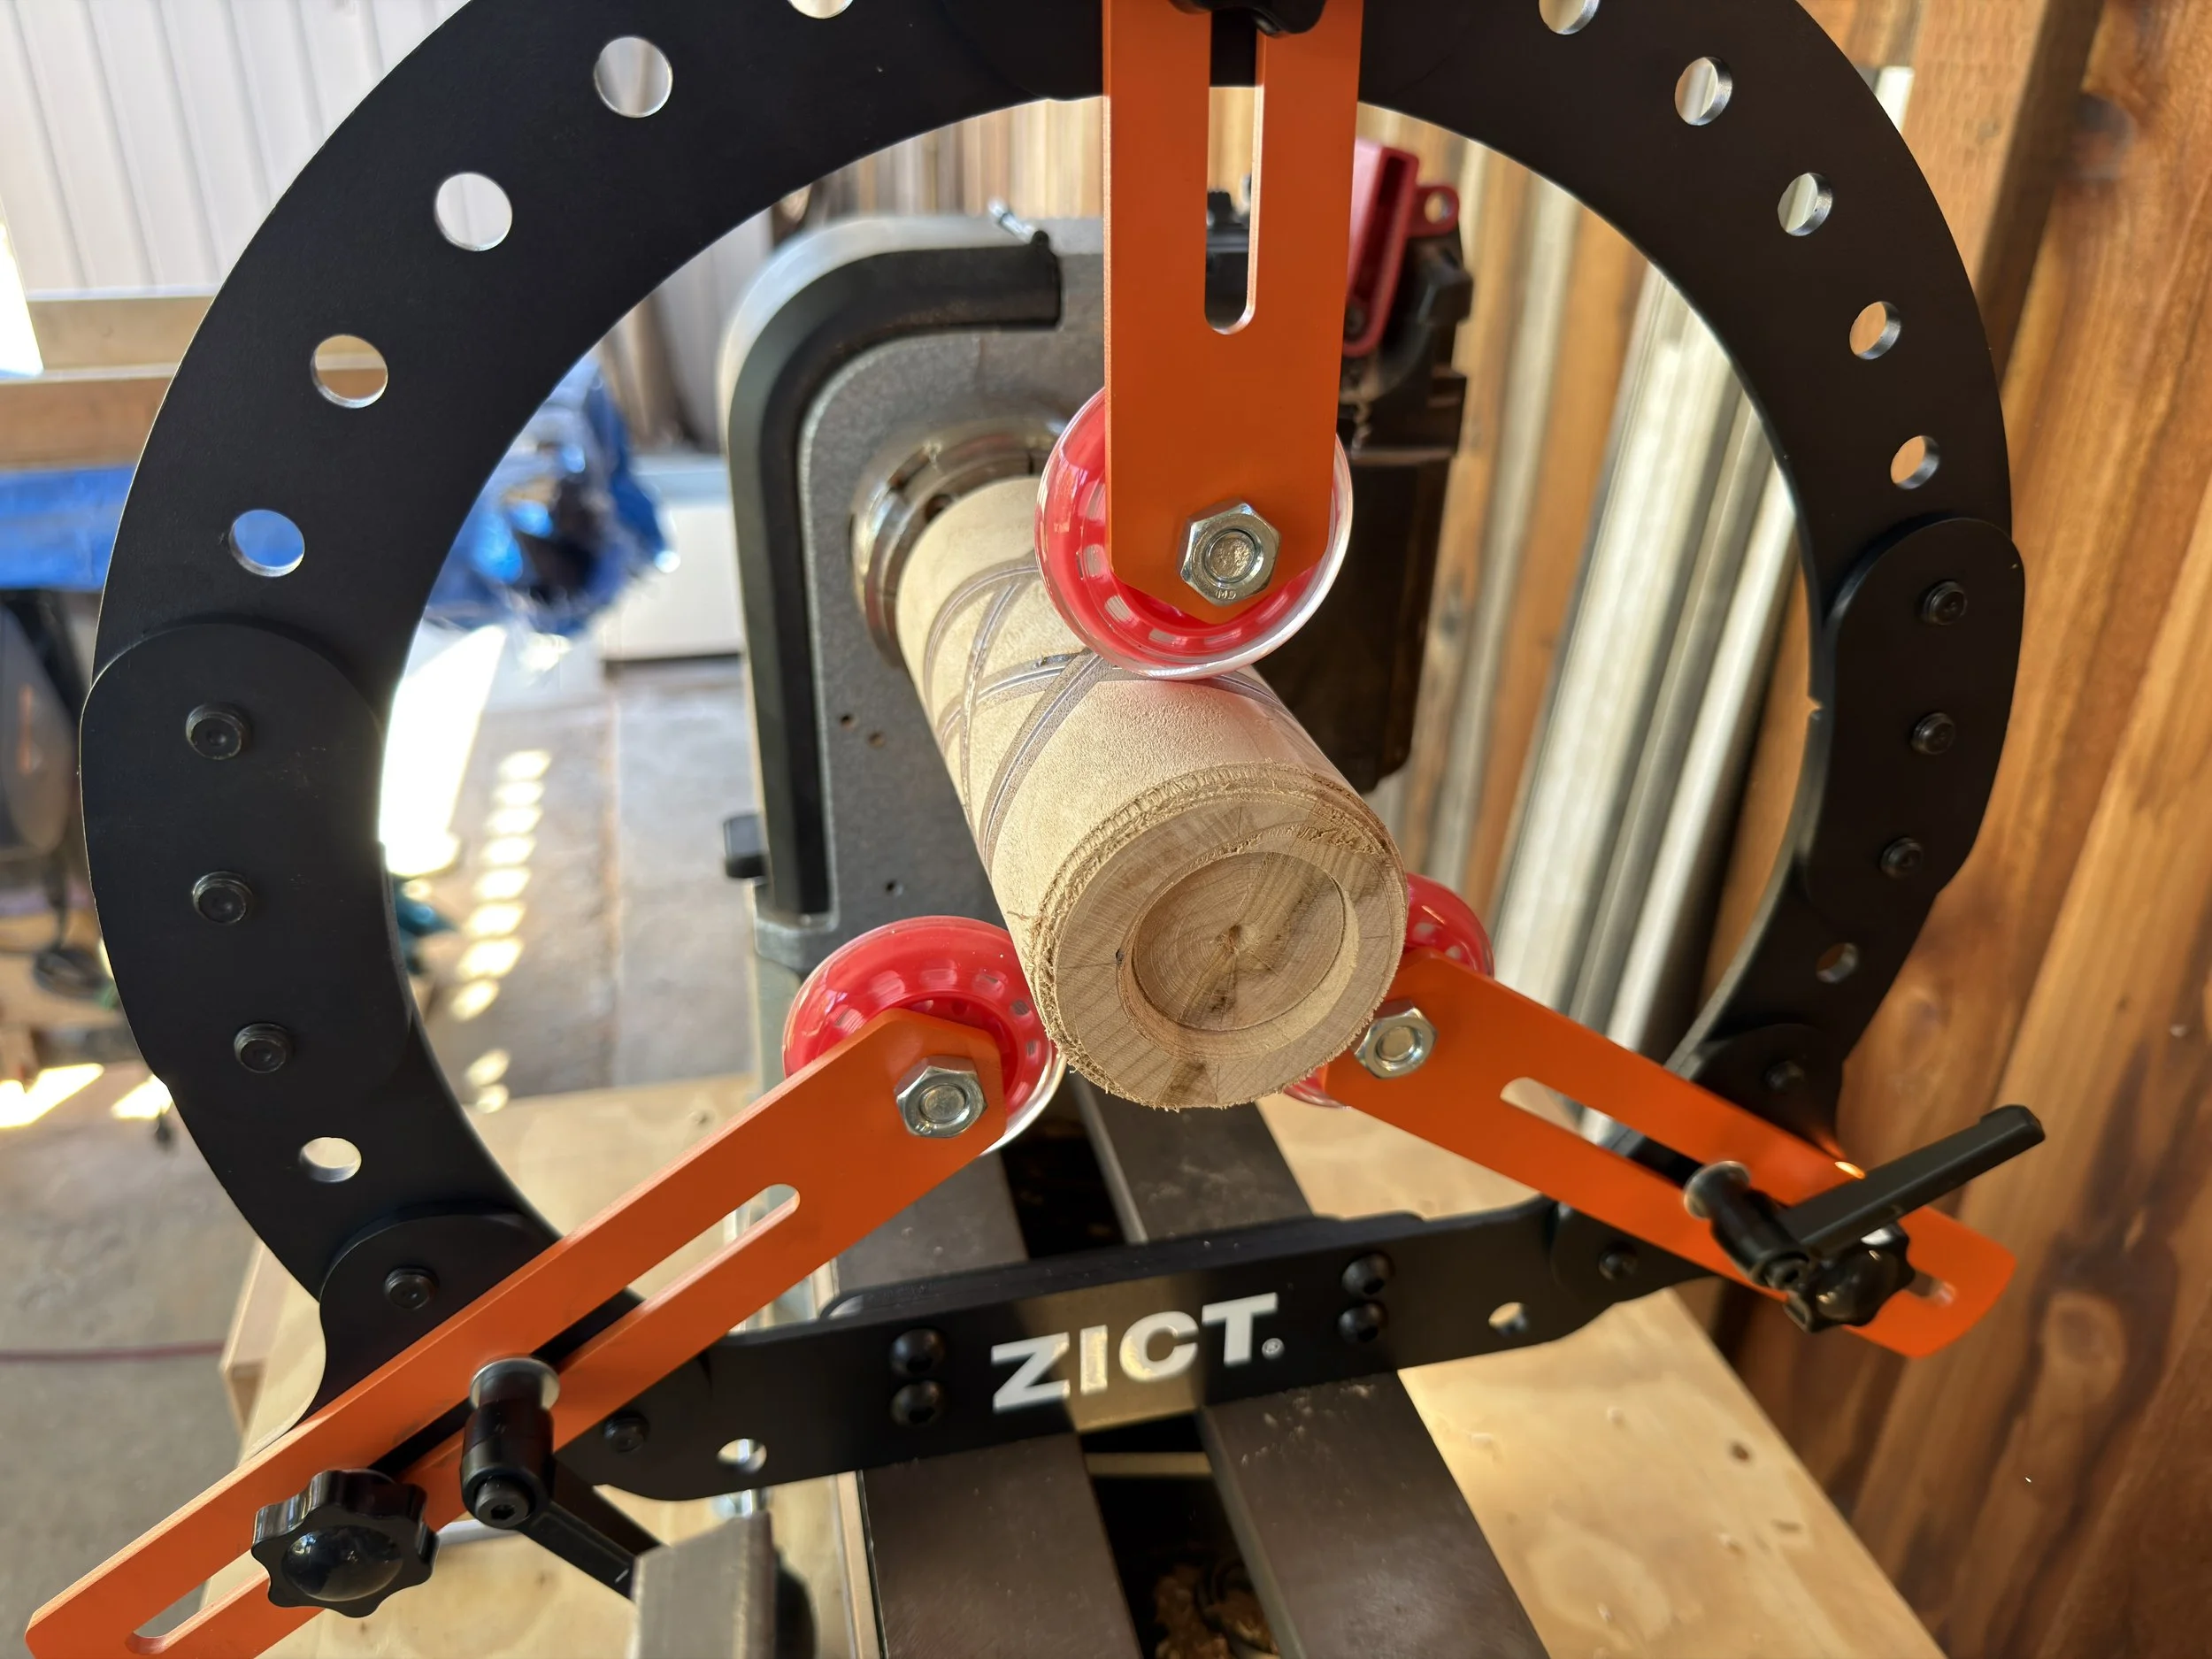
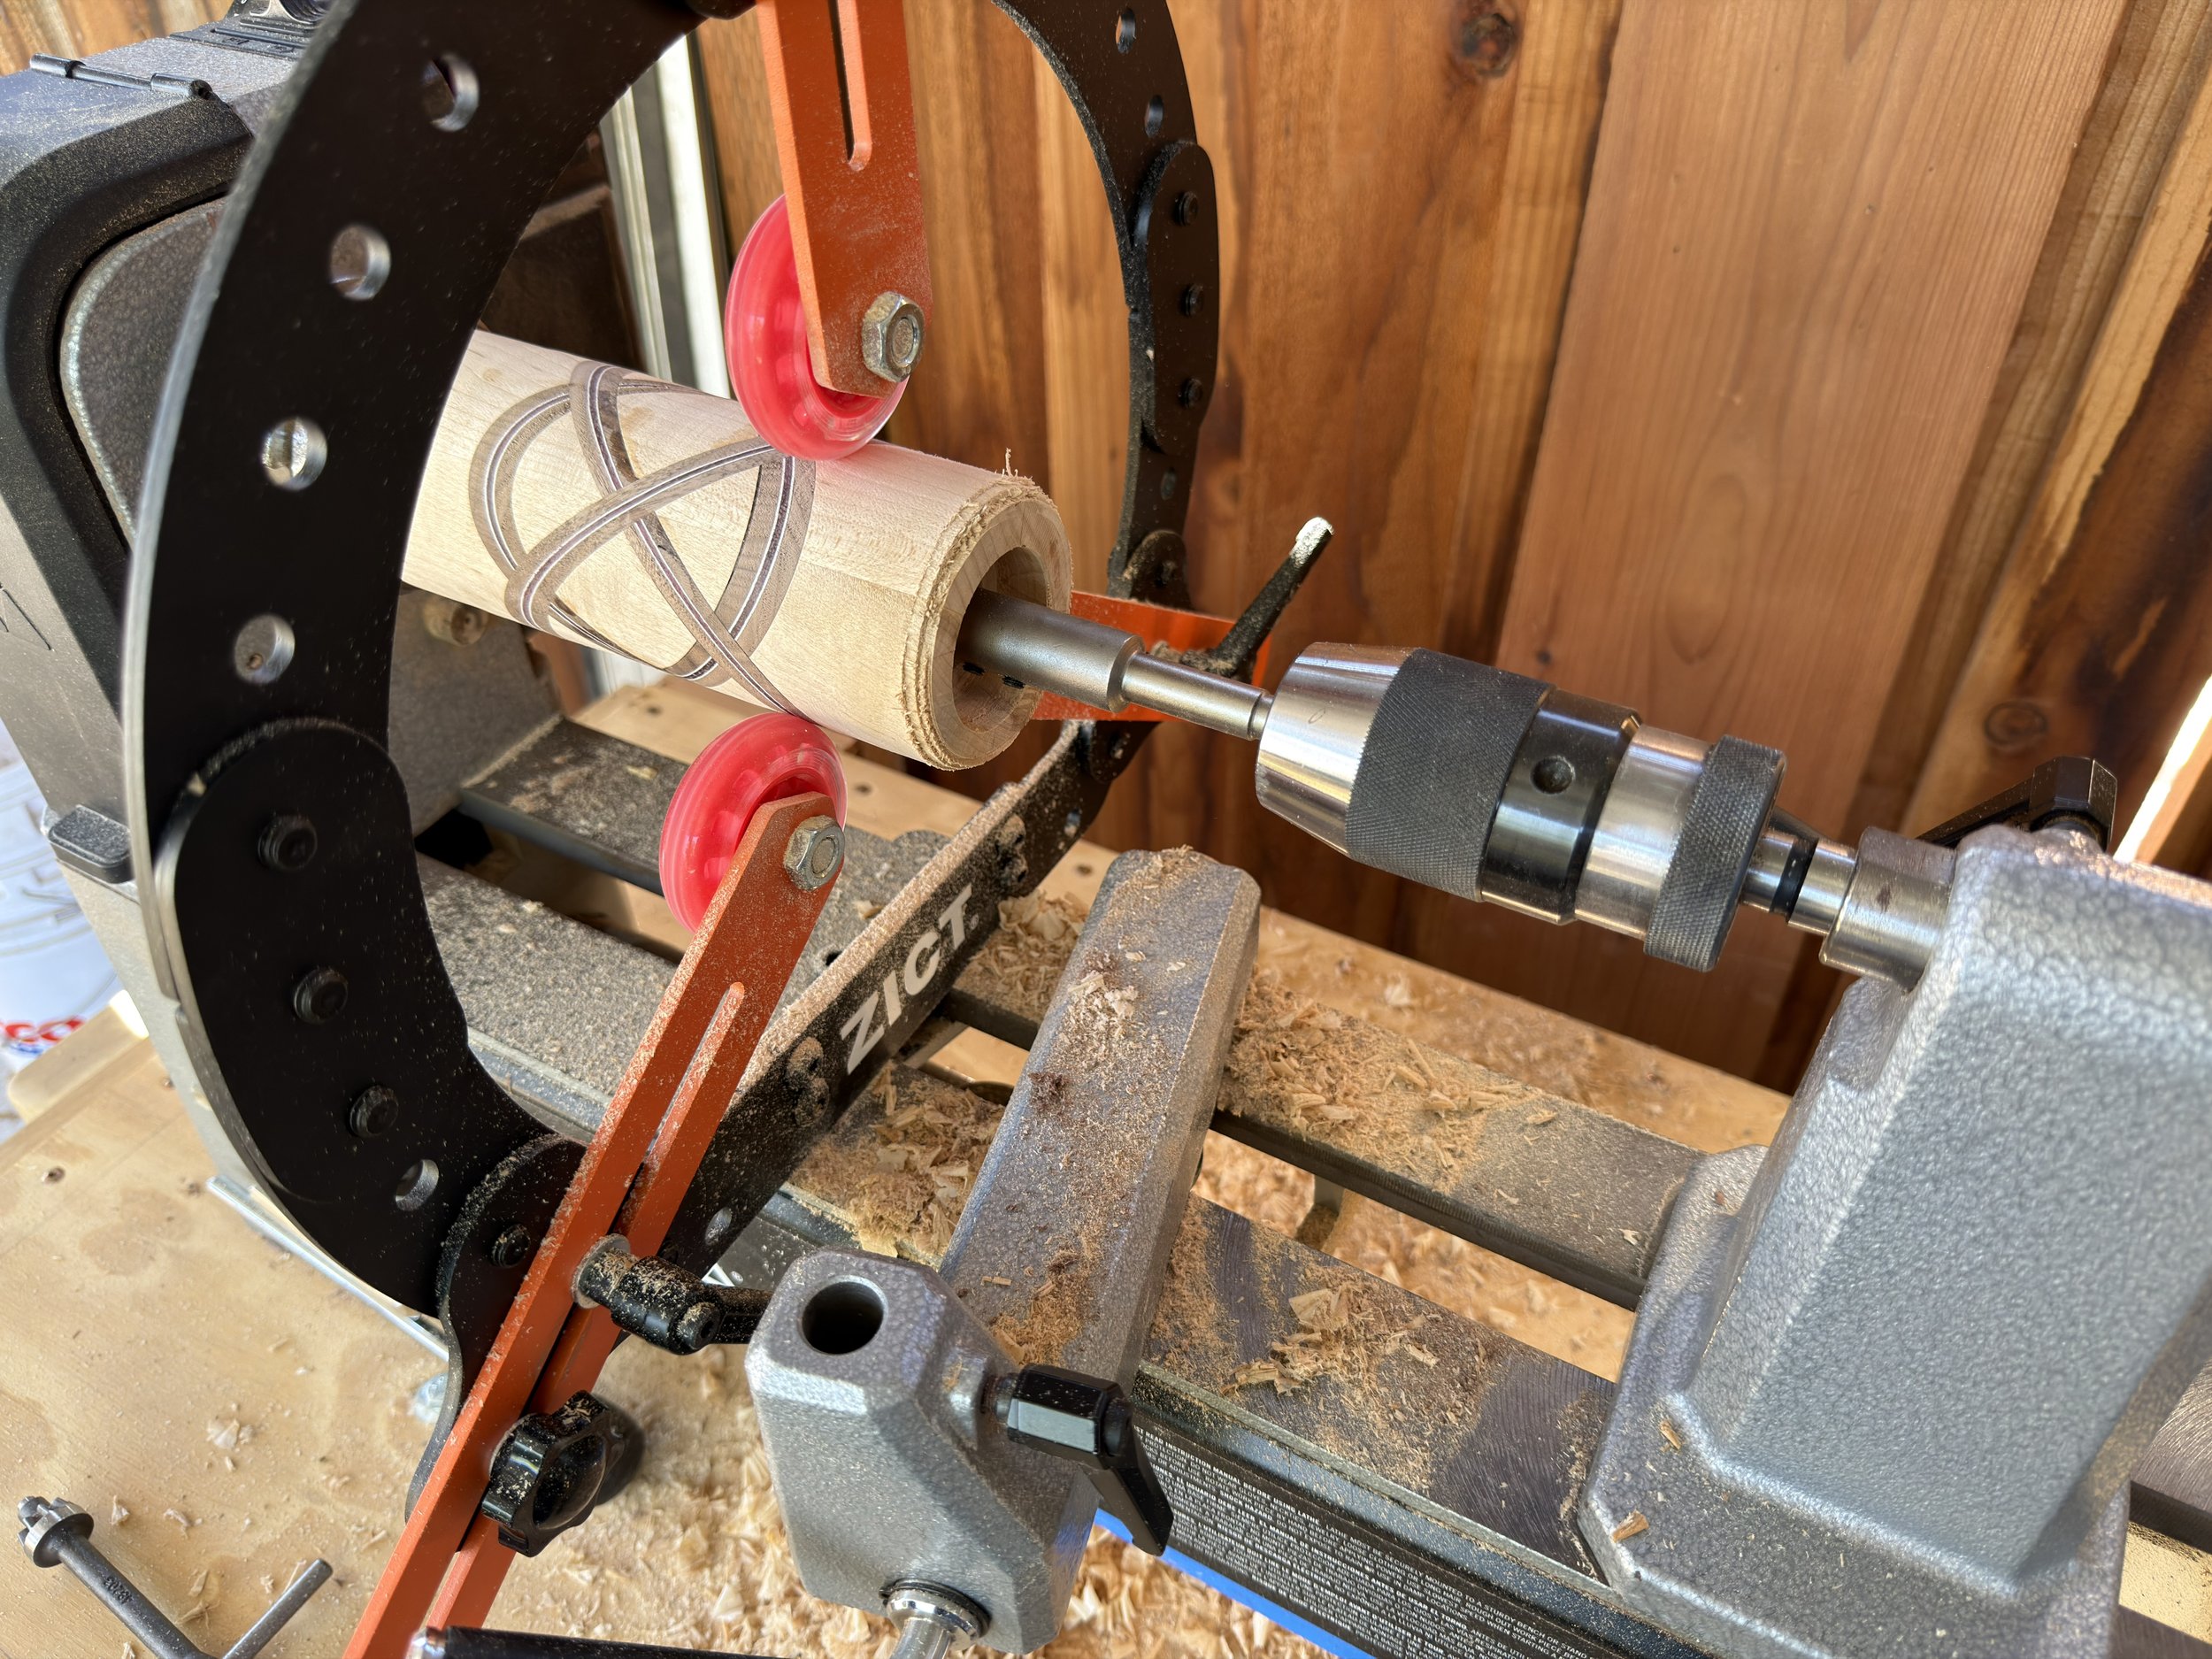
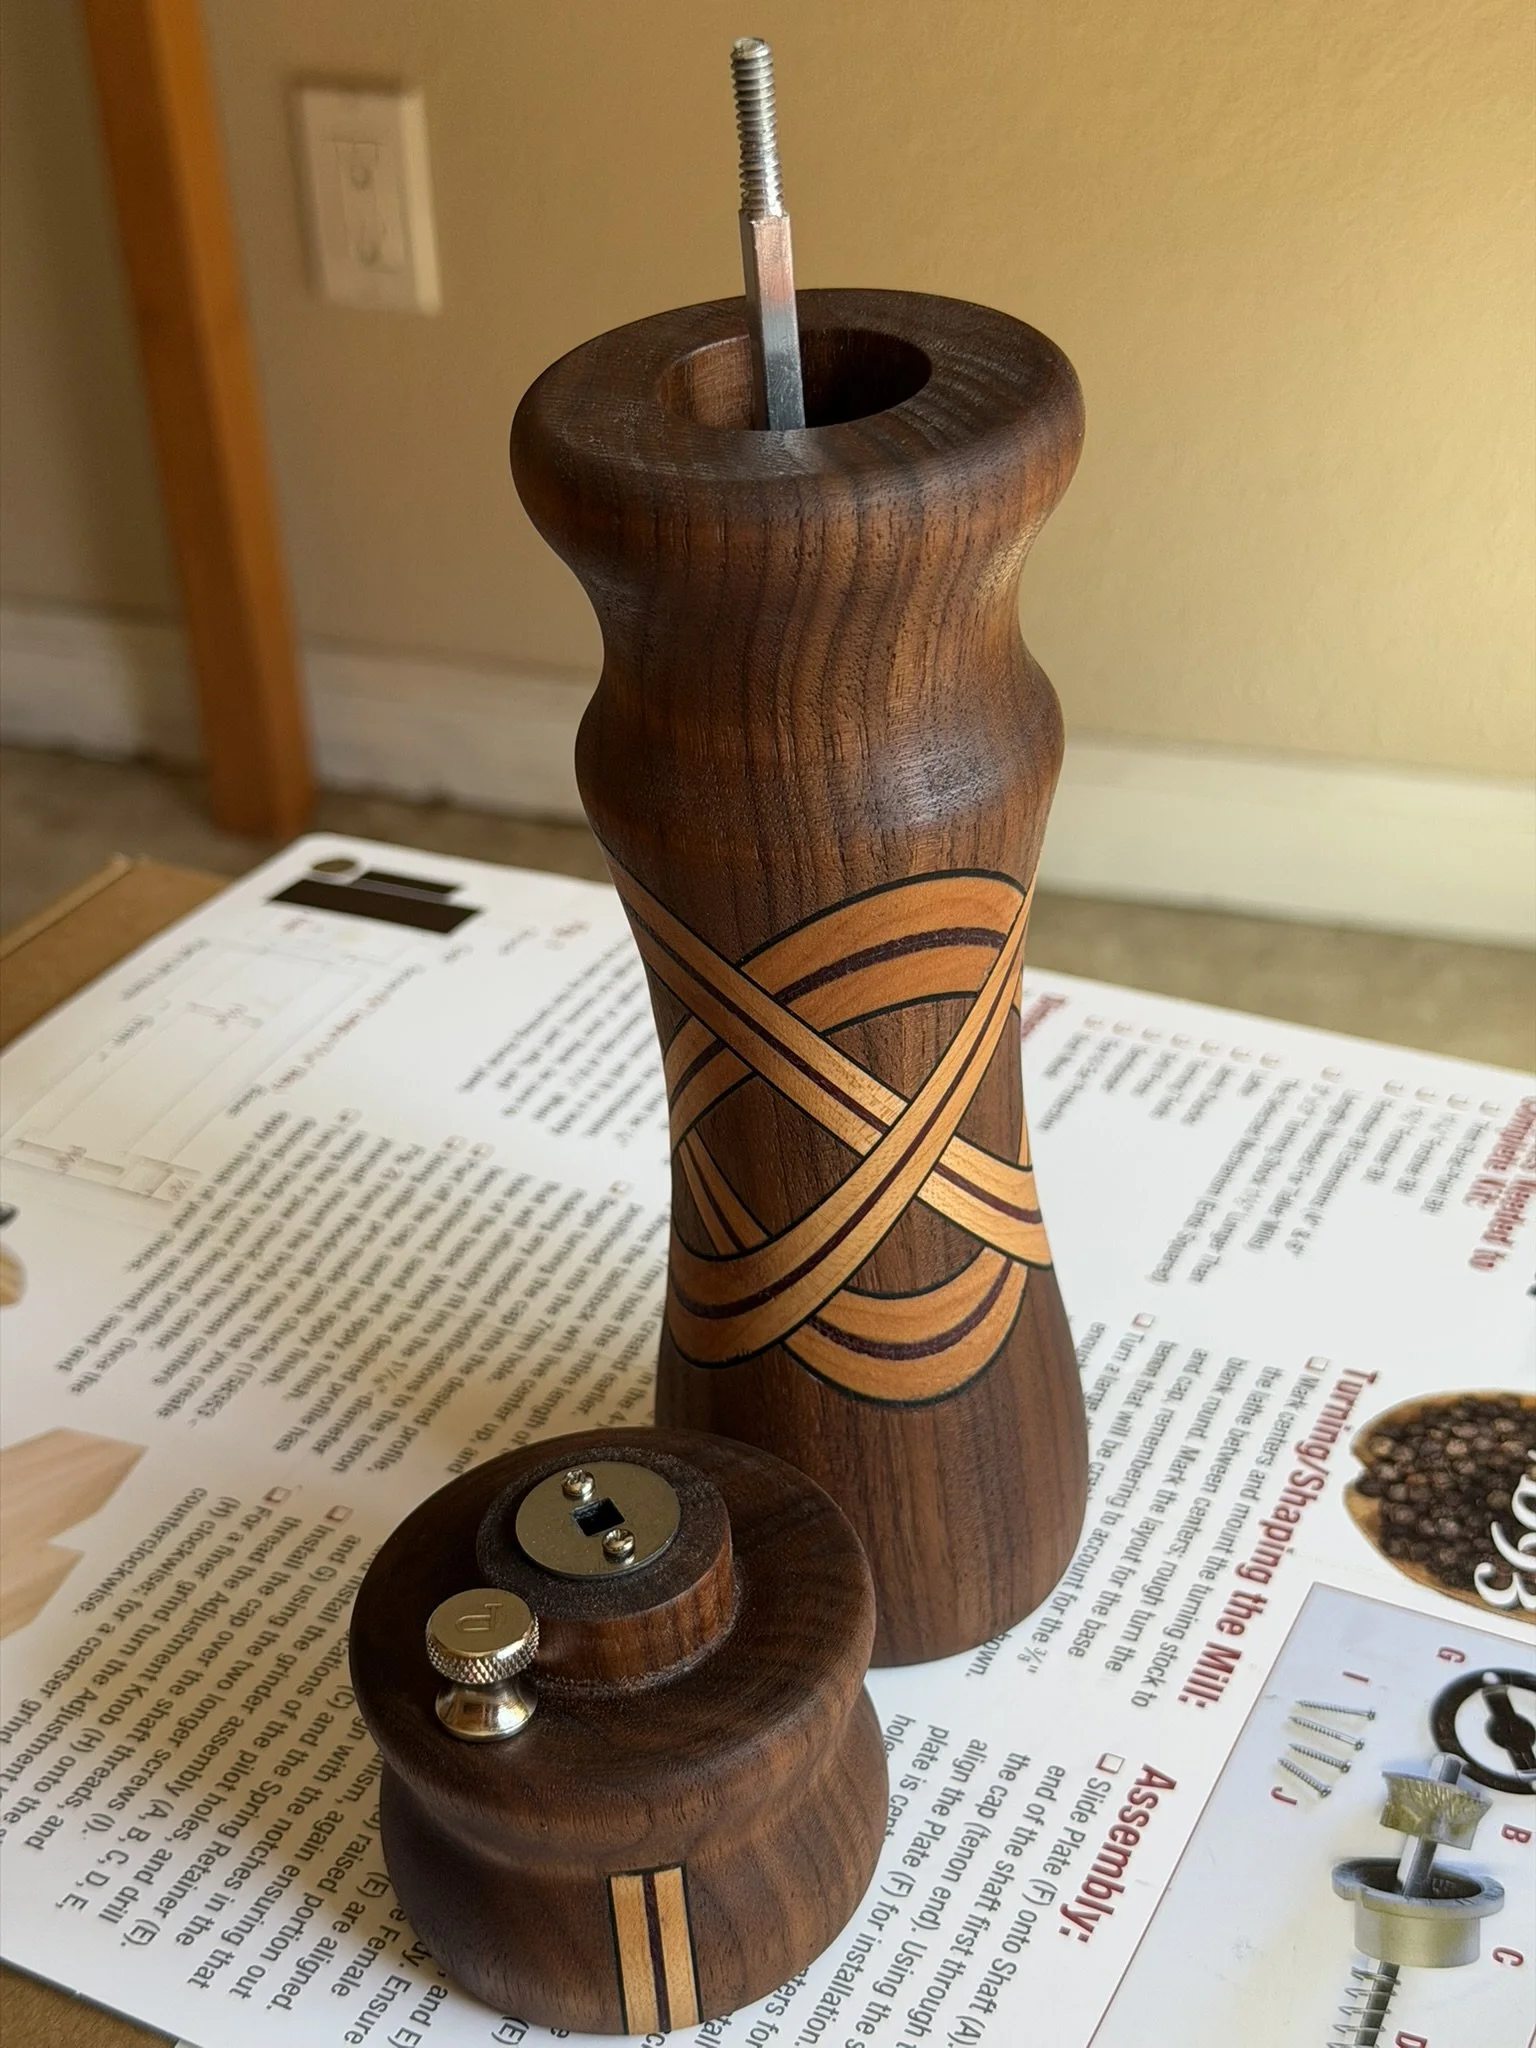
With the inlays done and glued up it was time to shape the grinders themselves. My first step was rounding out the rectangular blocks. I first cut away the corners on the table saw which made rounding it on the lathe so much easier. This is where the straight inlay pieces finally get their curves and change the entire look of the block. So satisfying to see it happen in real time. I decided to drill the inner holes before doing much shaping of the grinders which was a good thing. The walnut blank took well to drilling the inner hole but the maple blank did not want to play nicely. My first attempts were so bad I was worried I had just screwed up the blank with the inlays. I had to buy a new jig for the lathe to help hold the blanks in place so the drill could go in straight and not wander off center. Even with this jig the maple really did not enjoy being drilled but at least it worked.
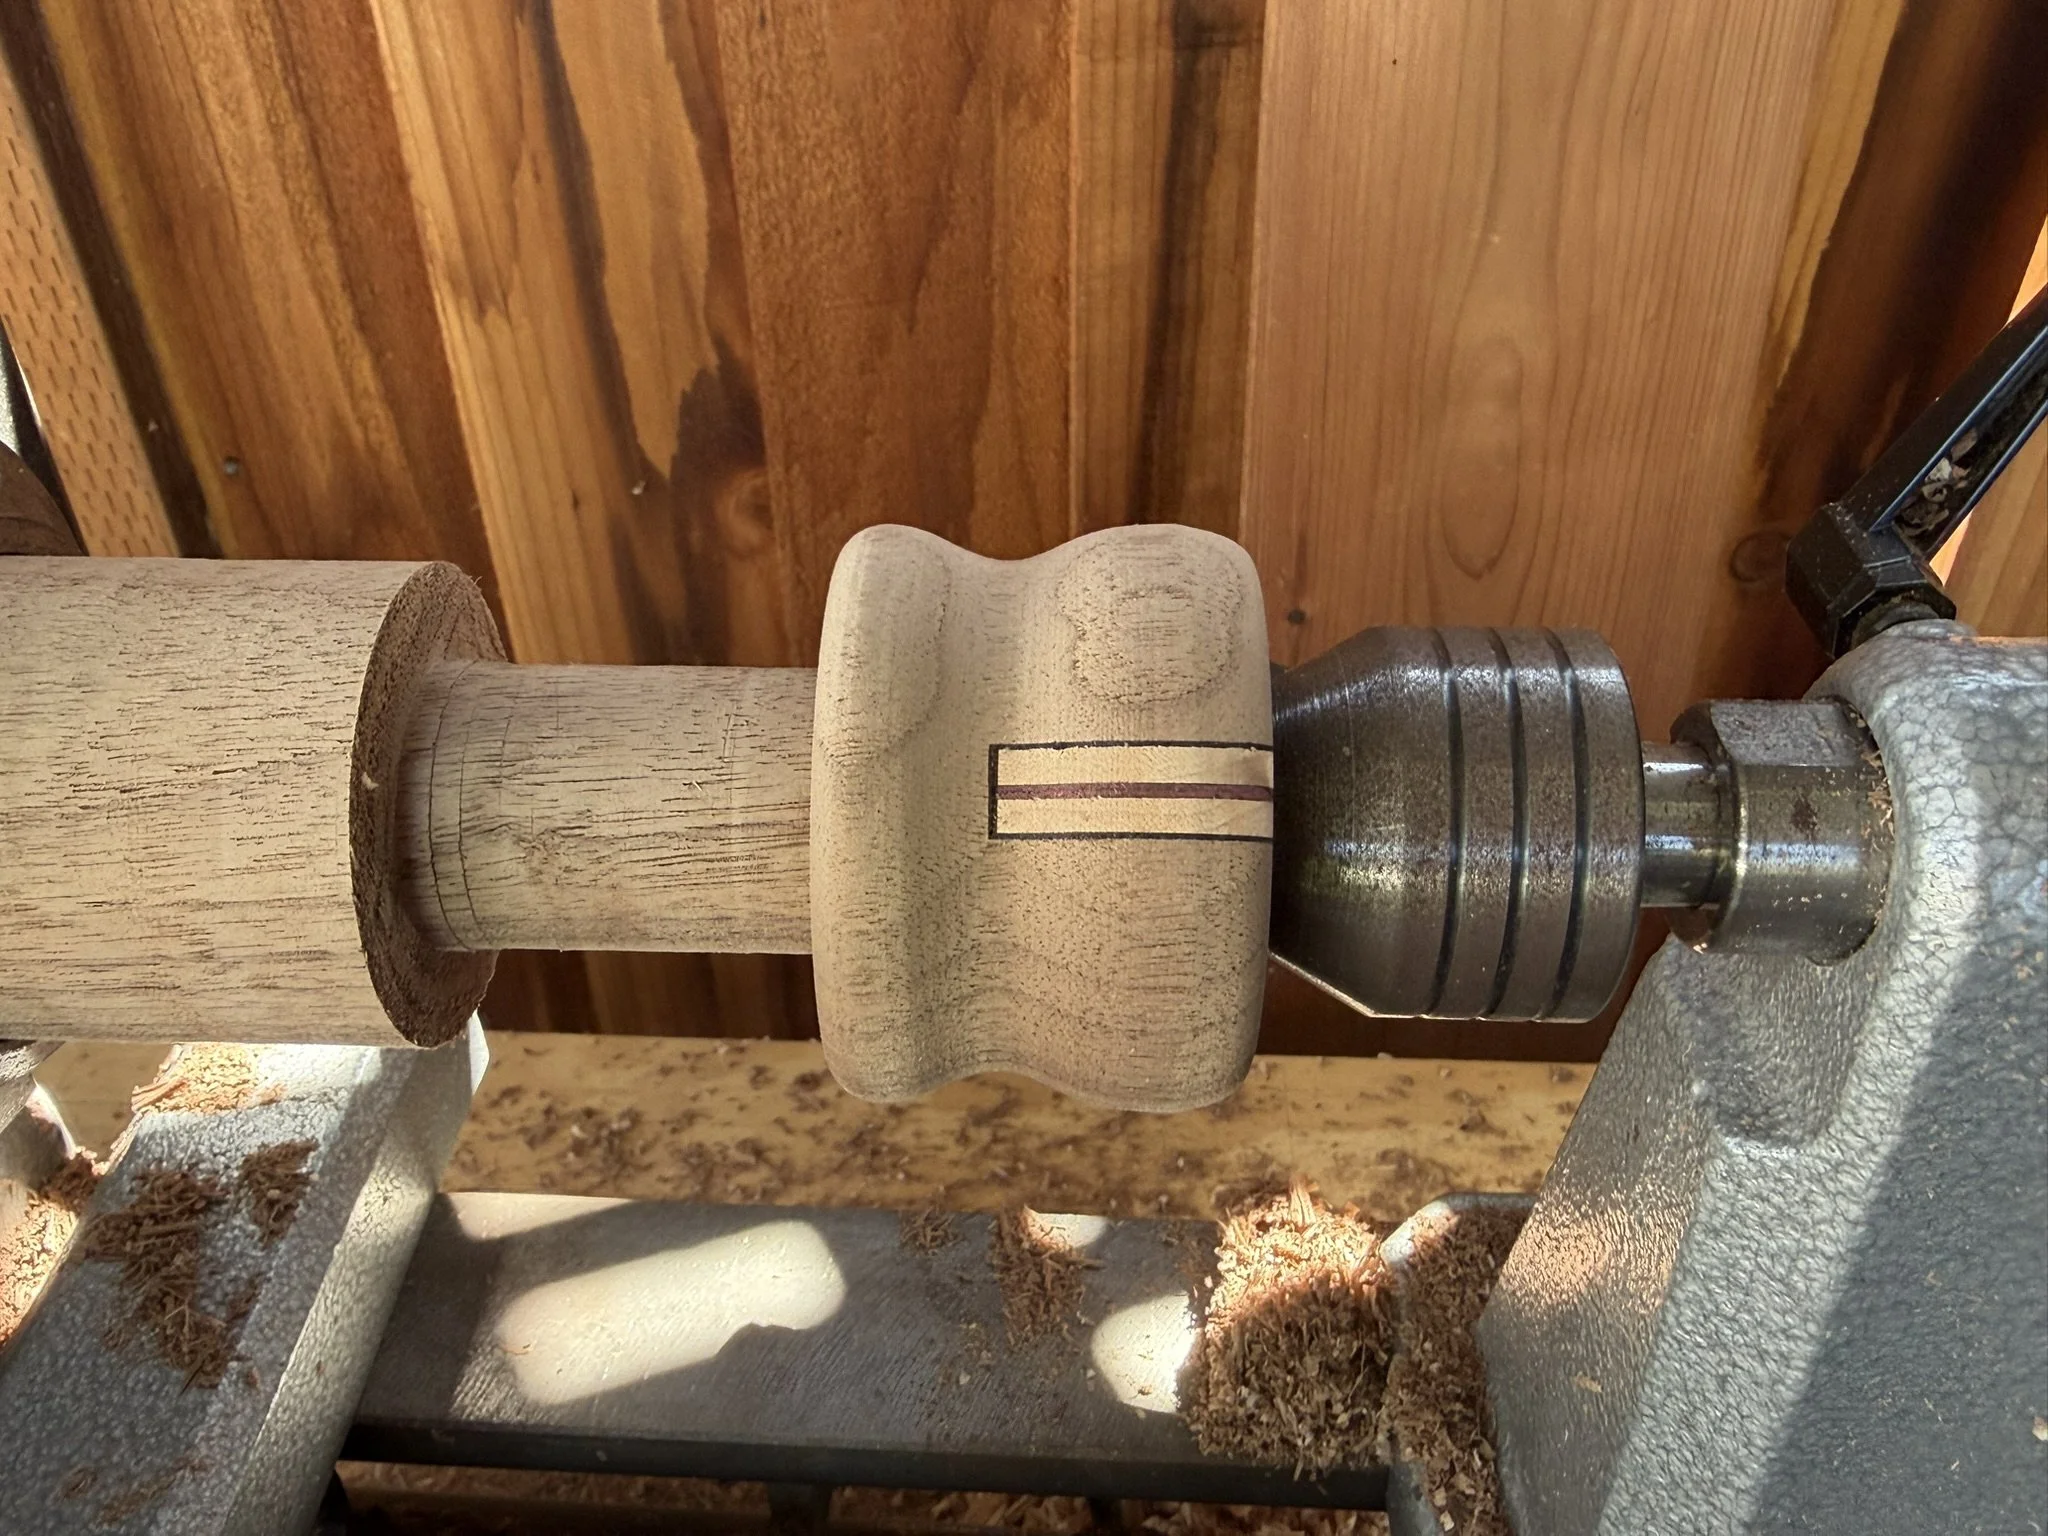
I had offered these grinders to a friend who asked if I could build them so they could be stored the regular way as well as upside down. Fun design challenge that ended up screwing up every single measurements the kit told me to follow. The kit had some really nice diagrams for how big to make each the main body and the top knob, and the hardware worked for only 6, 8, or 10 inches but nothing in between. This change from my buddy meant I had to do some massive guess and check on educated guesses with a side of YOLO when it came to the top knob. I also kept running into work-holding problems. How can I hold this piece of wood without making marks to it when I also need access all of it to carve it to final shape. You may have though that extra length I mentioned earlier to be for if I mess up the main body but really it was so I had extras if I screwed up this top knob. Surprisingly enough I got both knobs done on their first attempts! Sadly the big screw that came in the mechanism was a little too long for my final grinders, but I fixed it by making the screw’s threads a bit longer and cutting off the extra length that got in the way.