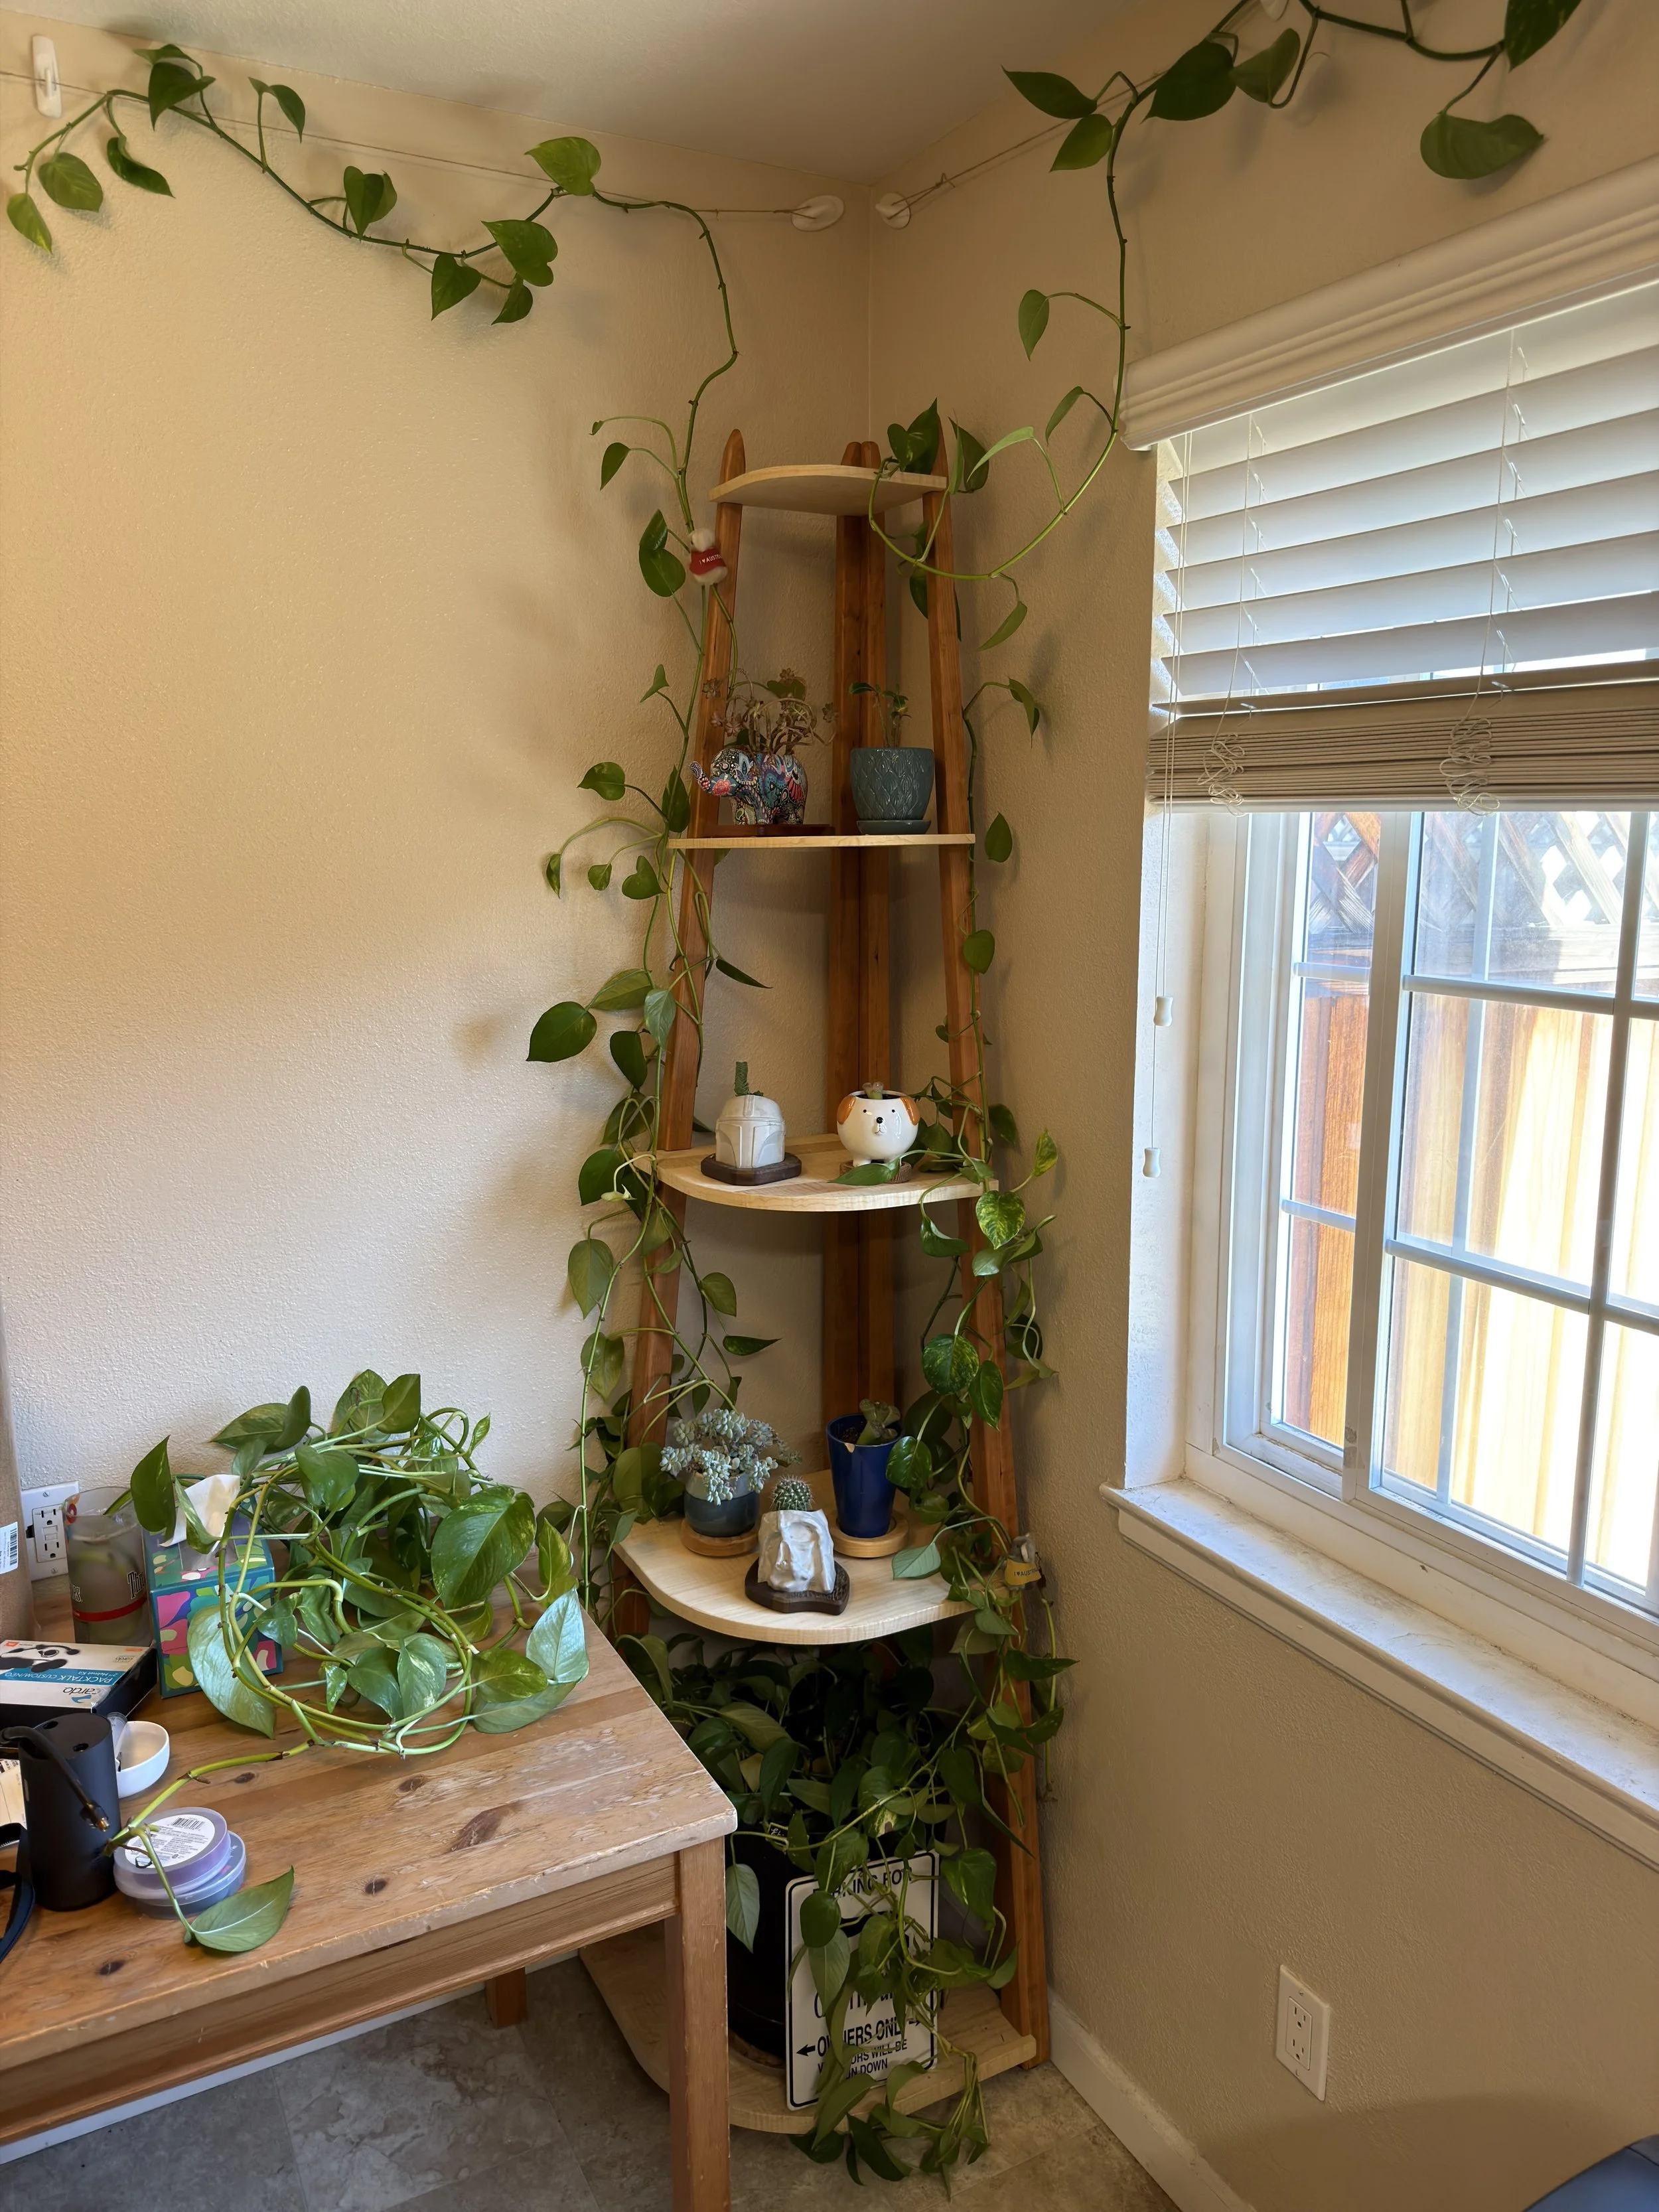
For the past few years 2 unrelated things have slowly been happening in my life which ended up creating a perfect opportunity for a new woodworking project. The first has been my pothos plant, which sat by the window in my dim living room and tried to grow on the string that went around the room near the ceiling. Problem is the window faced north so this room rarely got much sunlight which made the pothos plant lose leaves almost as fast as they grew. Instead of having lush greenery going around the room like in my previous places now I was getting green strings with a handful of leaves at the end.
The second has been my discovery of curly maple at my local home depot. At my fancy wood store curly maple is sold at a premium, often for twice the price of regular maple. At home depot its the same price but its rare and random to find it. Ever since I discovered a few very curly pieces a few years ago I’ve made it a habit of going down the wood section on my trips and ruffling through the maple pile to see if there are any curly pieces. I got super lucky end of last year when I found a few very curly pieces in a short time span but also made me realize I am close to having a hording problem with this curly maple.
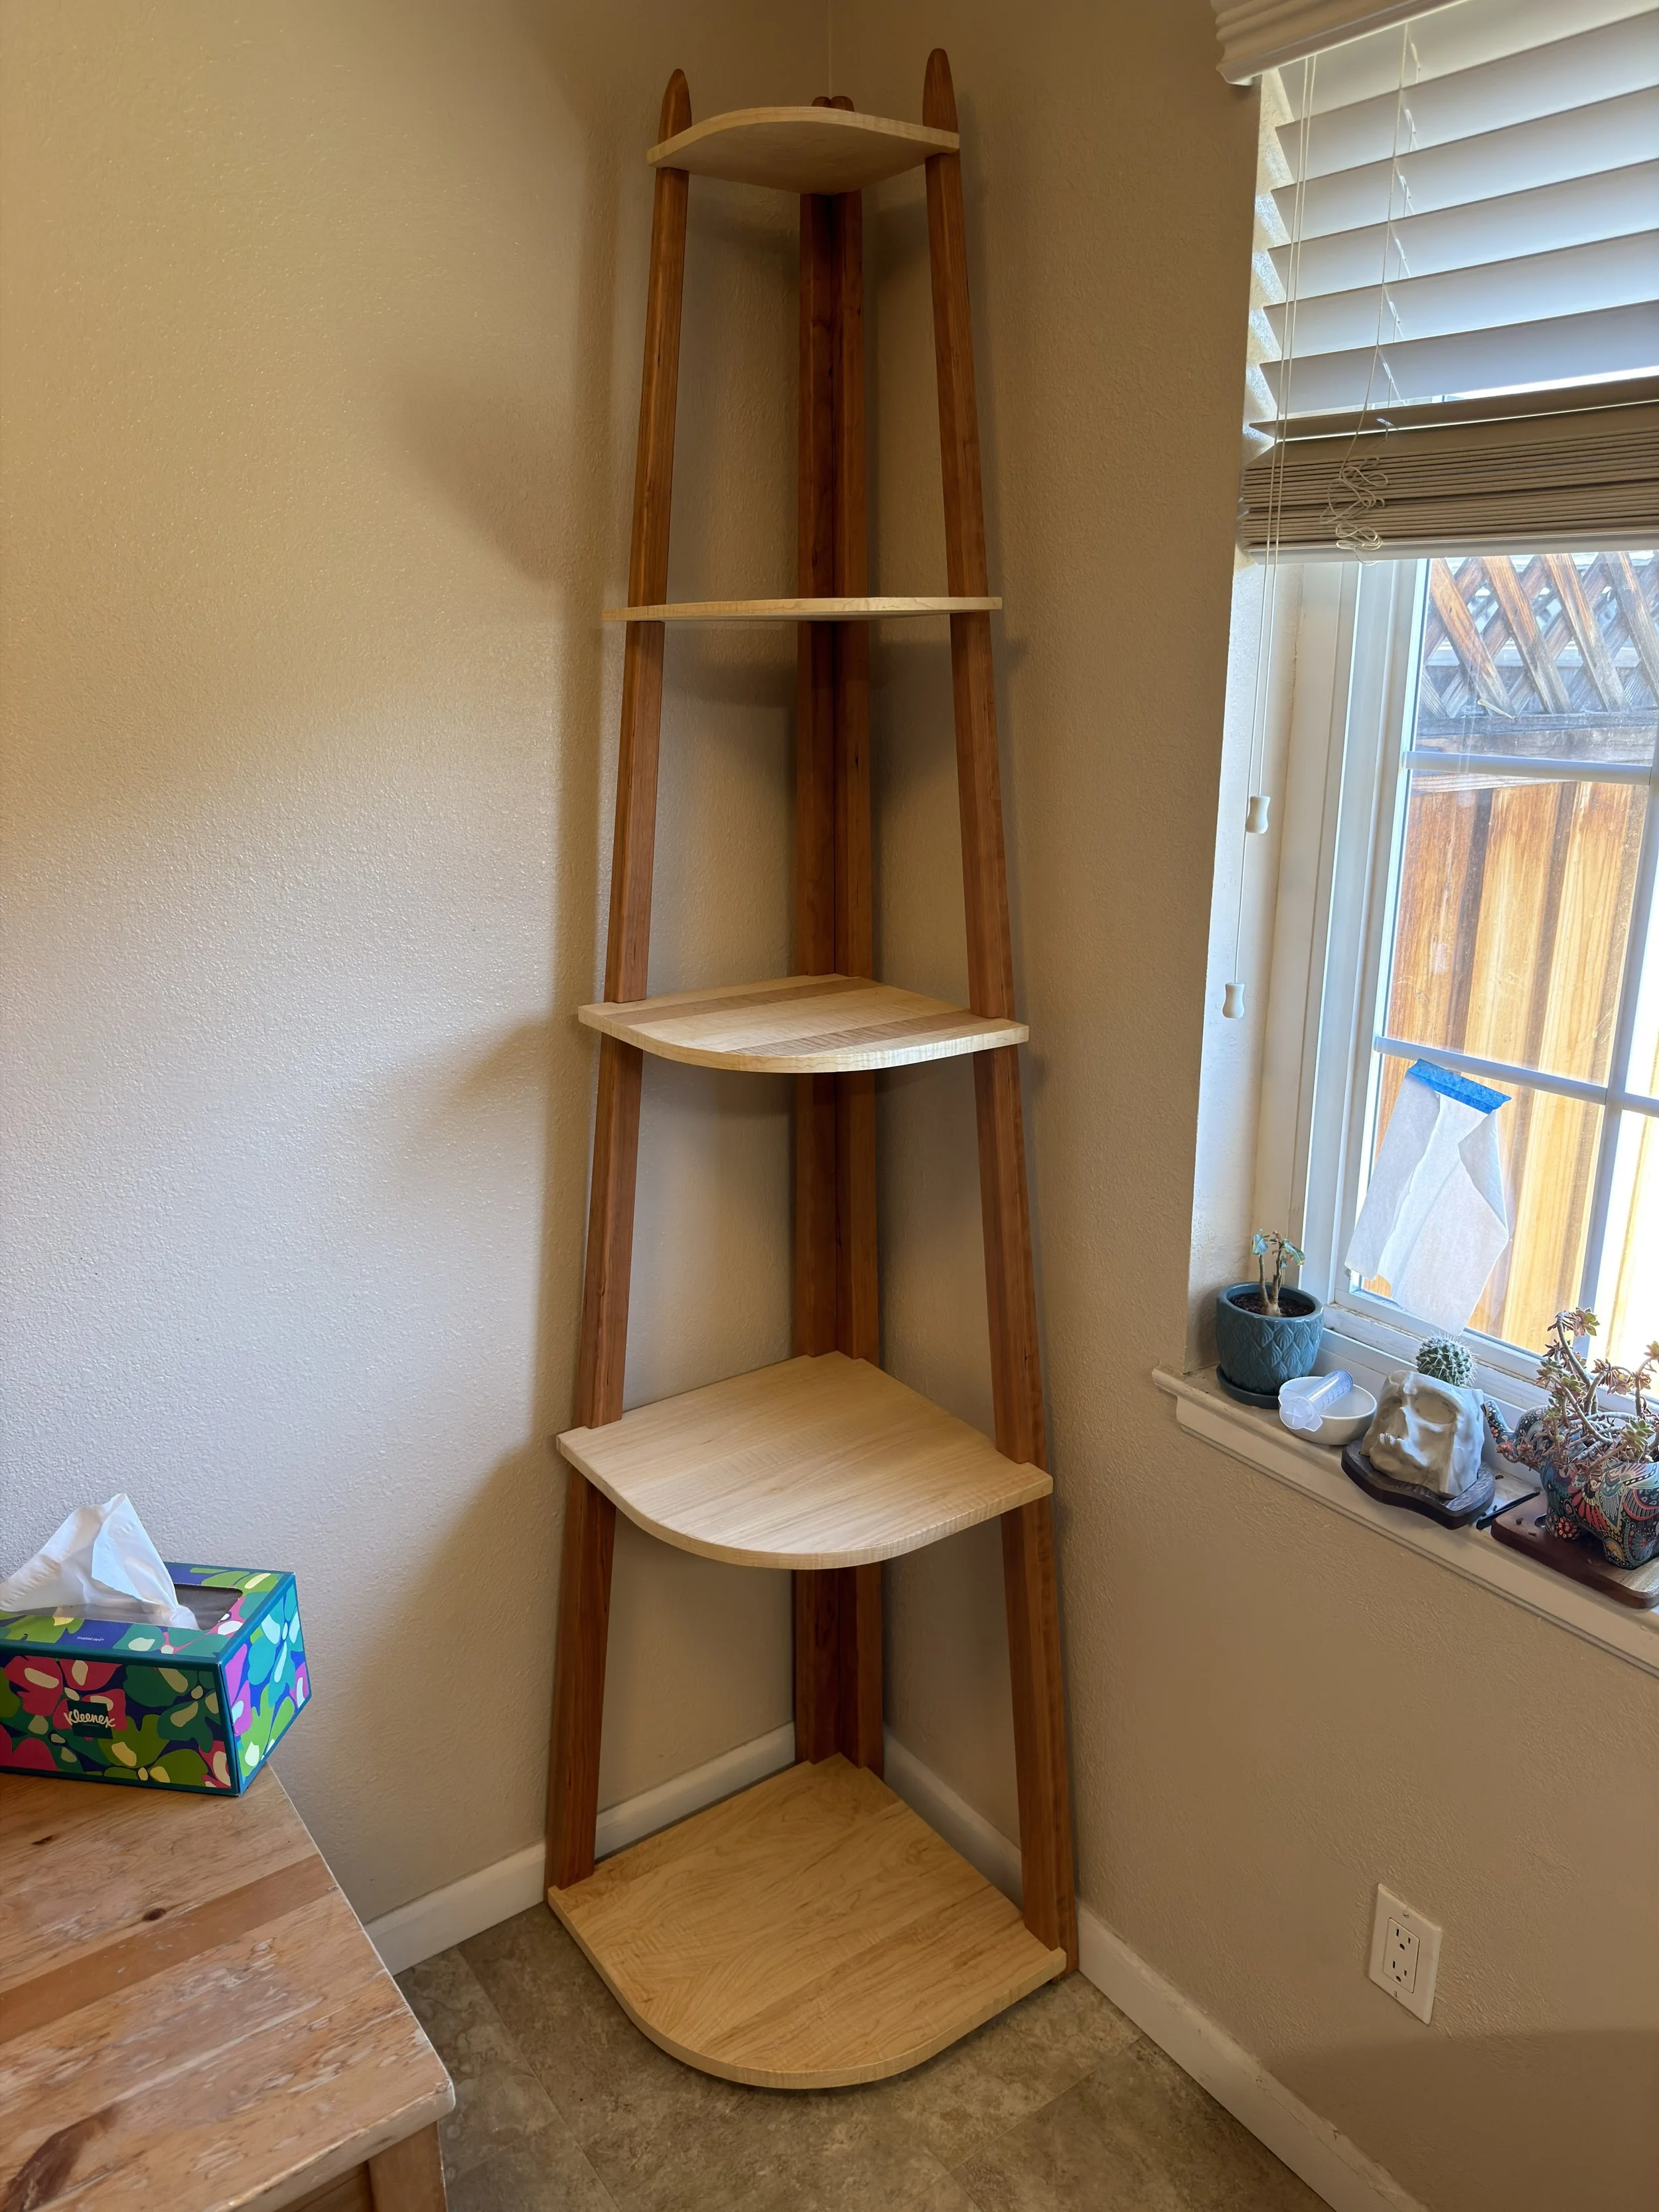
While thinking of a project to do I kept looking at the unused corner of my unused kitchen. This corner is right next to the kitchen window which gets sun all day year around. Ideas started spinning in my head of a shelf that could go in that corner and allow the pothos to get more sunlight and stretch its vines in the kitchen. As my ideas narrowed down to a single thought I realized the curly maple, if used as is, may compromise the stability and durability of the construction. Instead I’d get to try making my own veneers out of the curly maple and glue those onto different thickness plywood, depending on which shelf was being made. This also meant I could stretch out the curly maple to cover more surface area than if I used solid wood for the shelves.
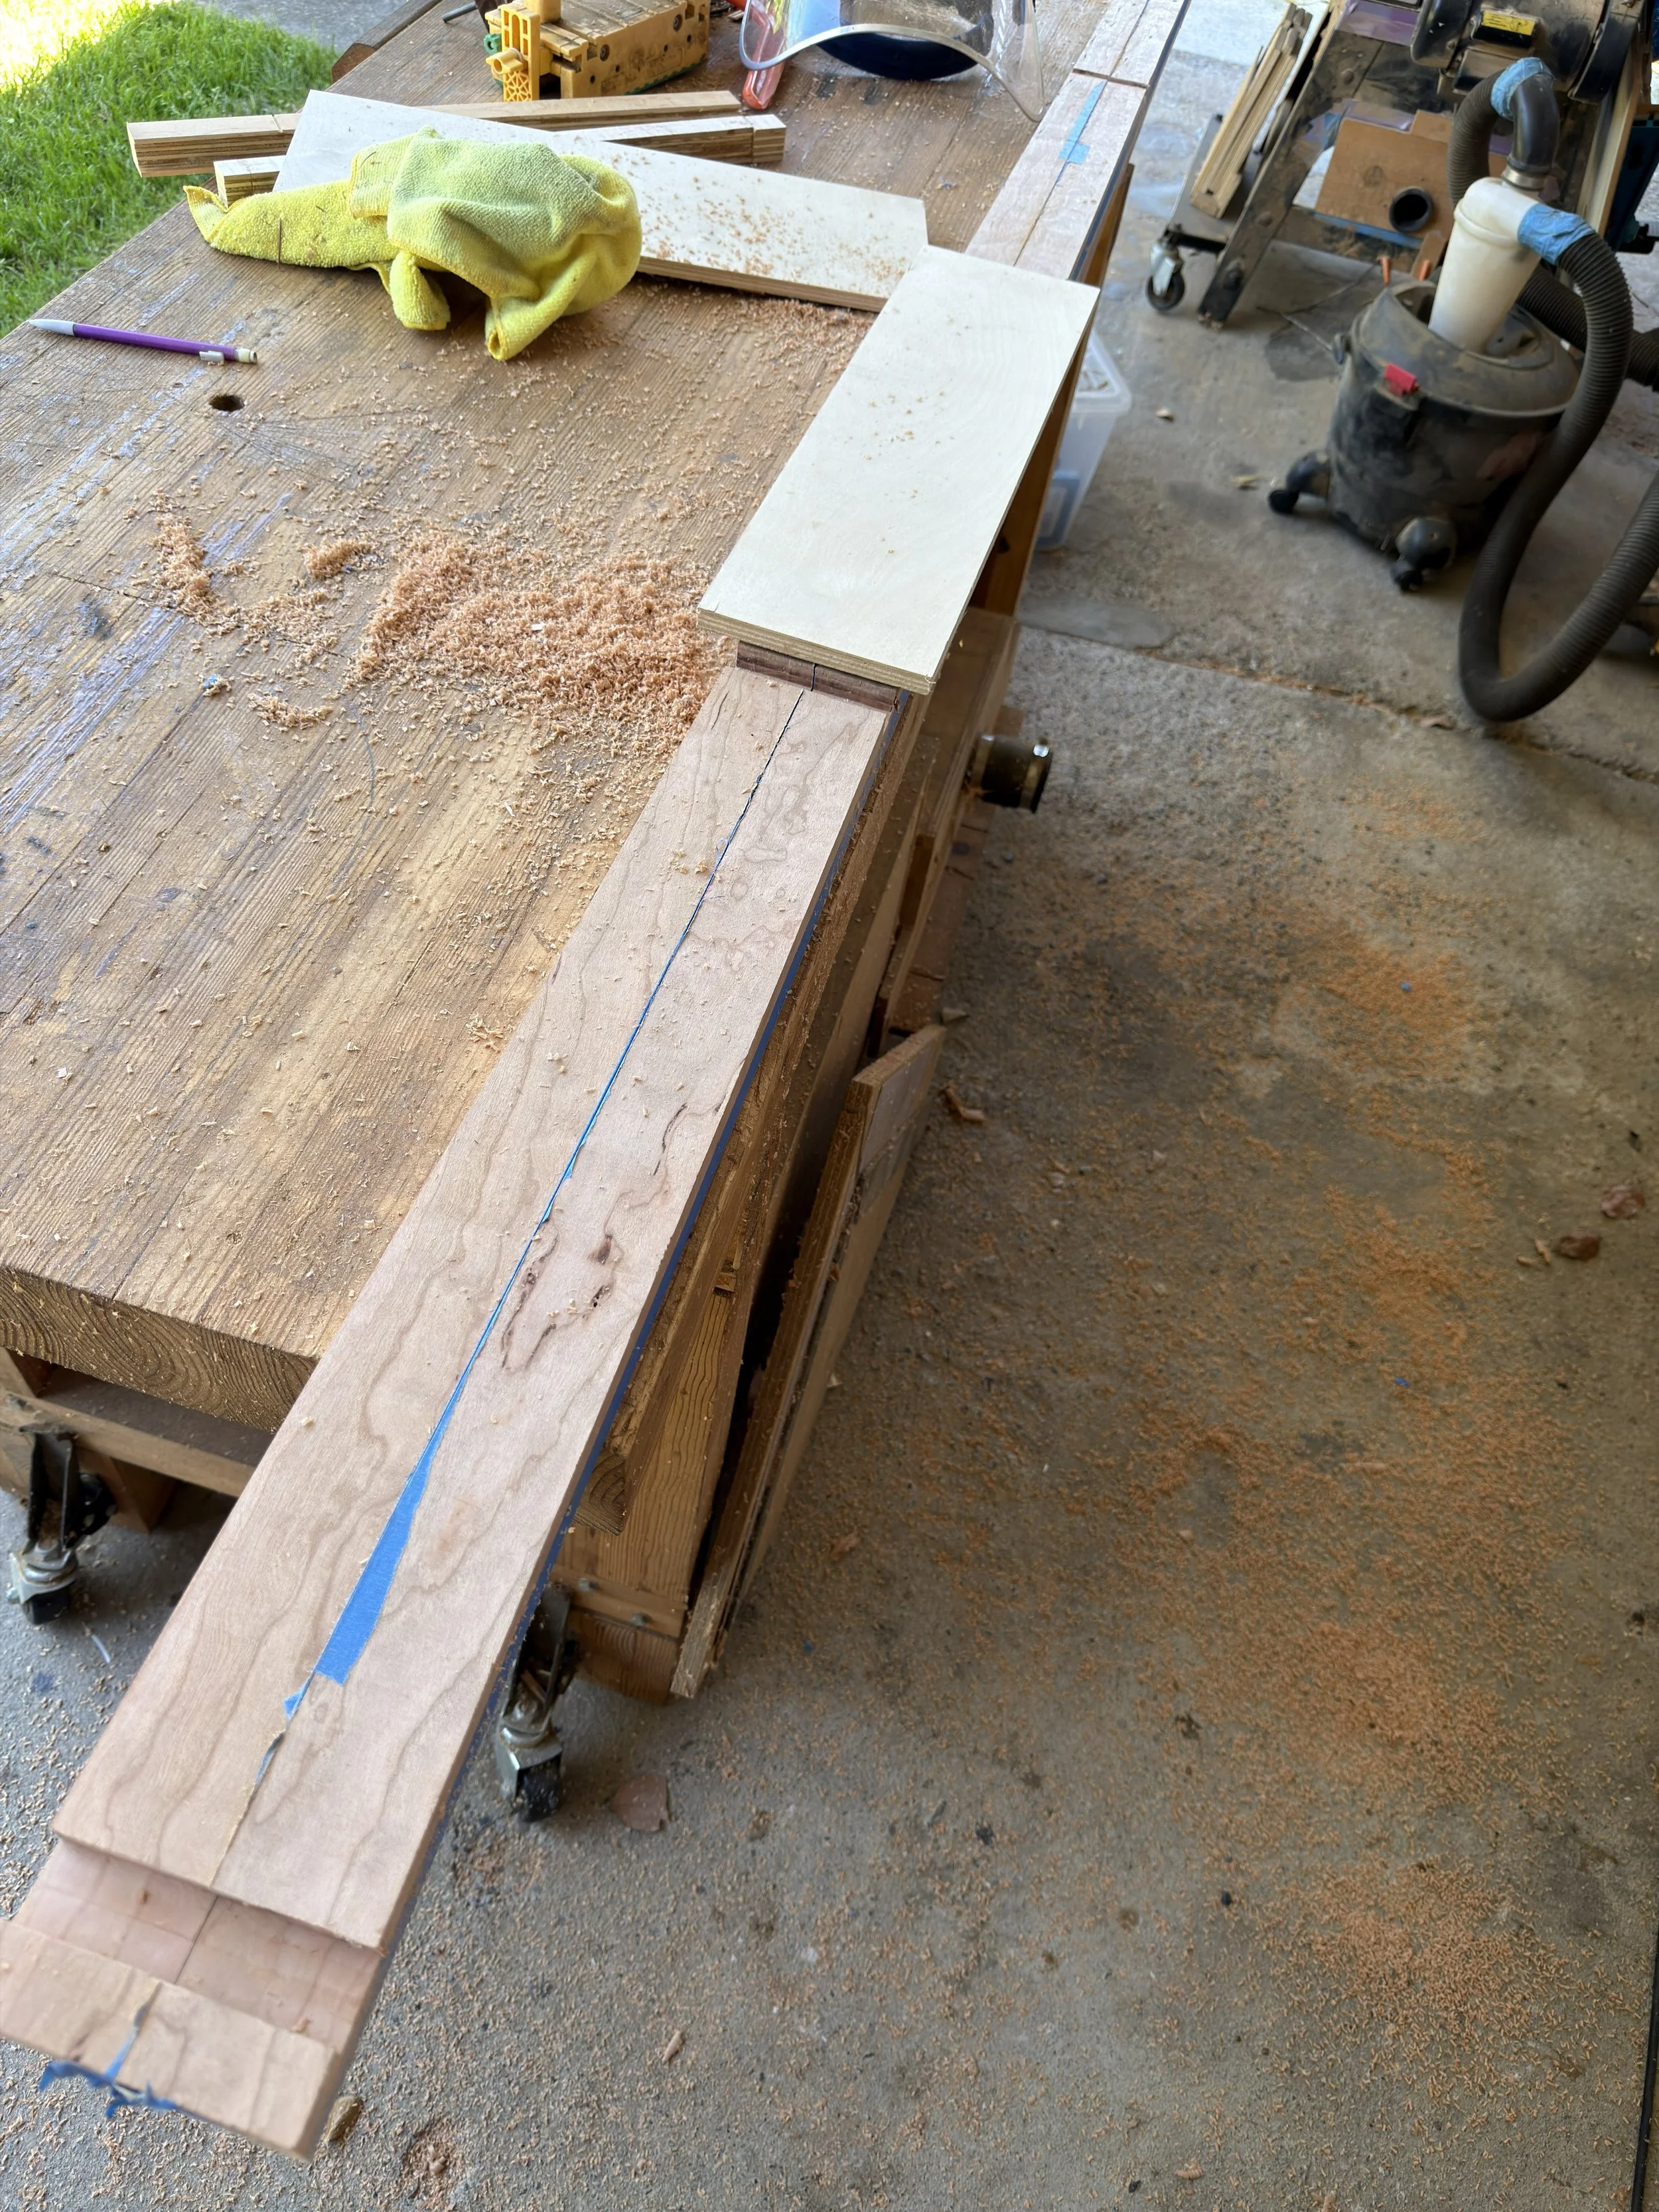
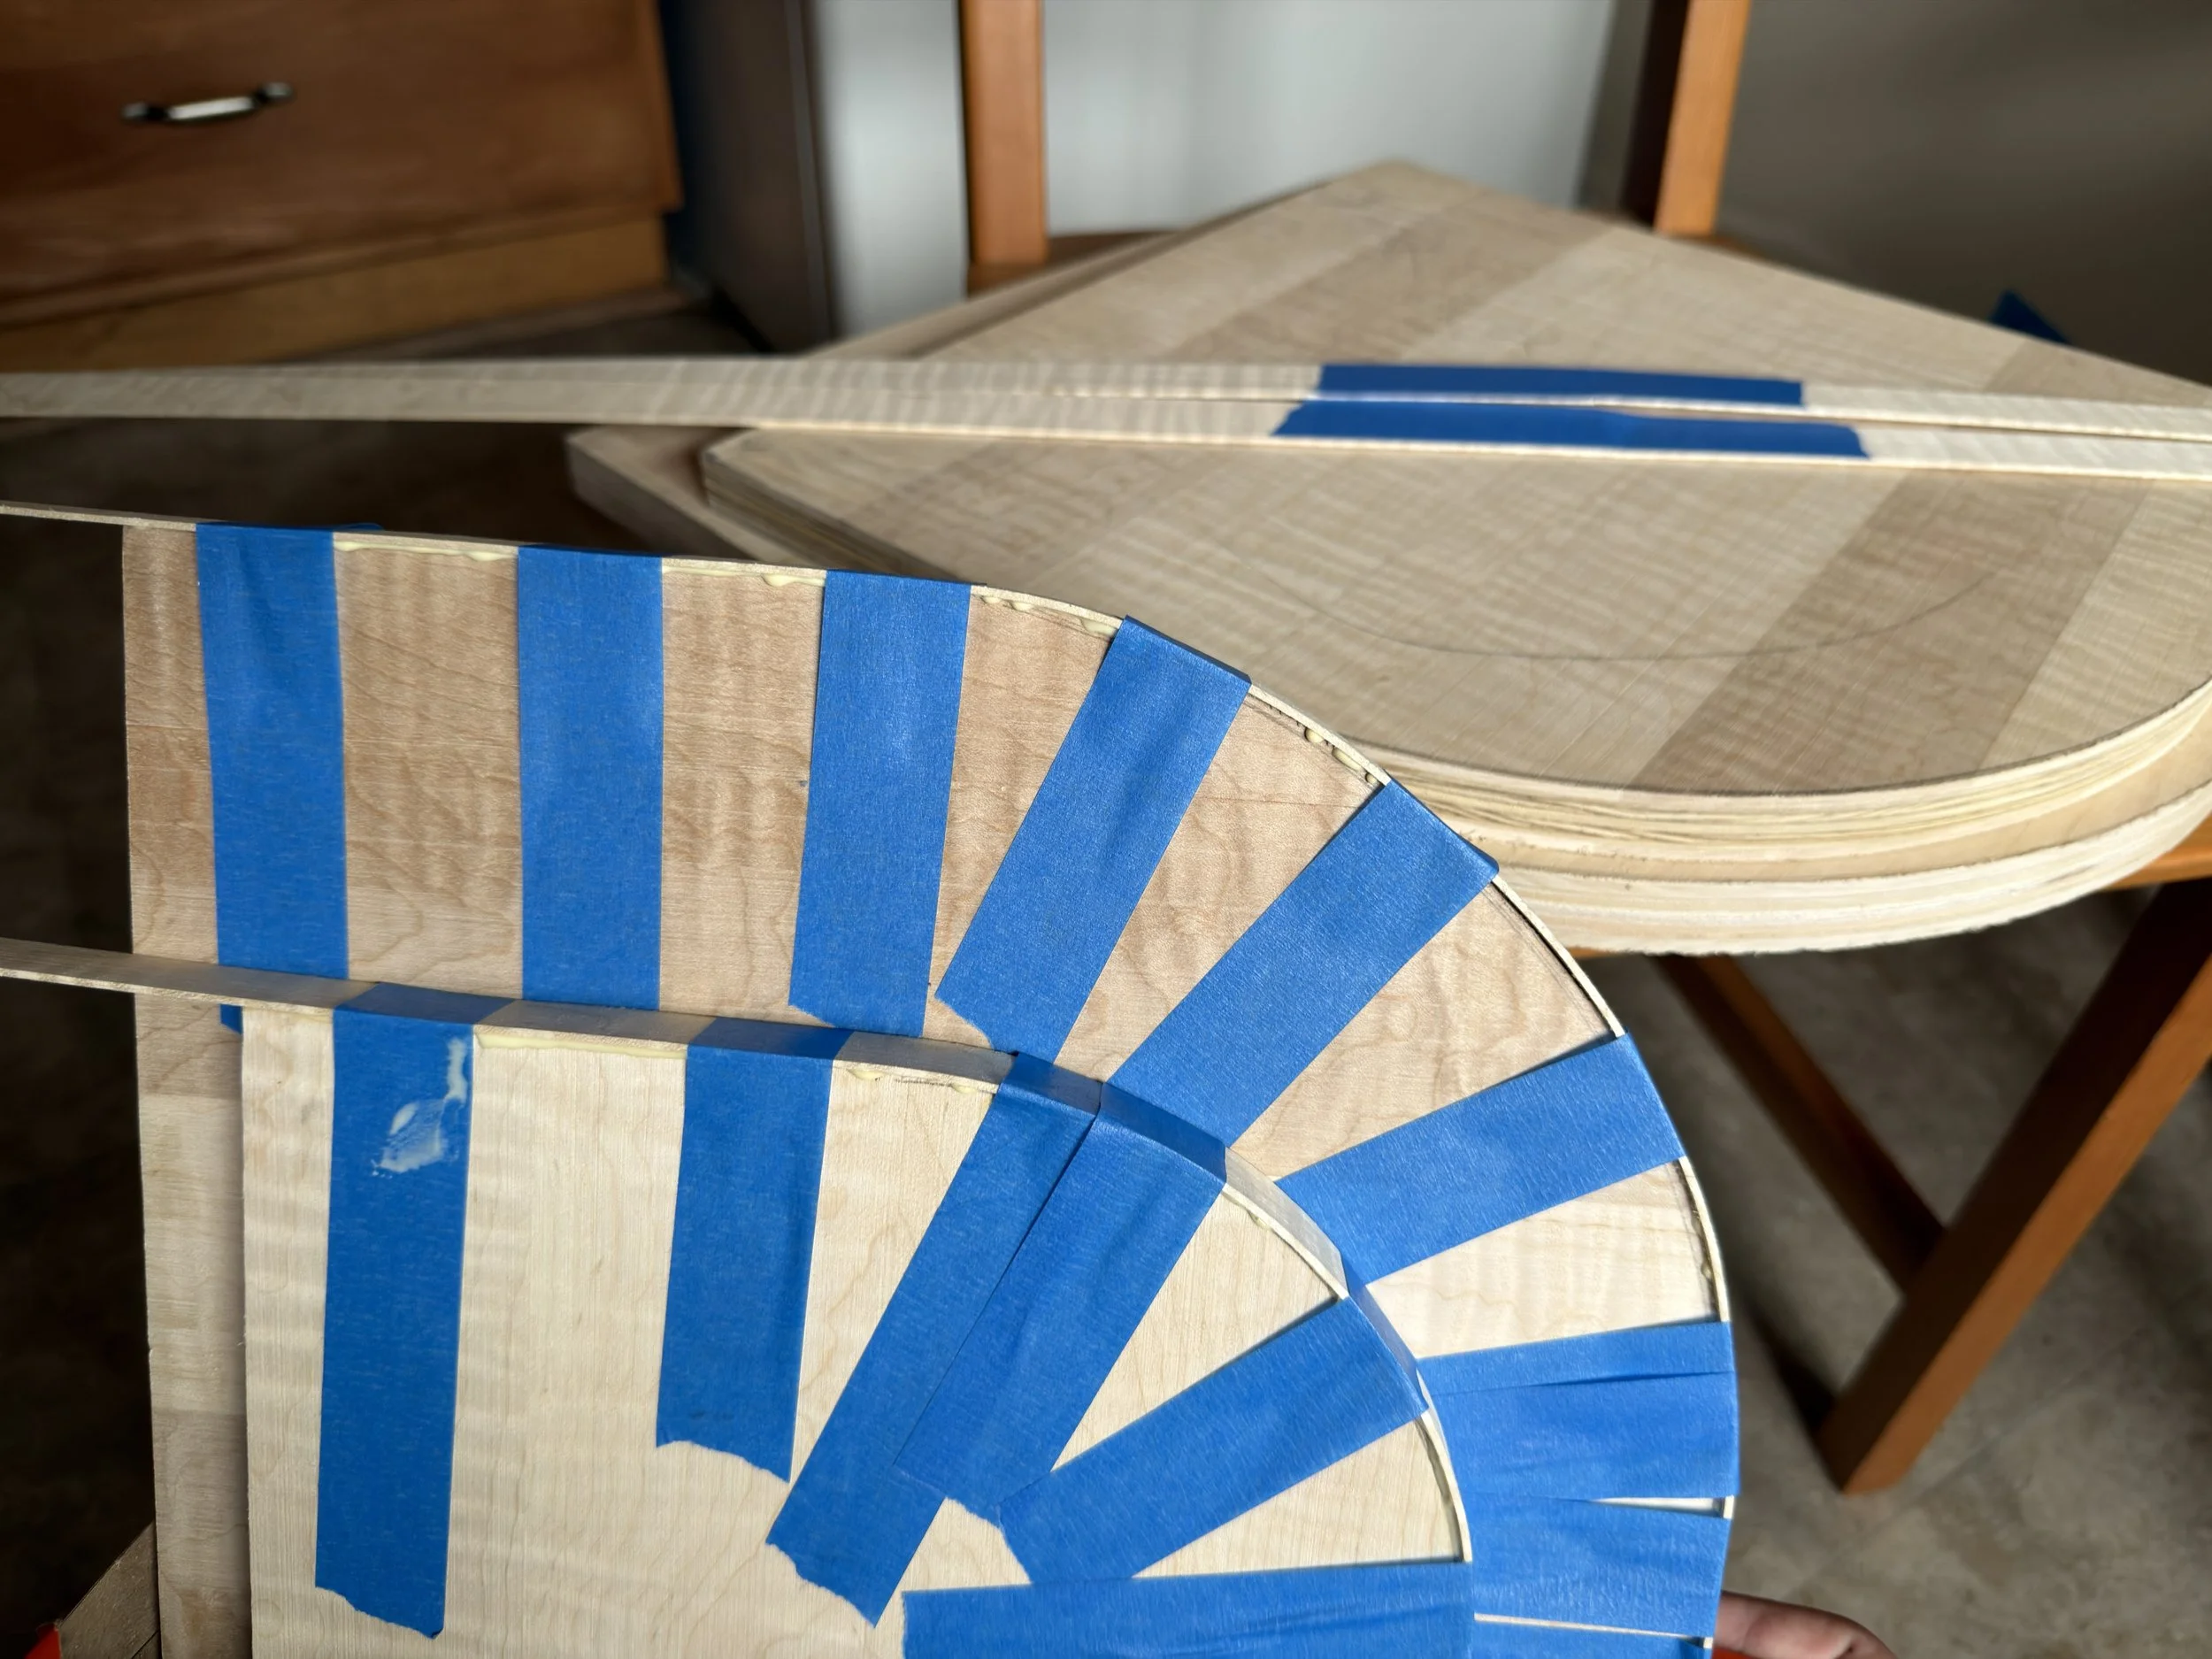
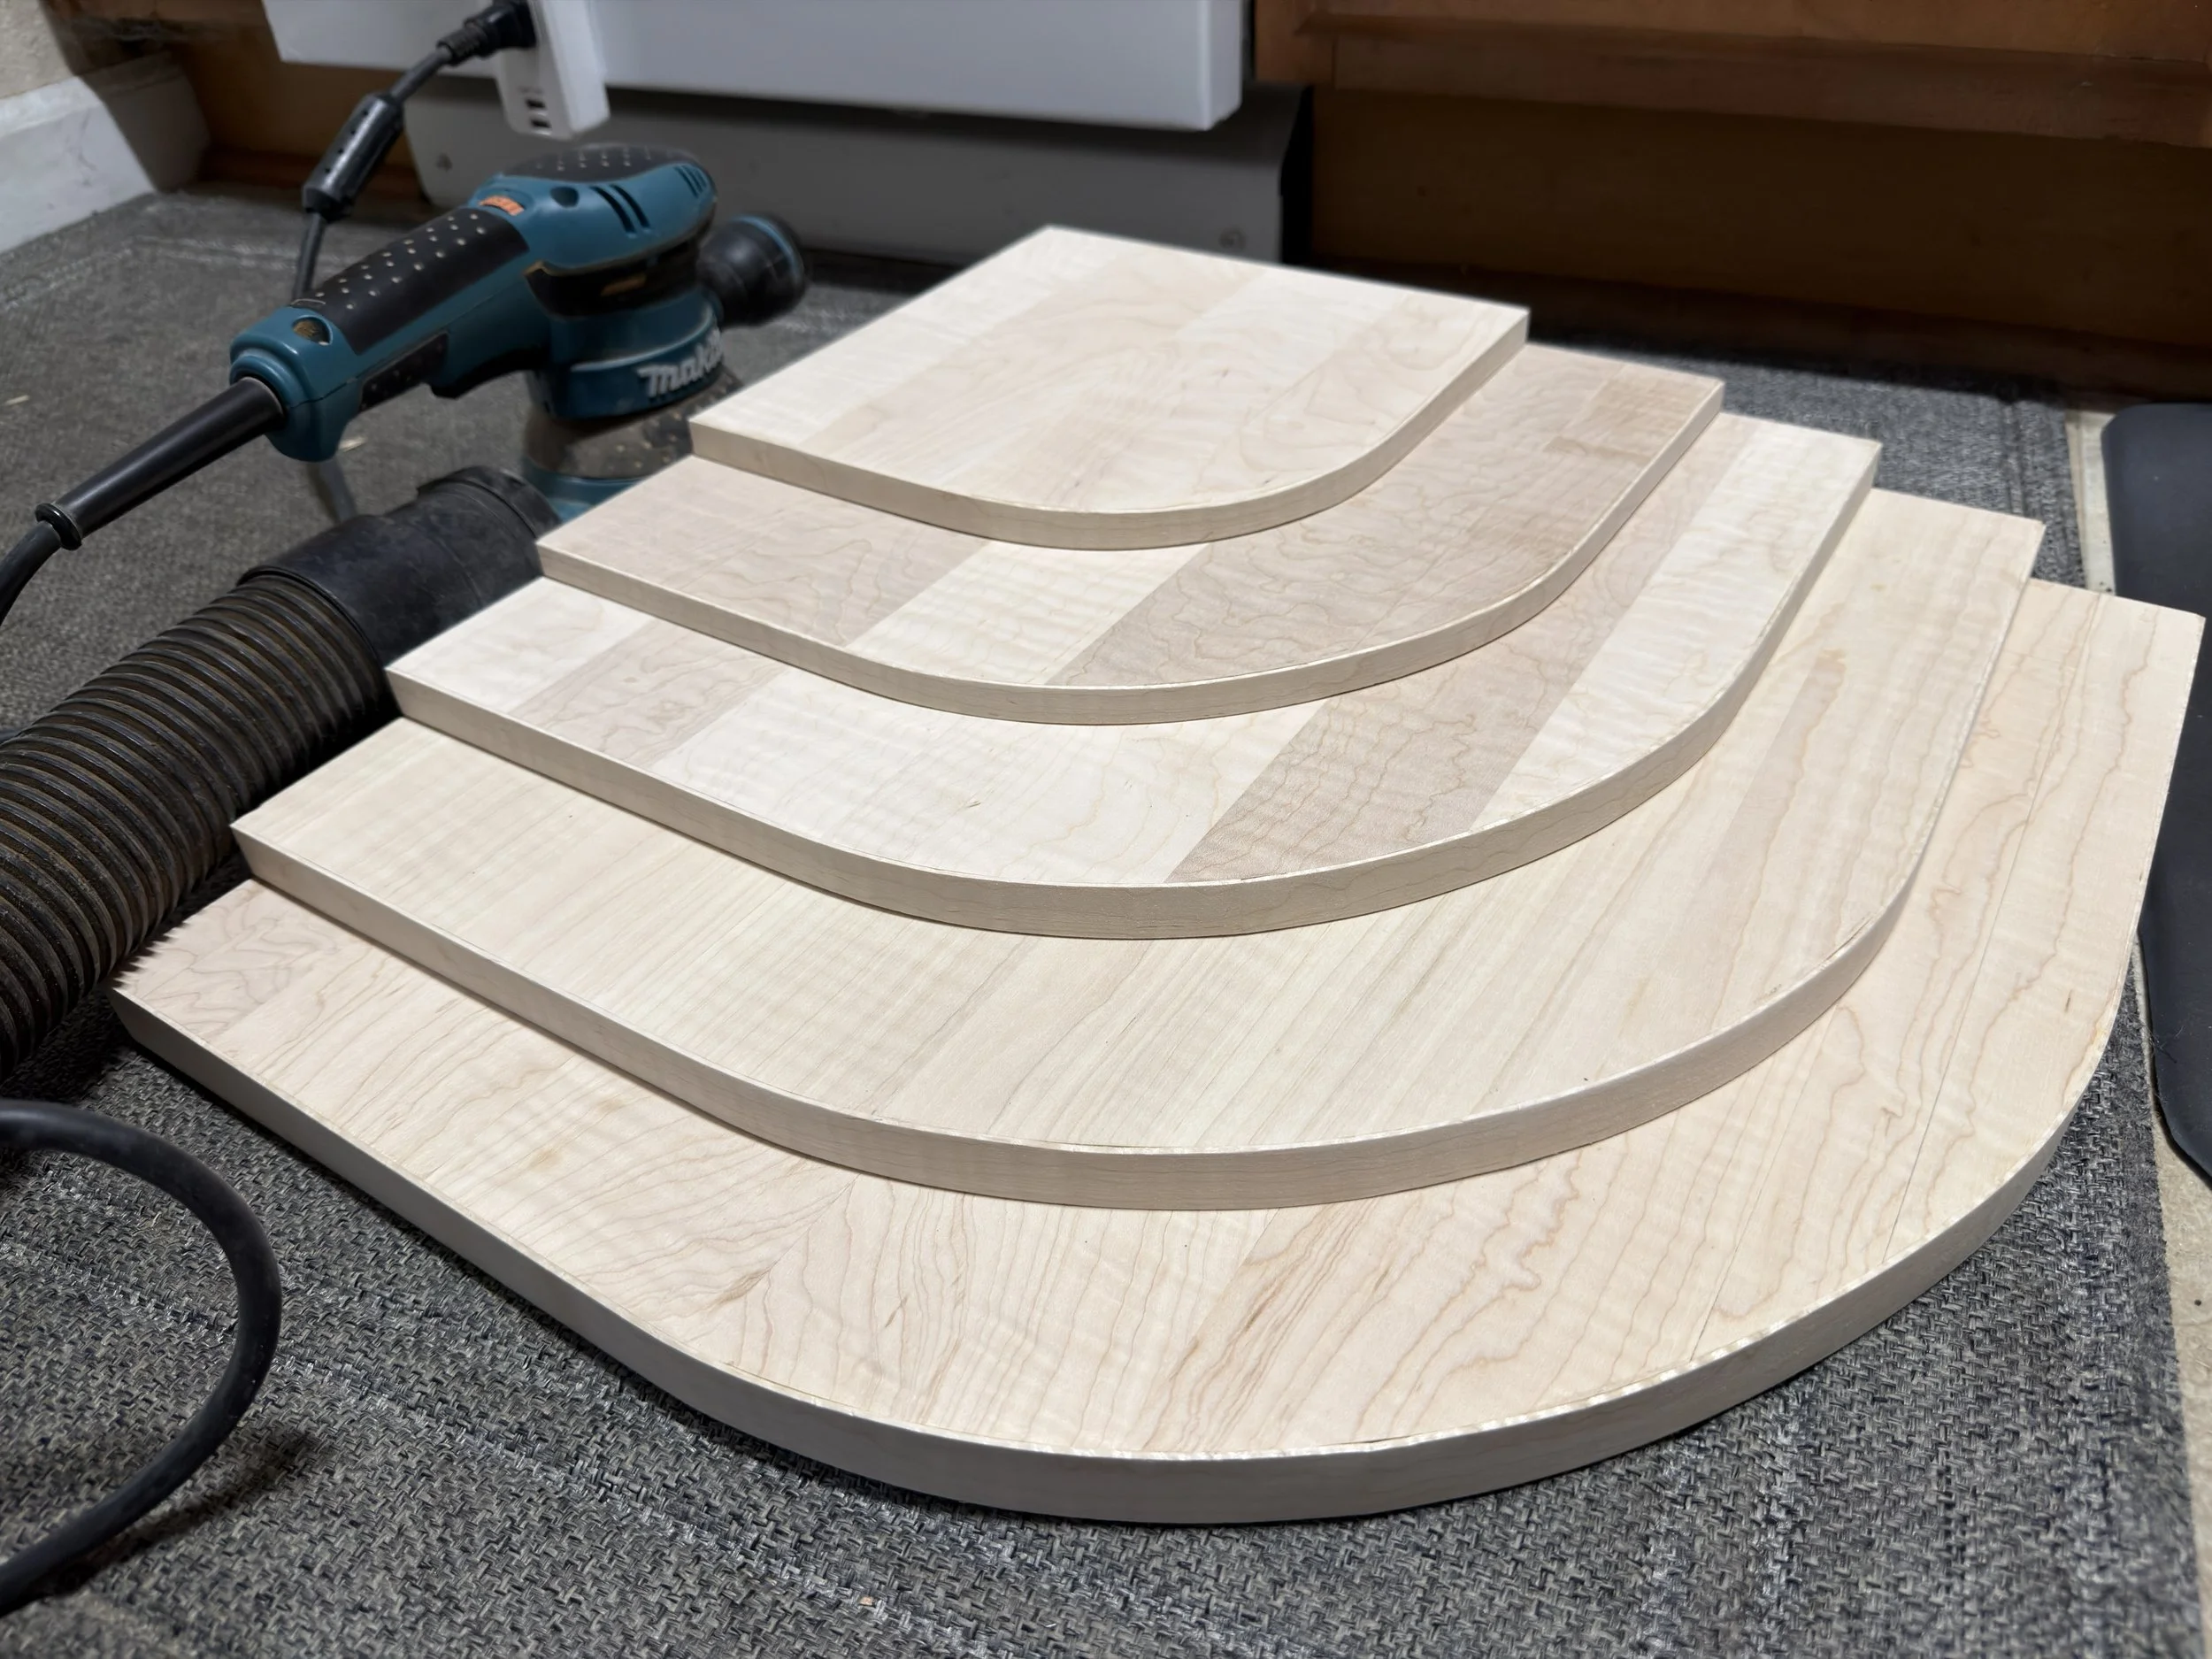
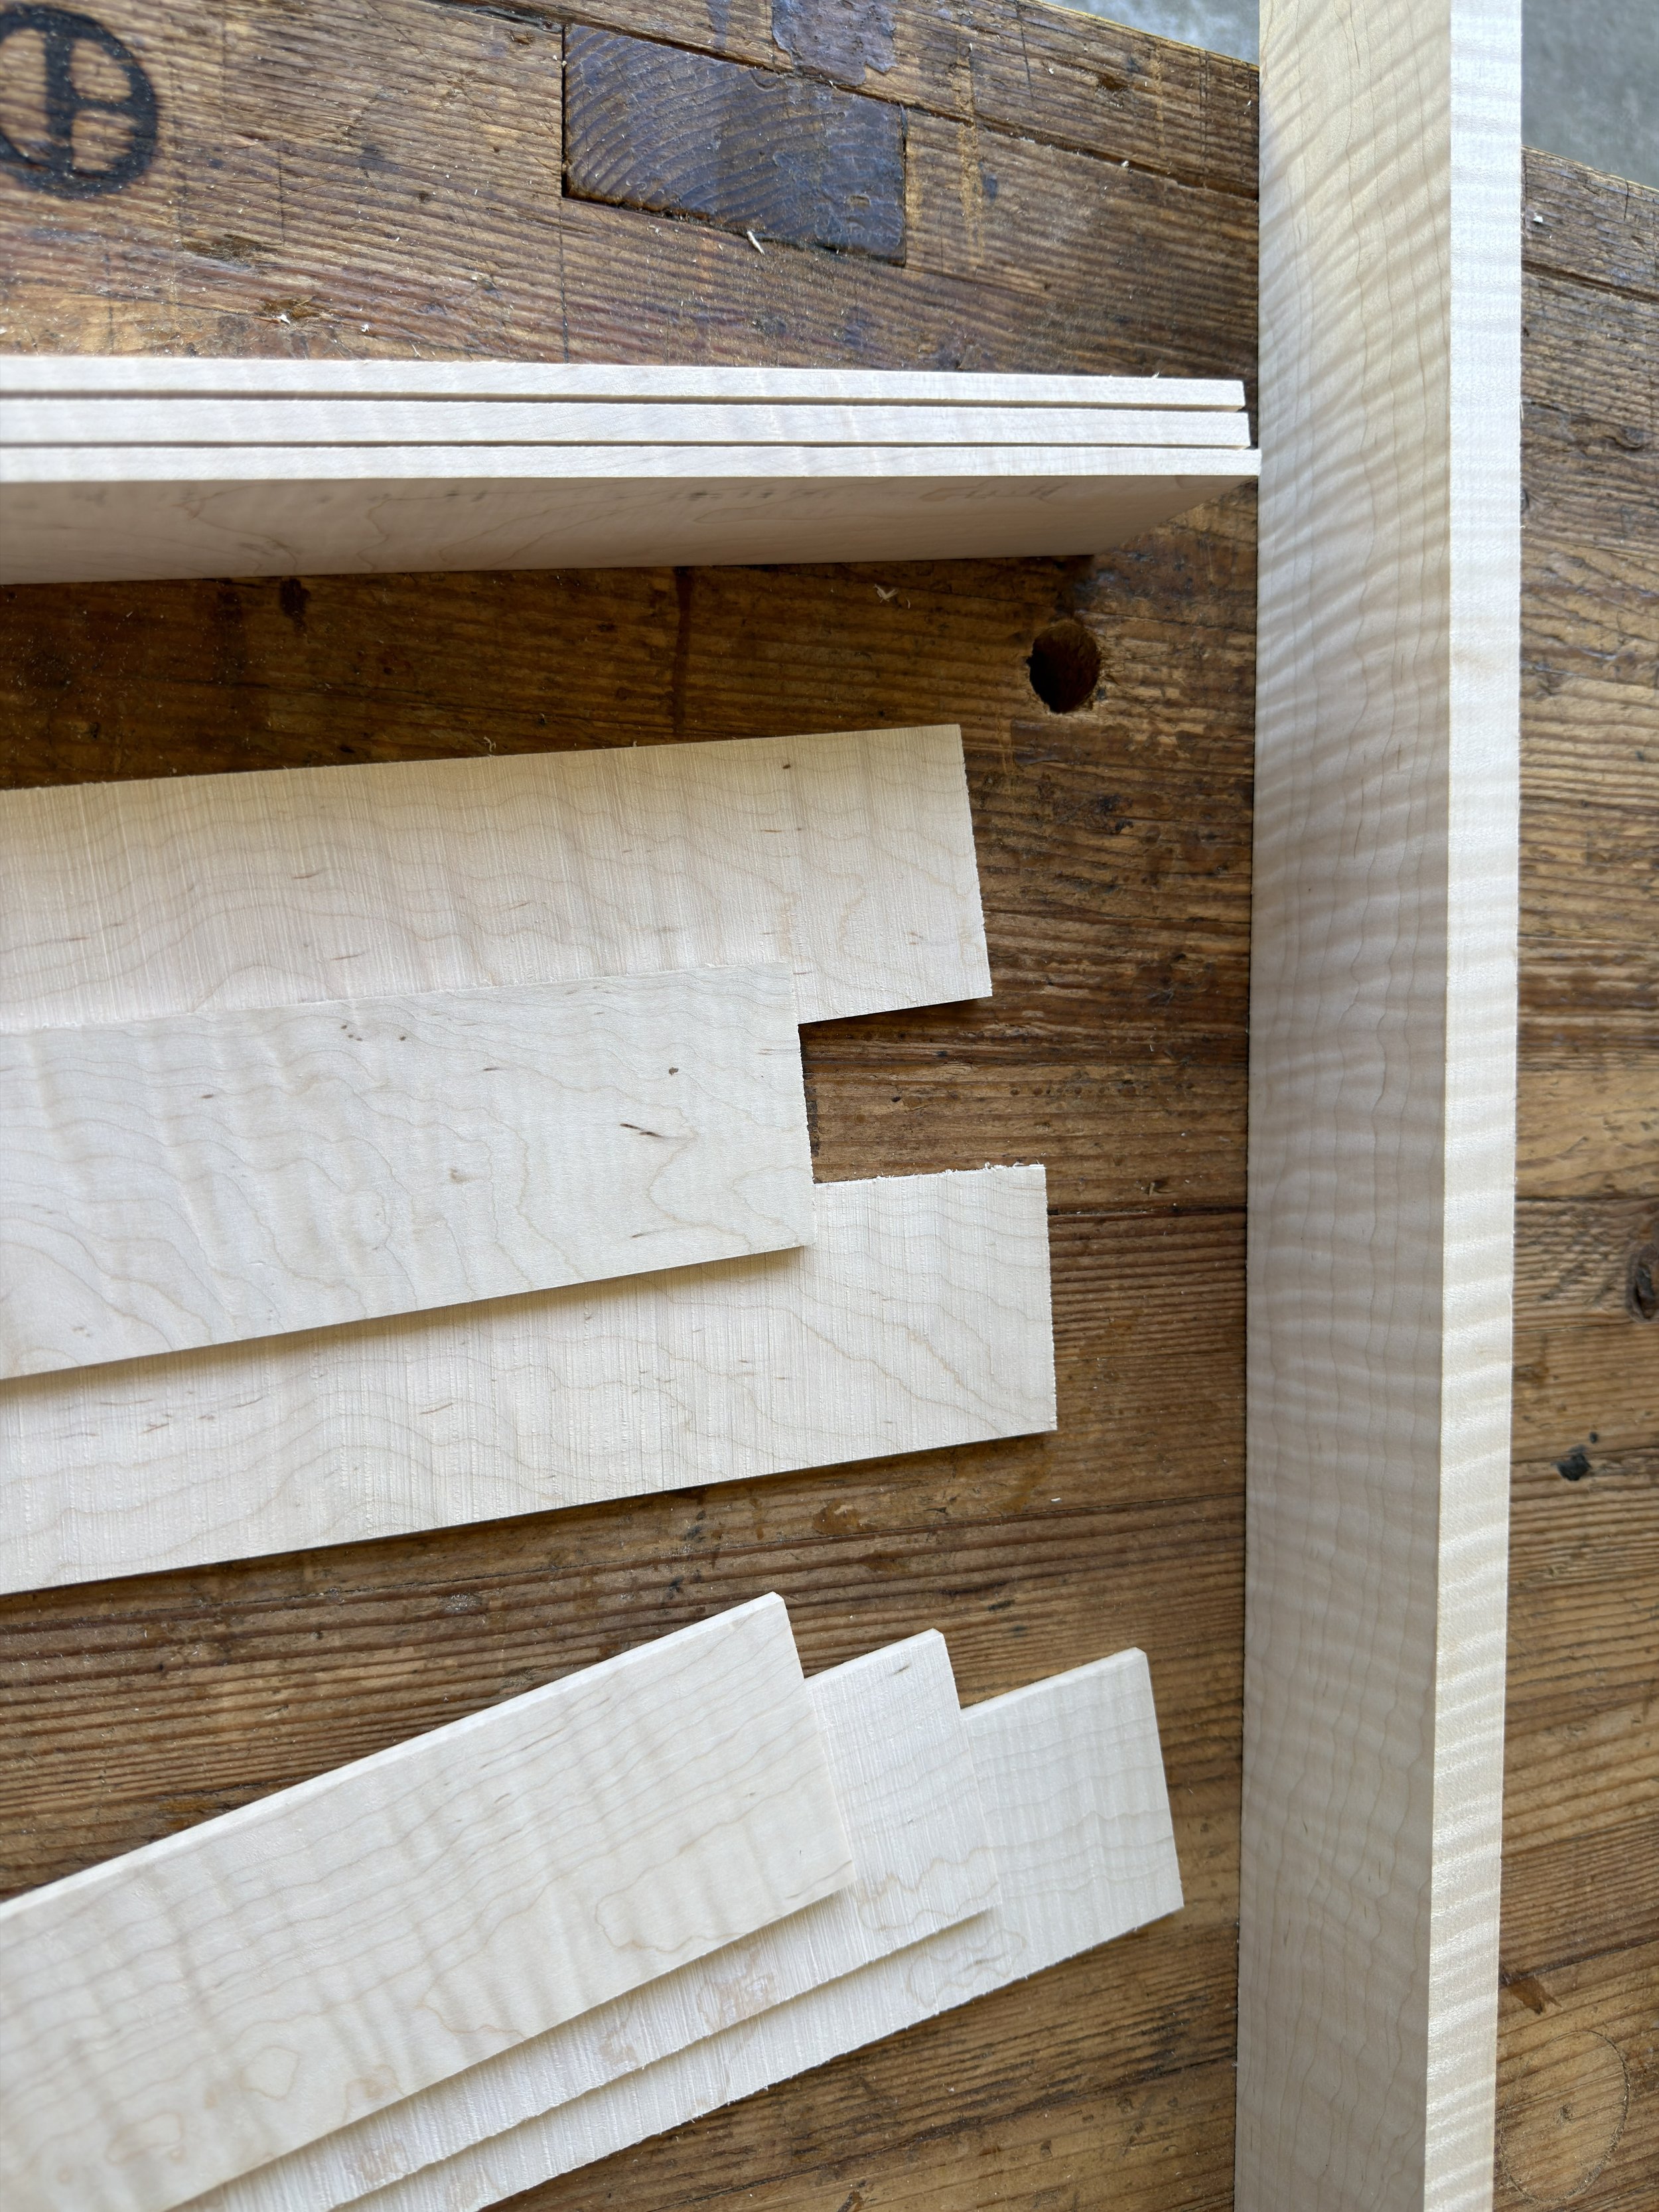
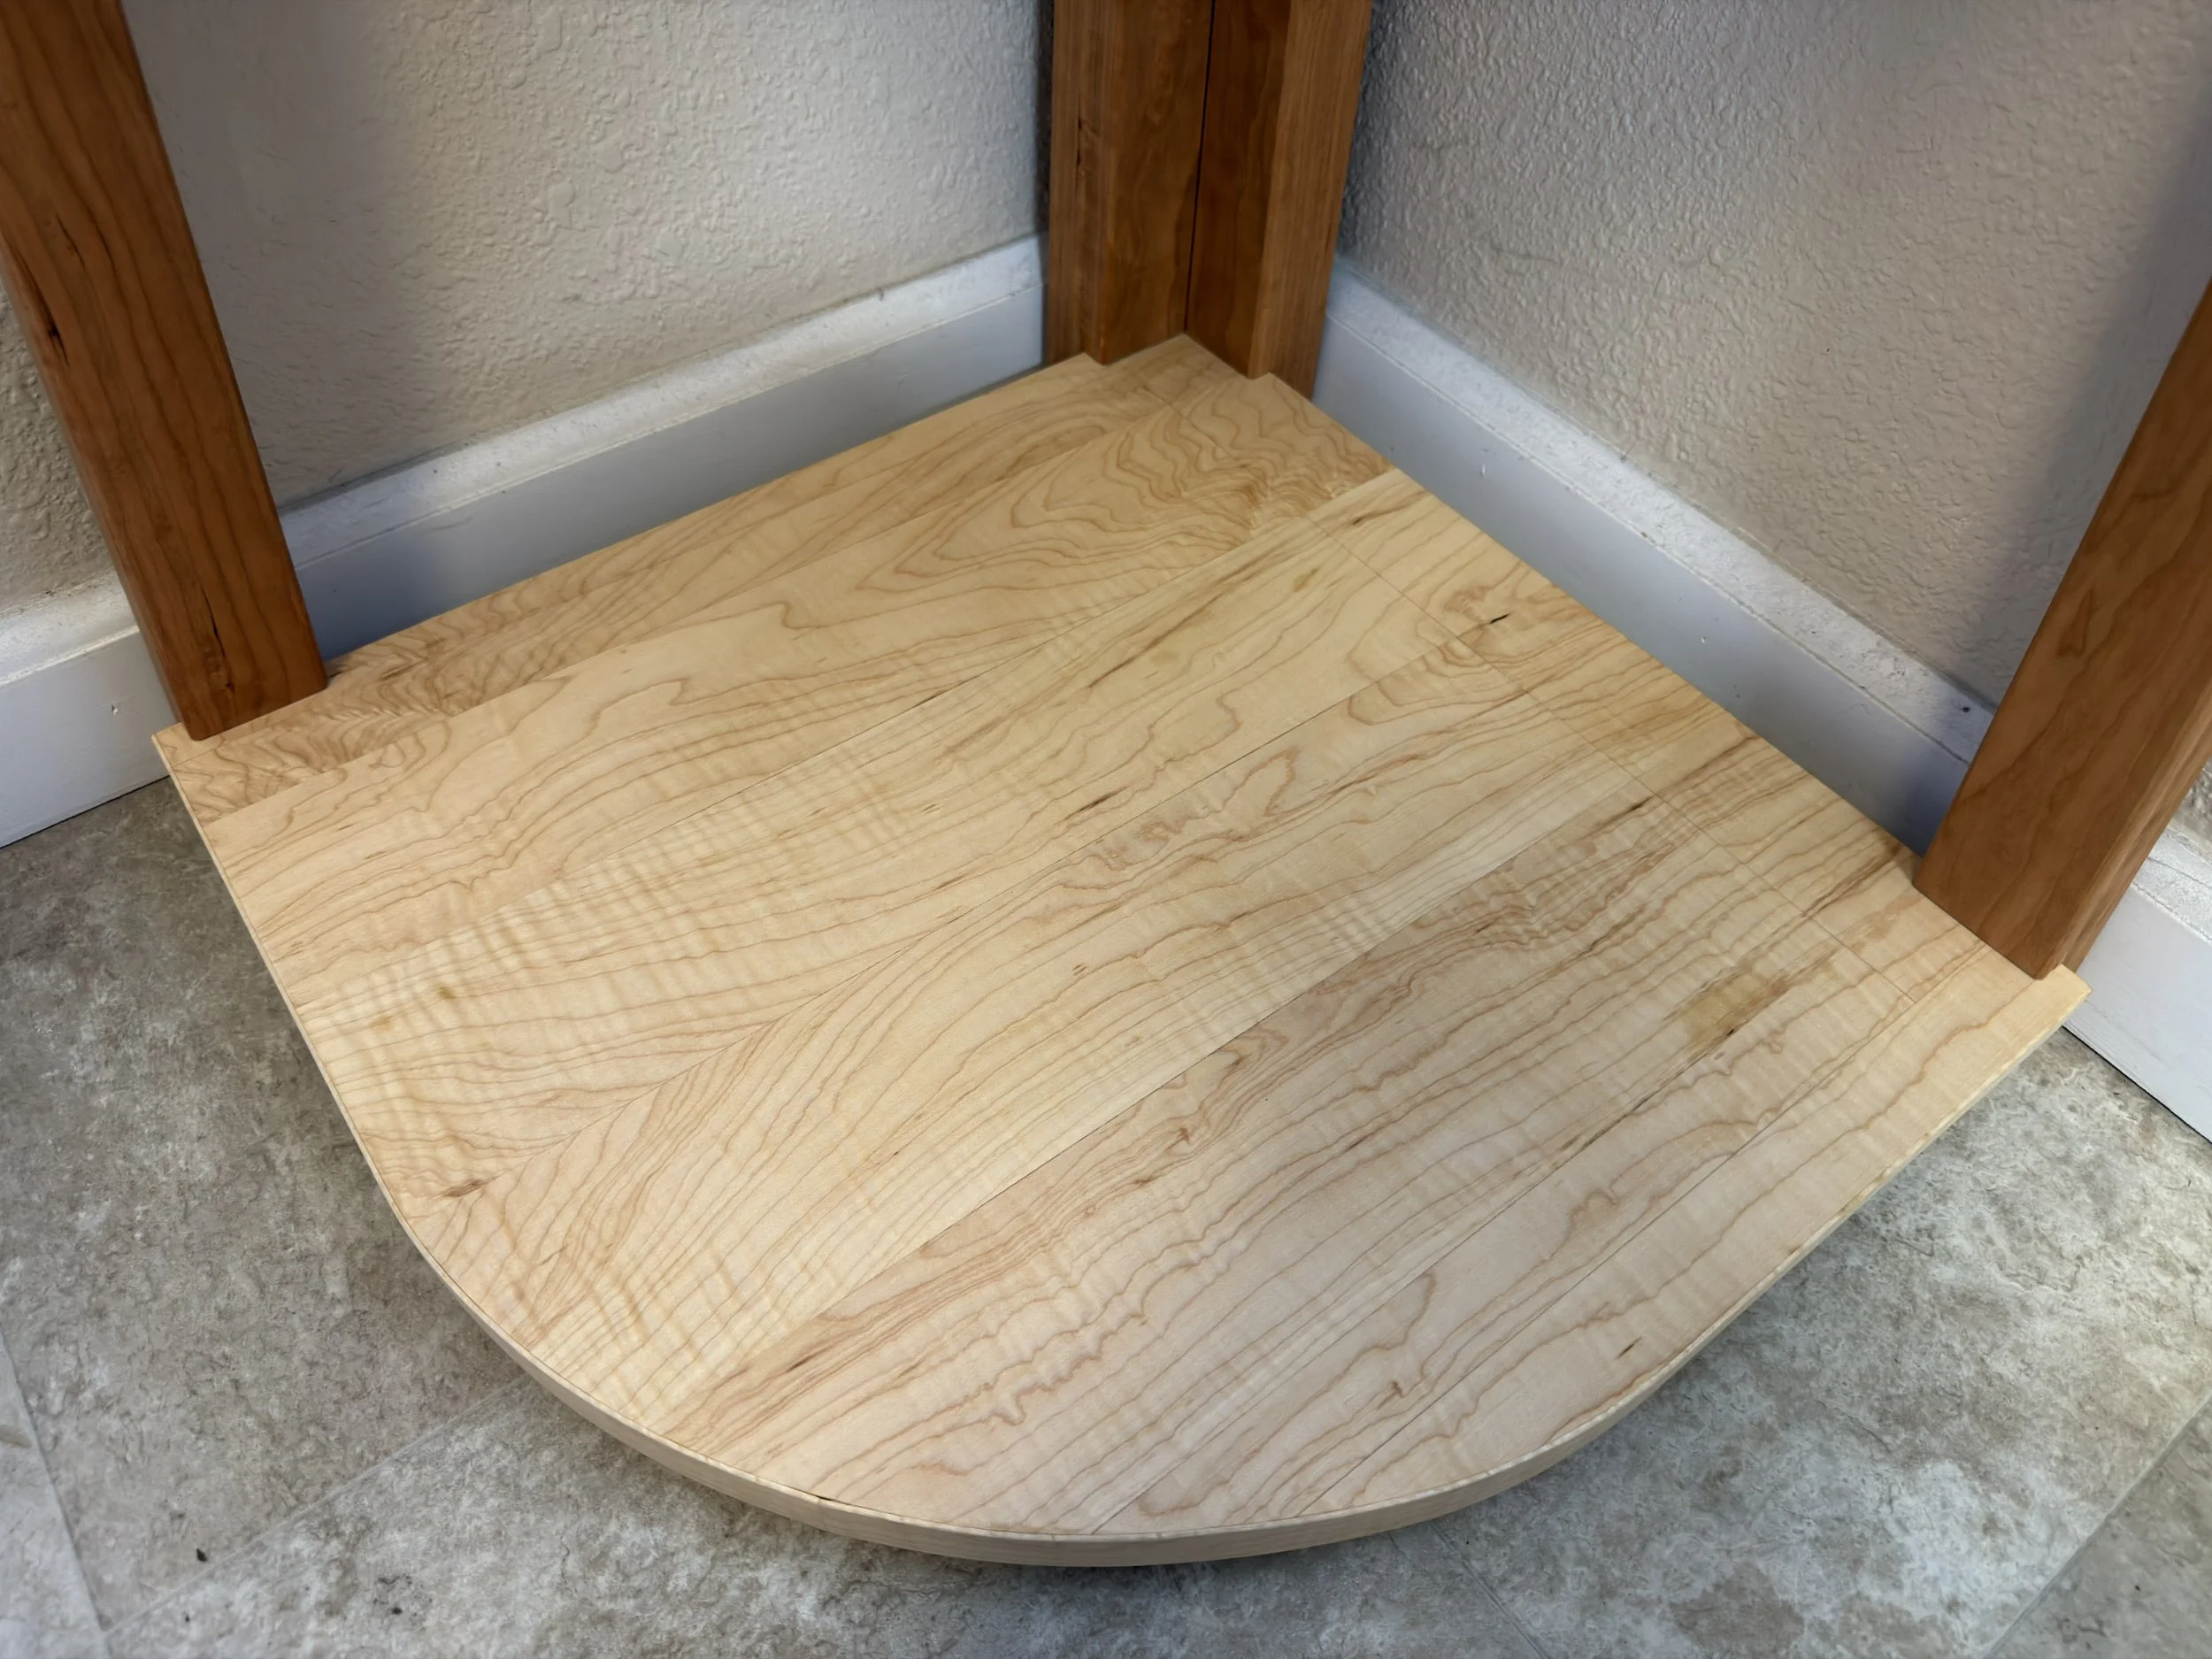
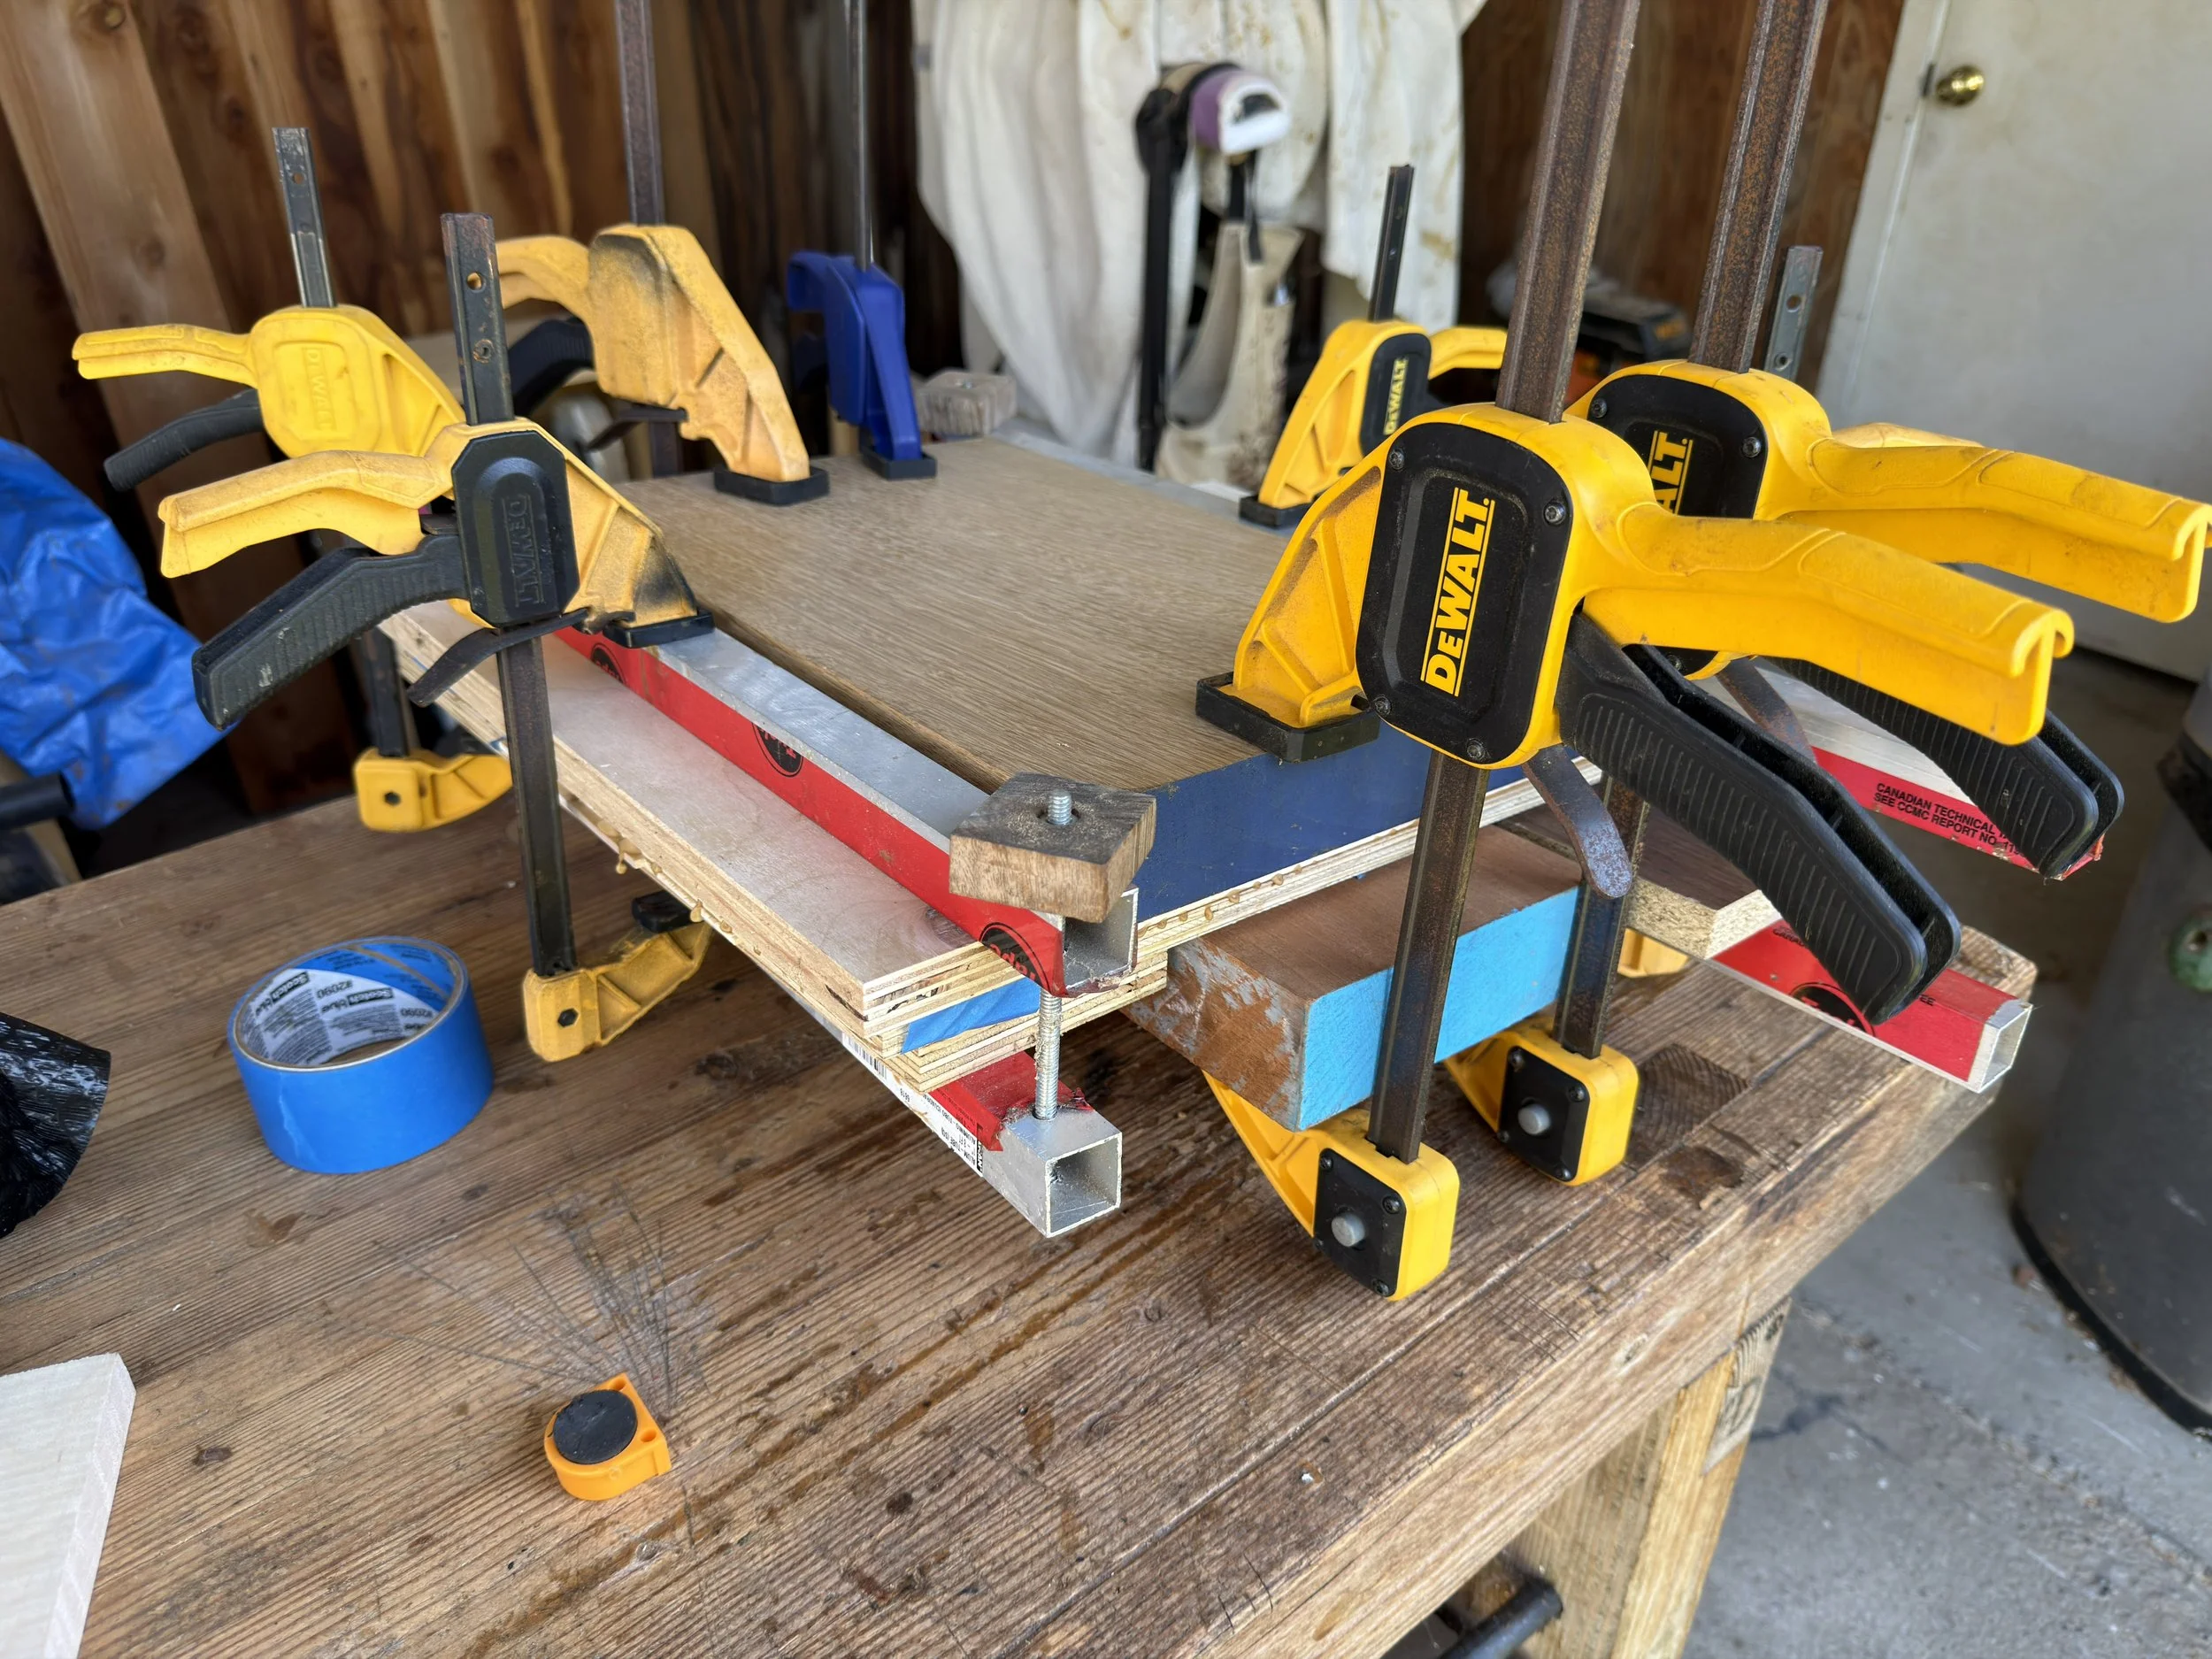
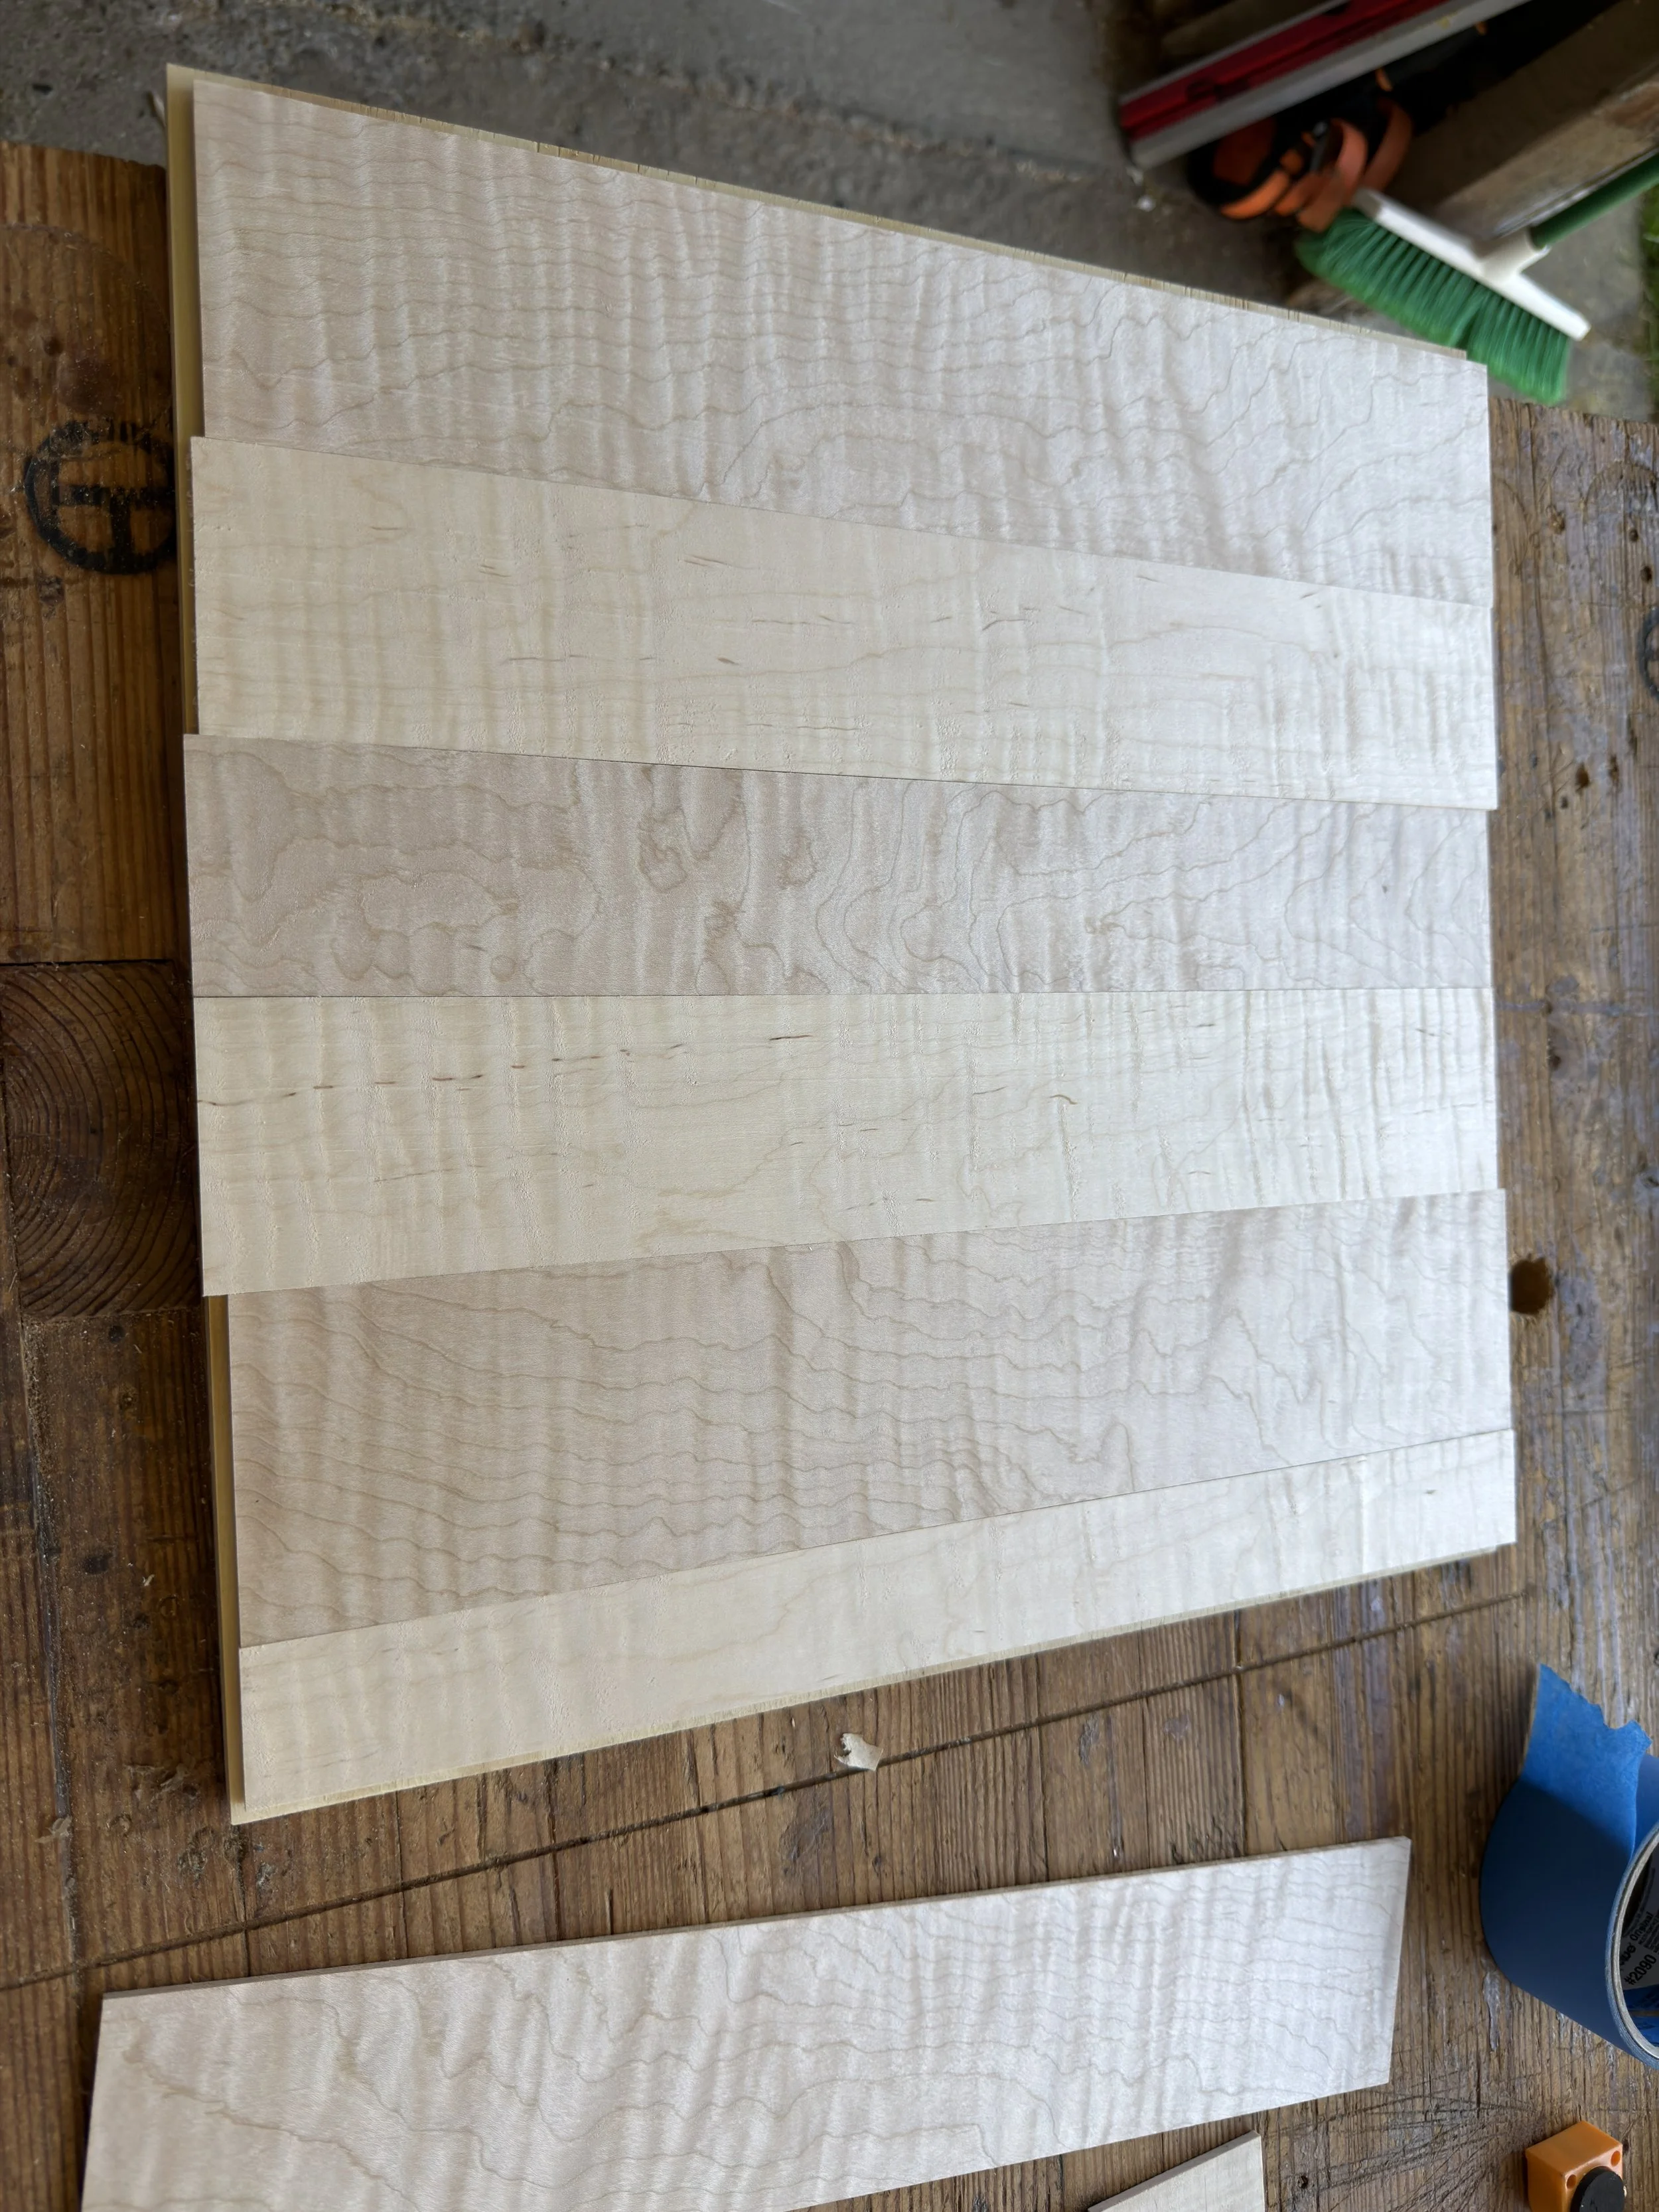
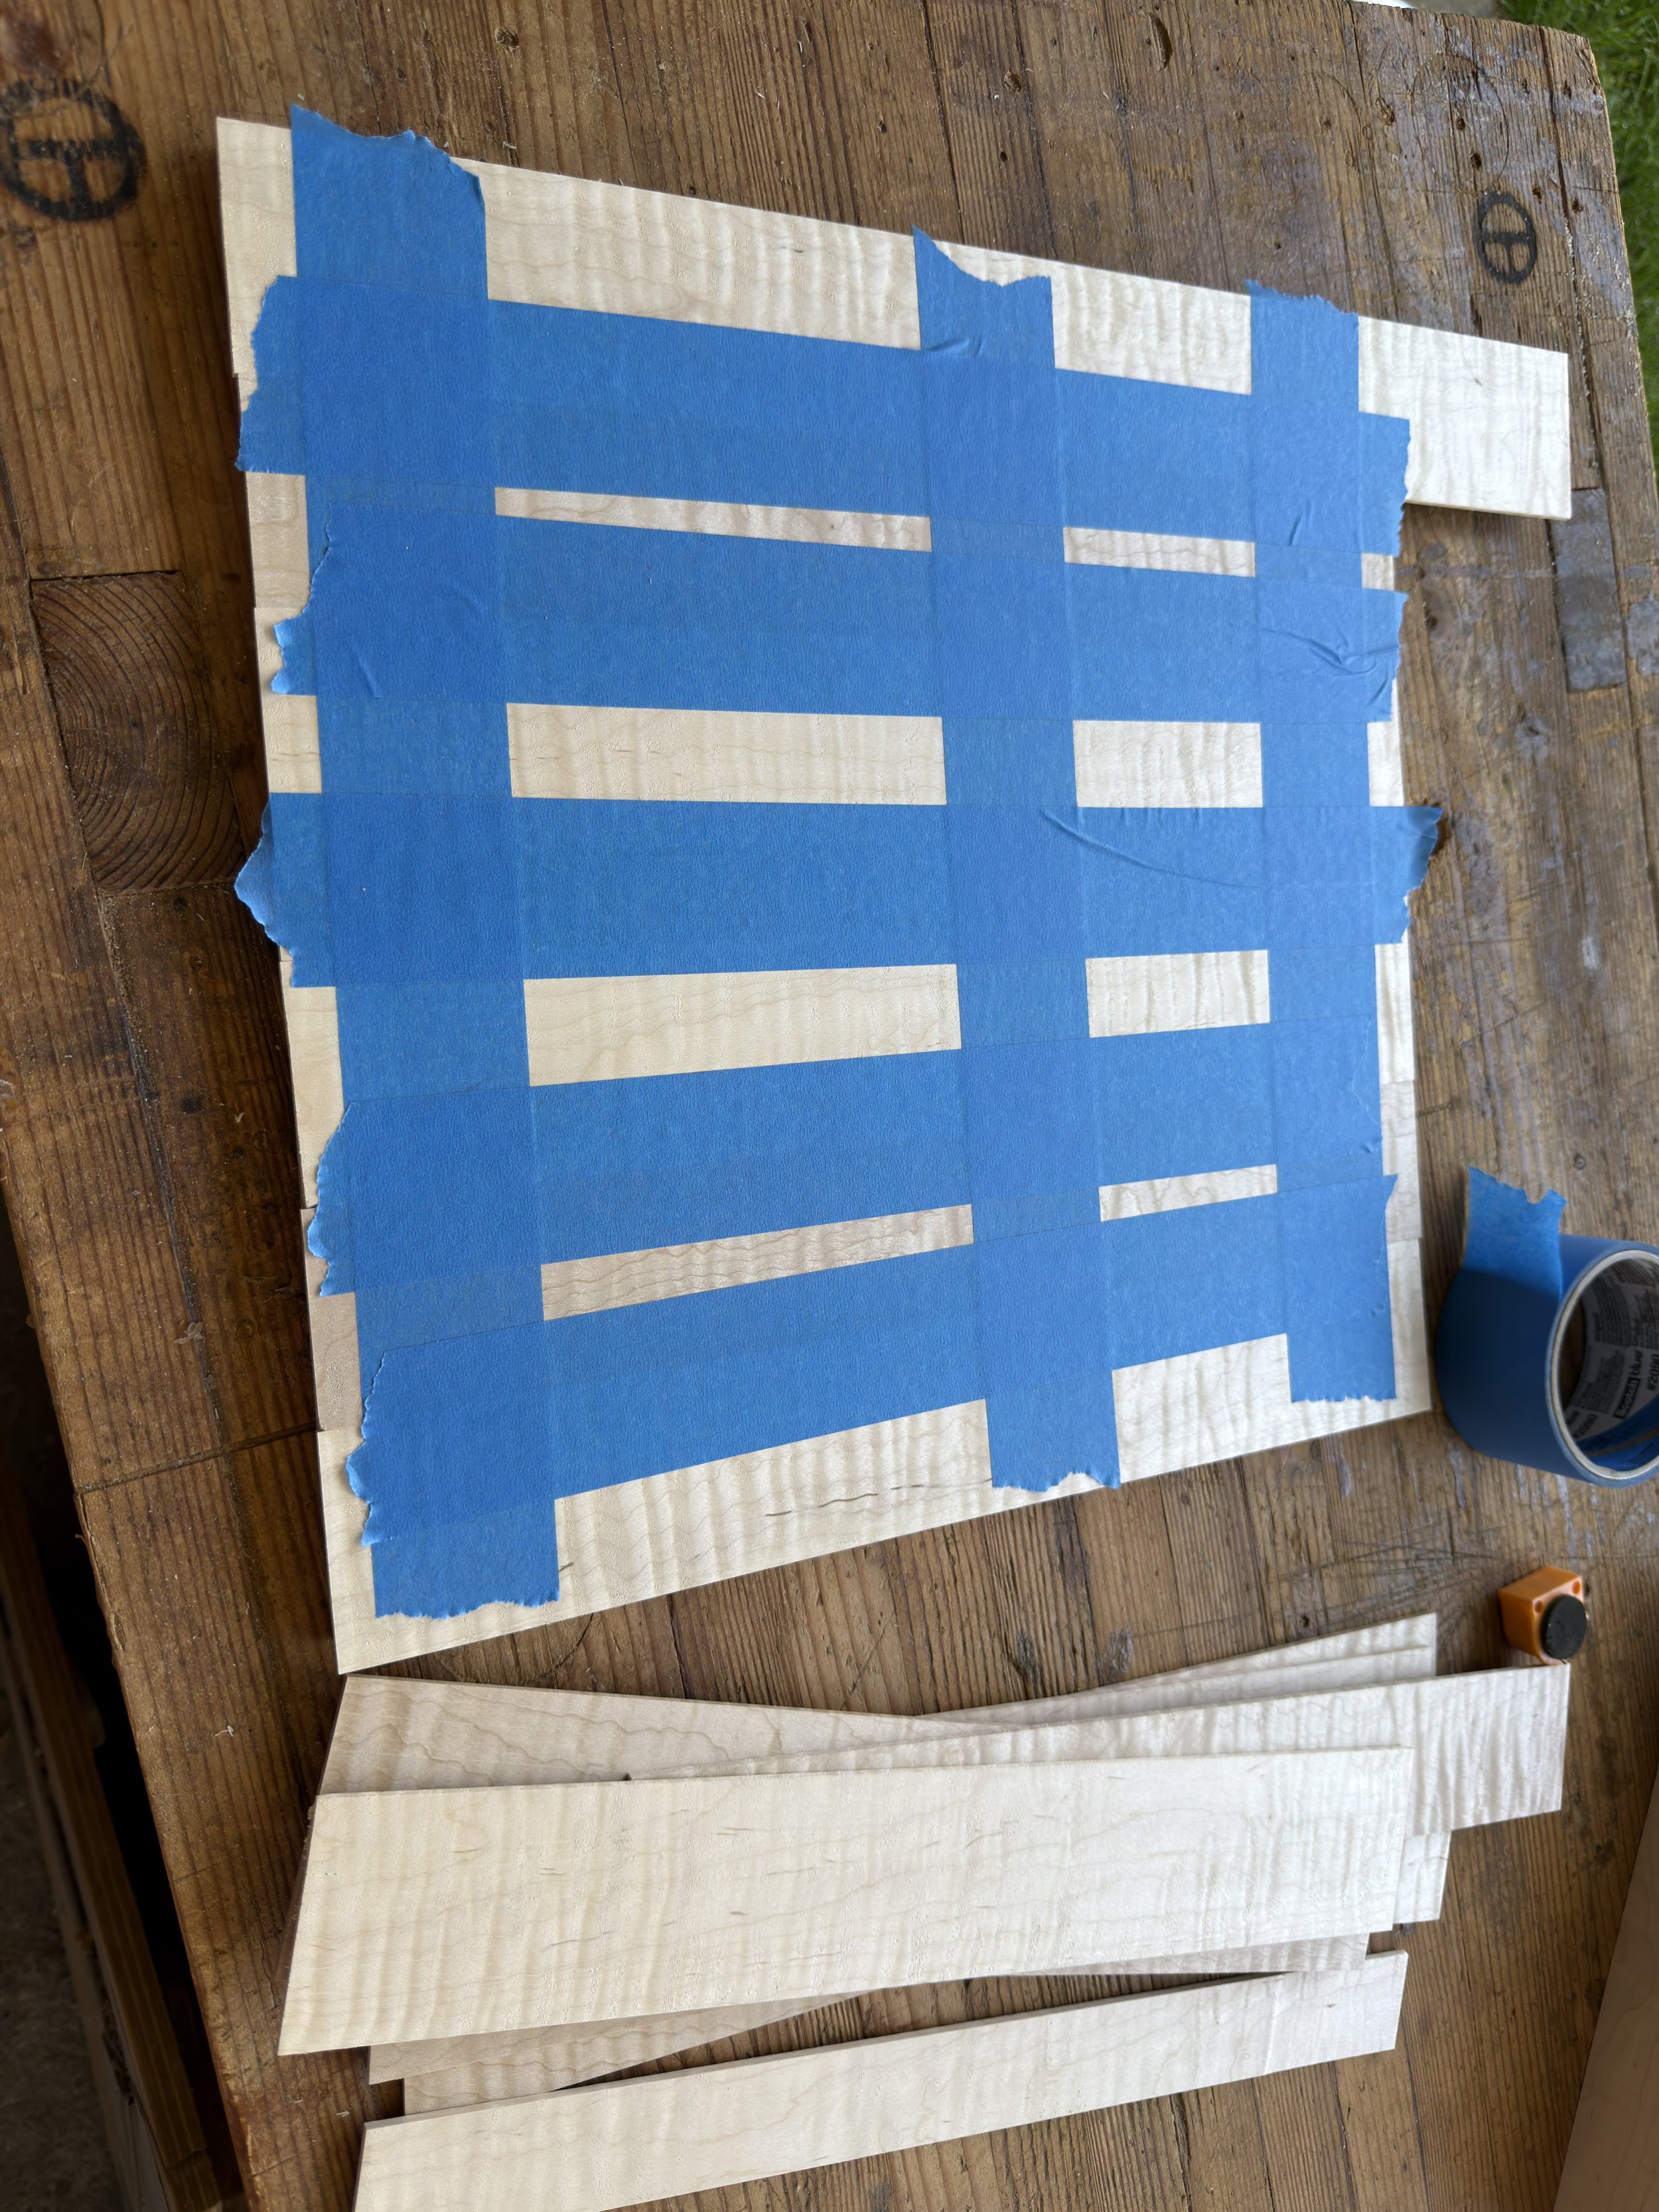
Using my bandsaw I was able to cut each piece of curly maple into 3 thinner slices. I first used my planer to thin down all the pieces to a uniform thickness, pushing the limits of how thin my machine can go. I then spent what felt like hours with the drum sander thinning those down to 2~3mm. All the shop made veneers I have seen have been paper thin but there was no way I could achieve that with my tools. I aimed for thin enough for the strips to bend fairly easily, to cover the curved plywood edge that would be otherwise visible on every shelf. Gluing the veneers to the plywood was also fun since I do not have a vacuum press which are highly recommended for gluing veneers. Instead I made do with a few thick pieces of wood and many clamps, to hopefully manage to get enough pressure and spread it out over the entire surface area. The blue tape was used to hold the veneers together during the gluing and clamping process. It may look overboard but my lack of gaps between veneers say otherwise.
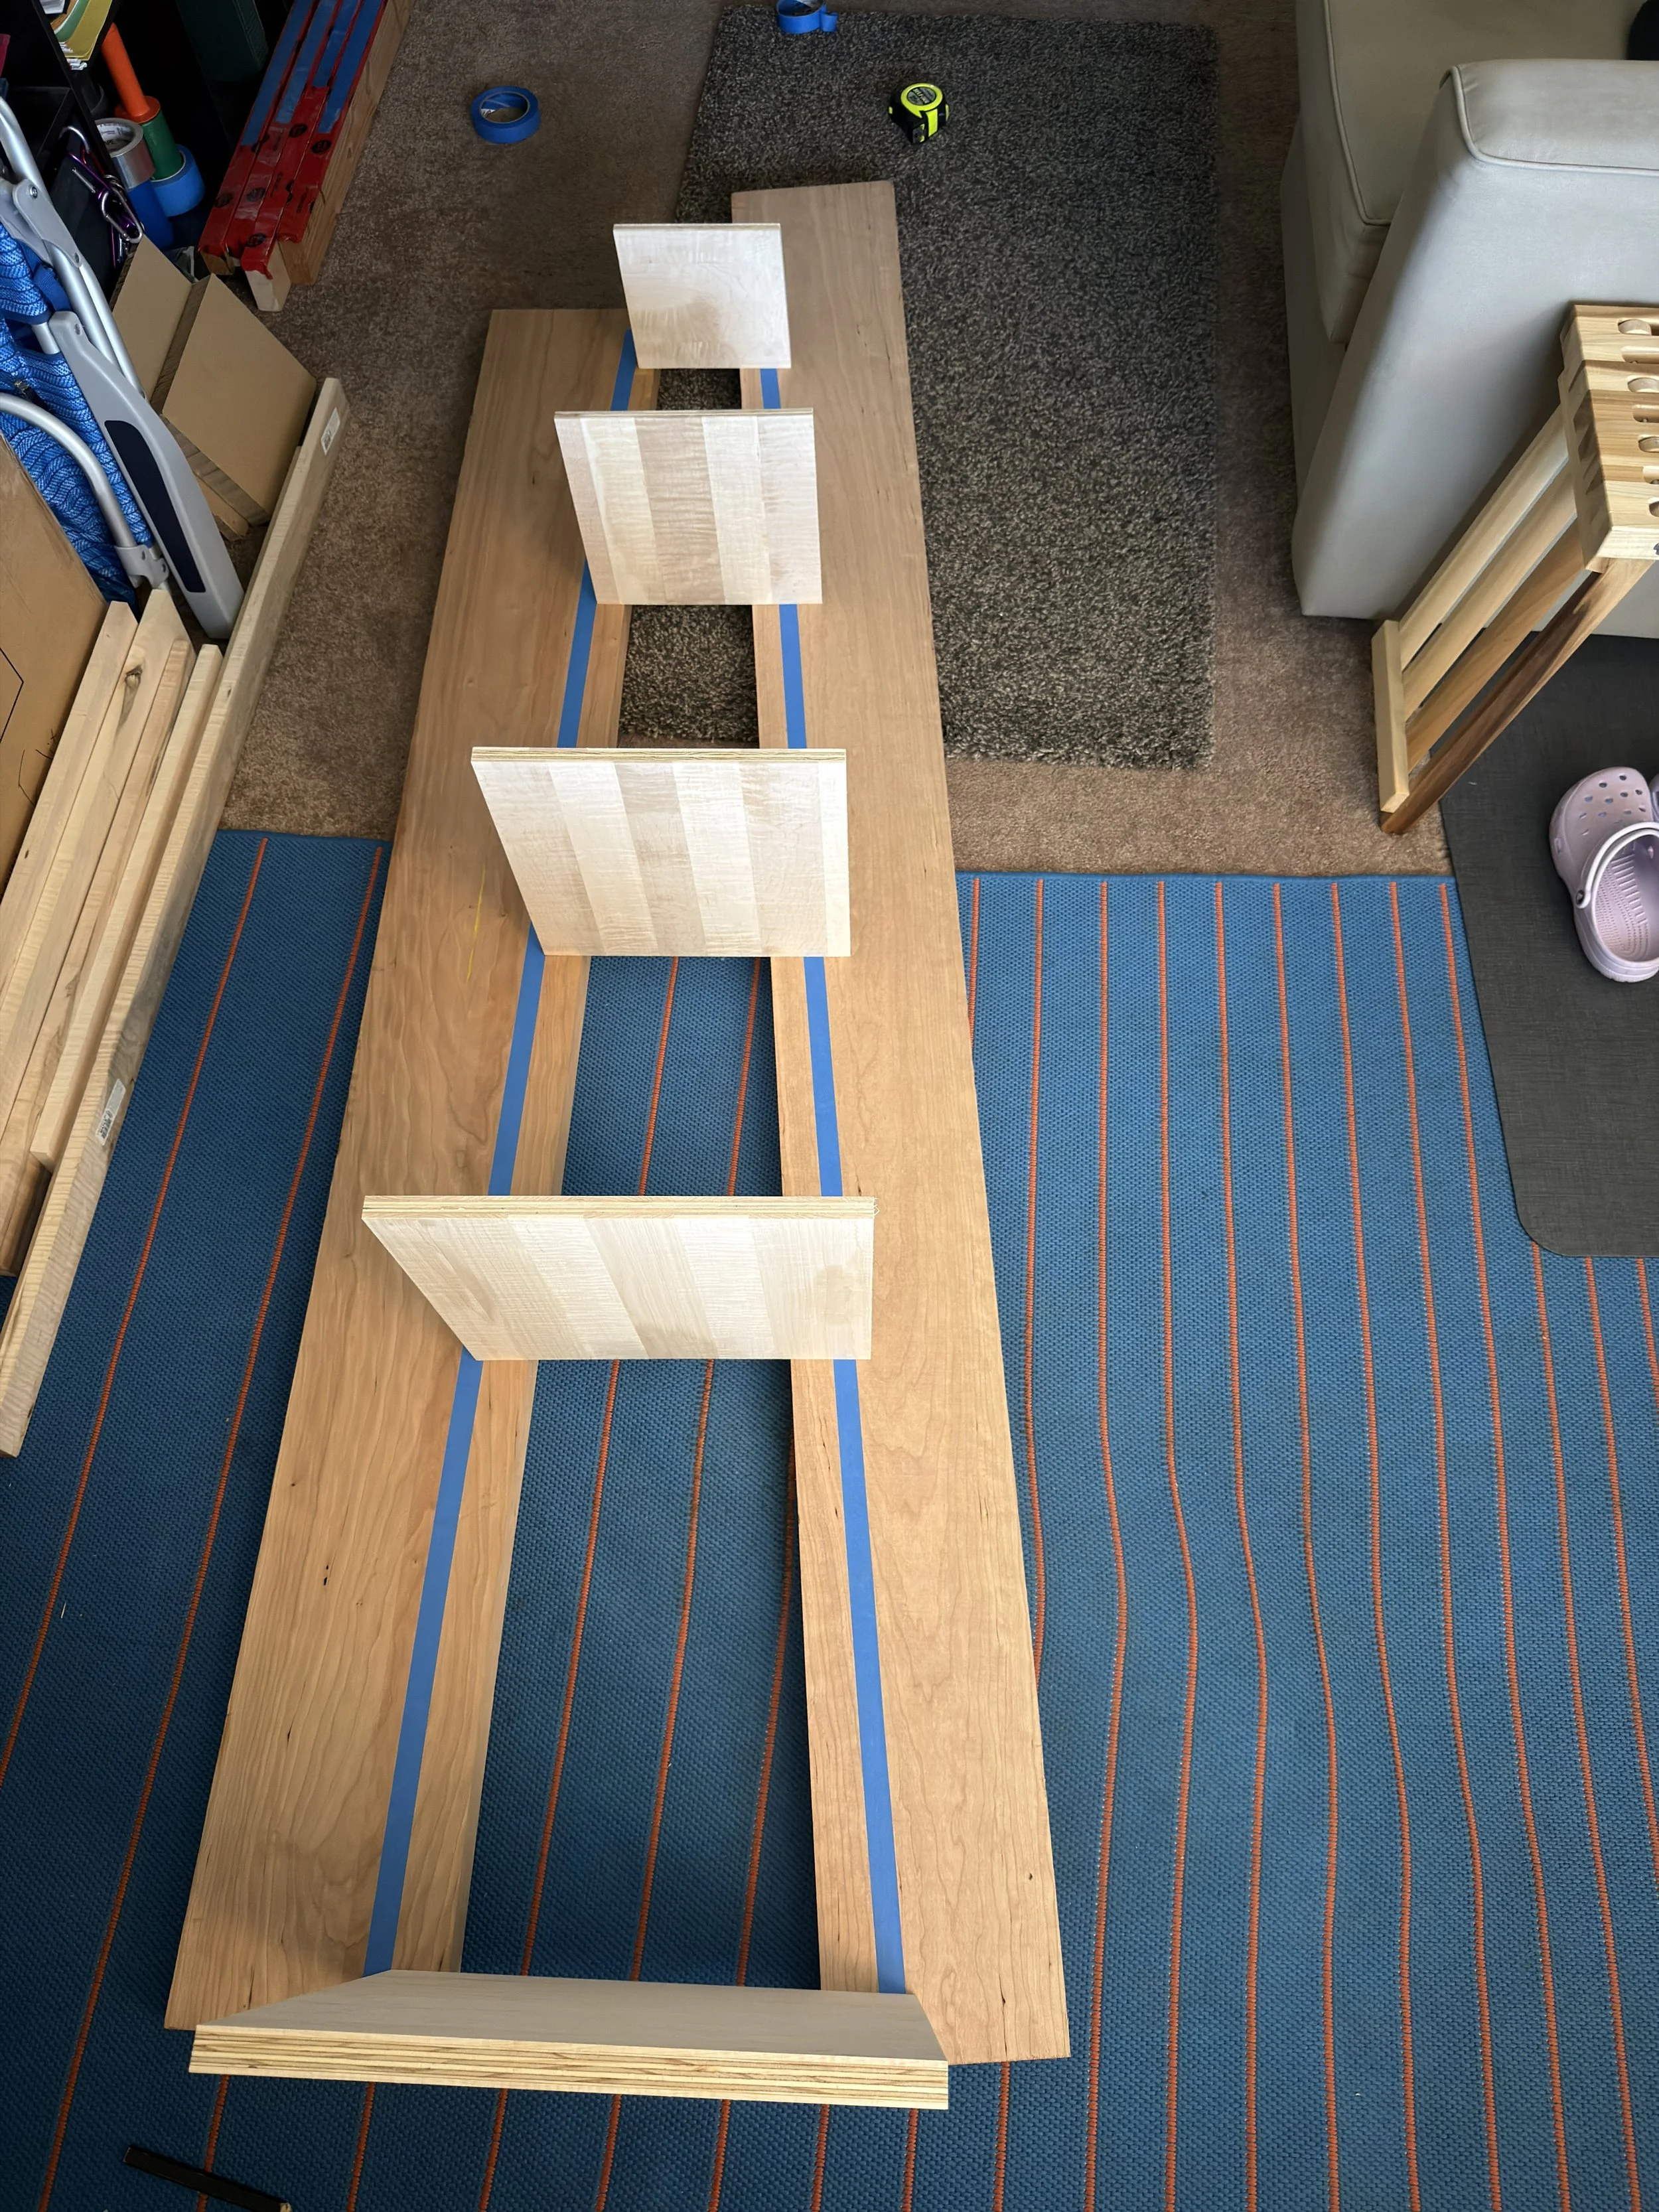
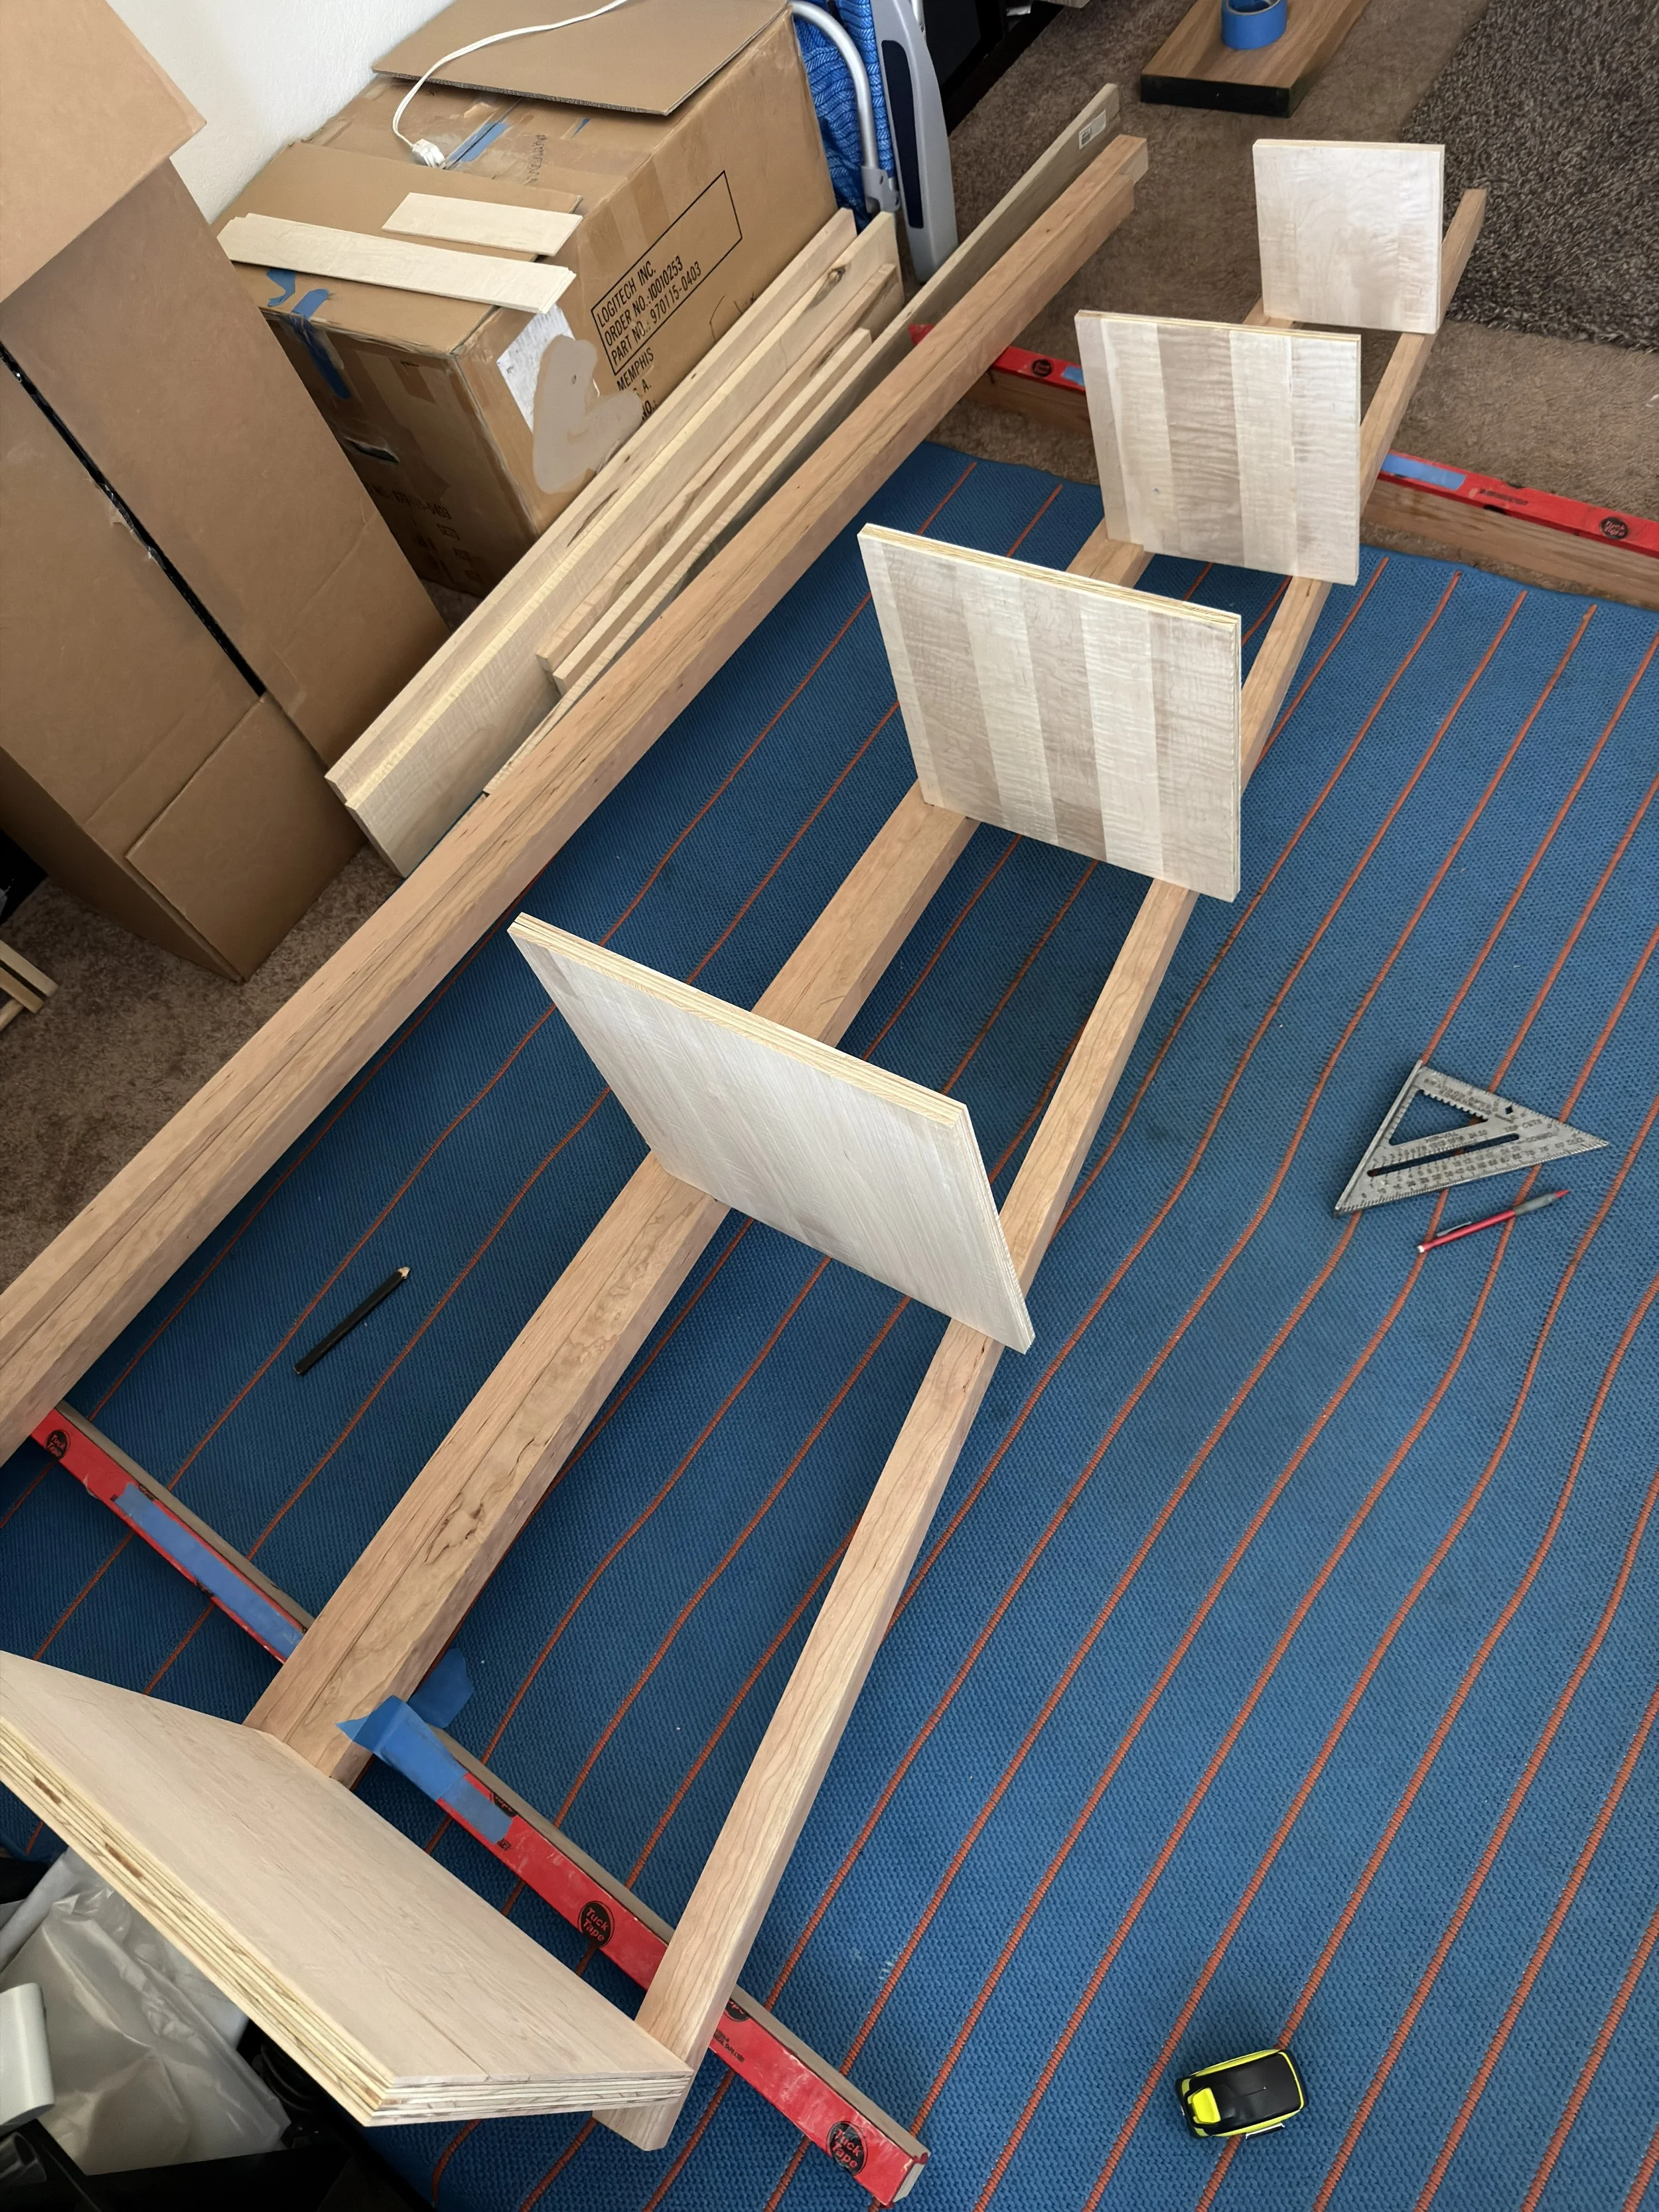
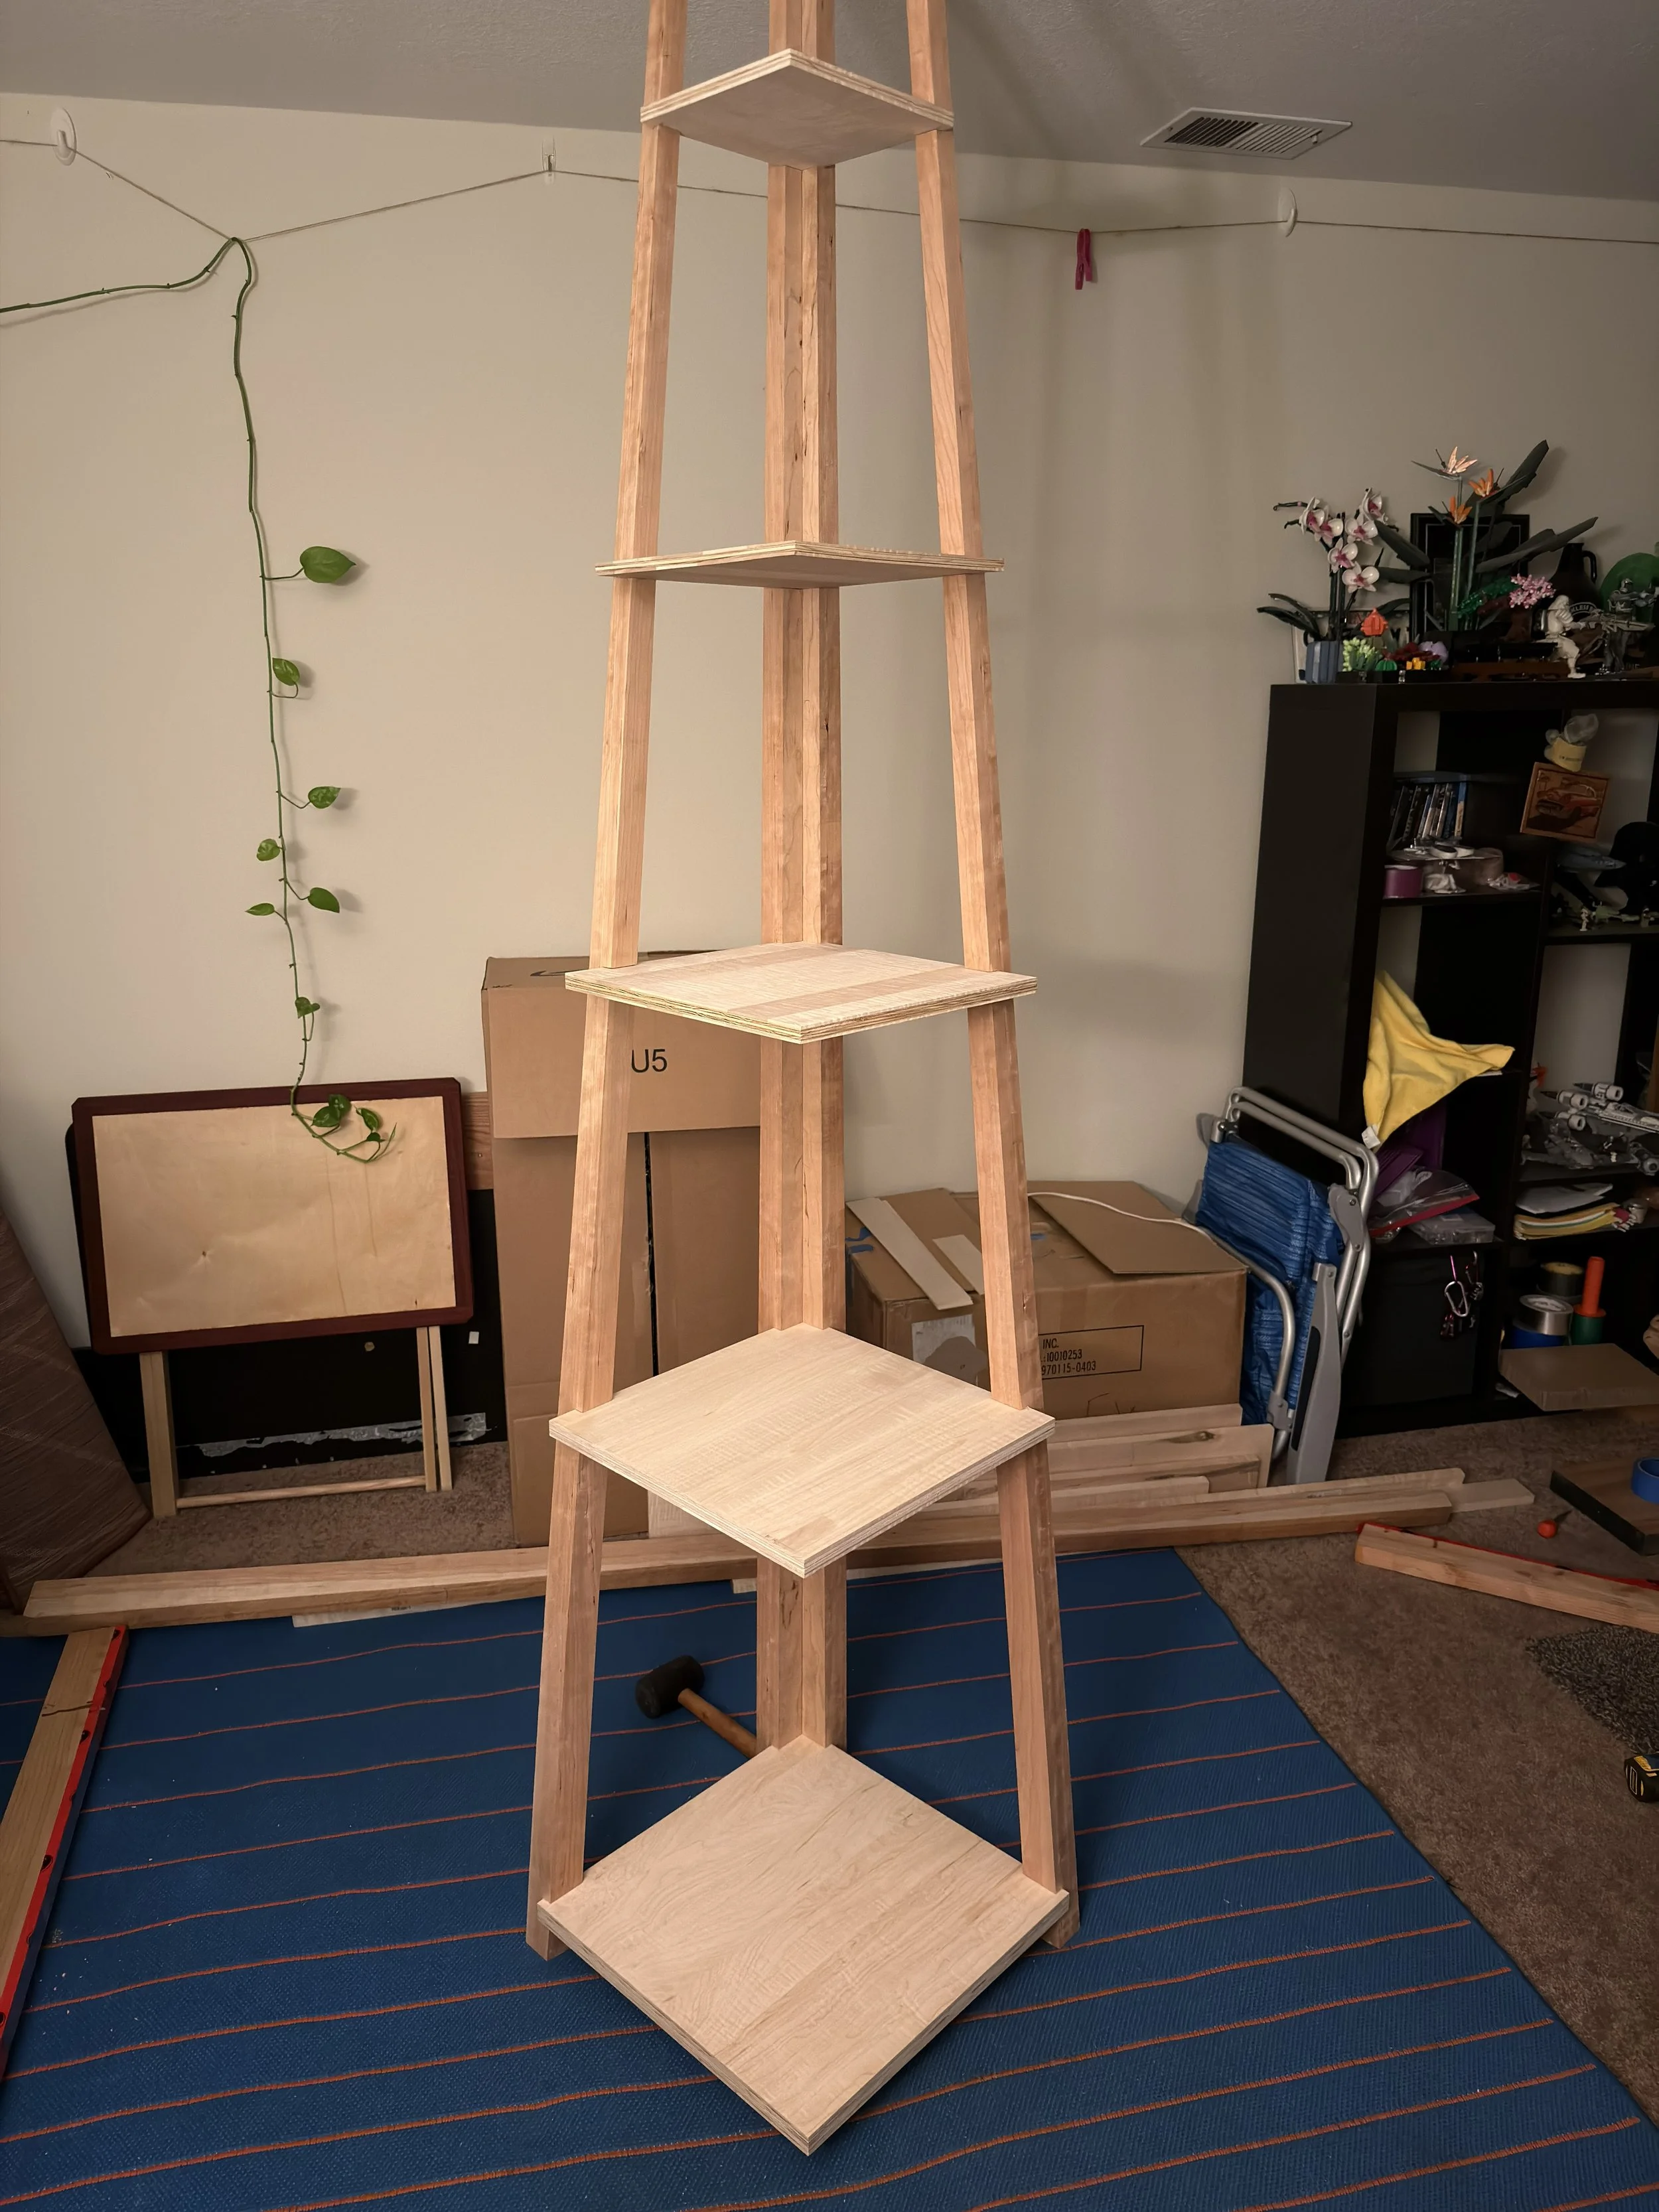
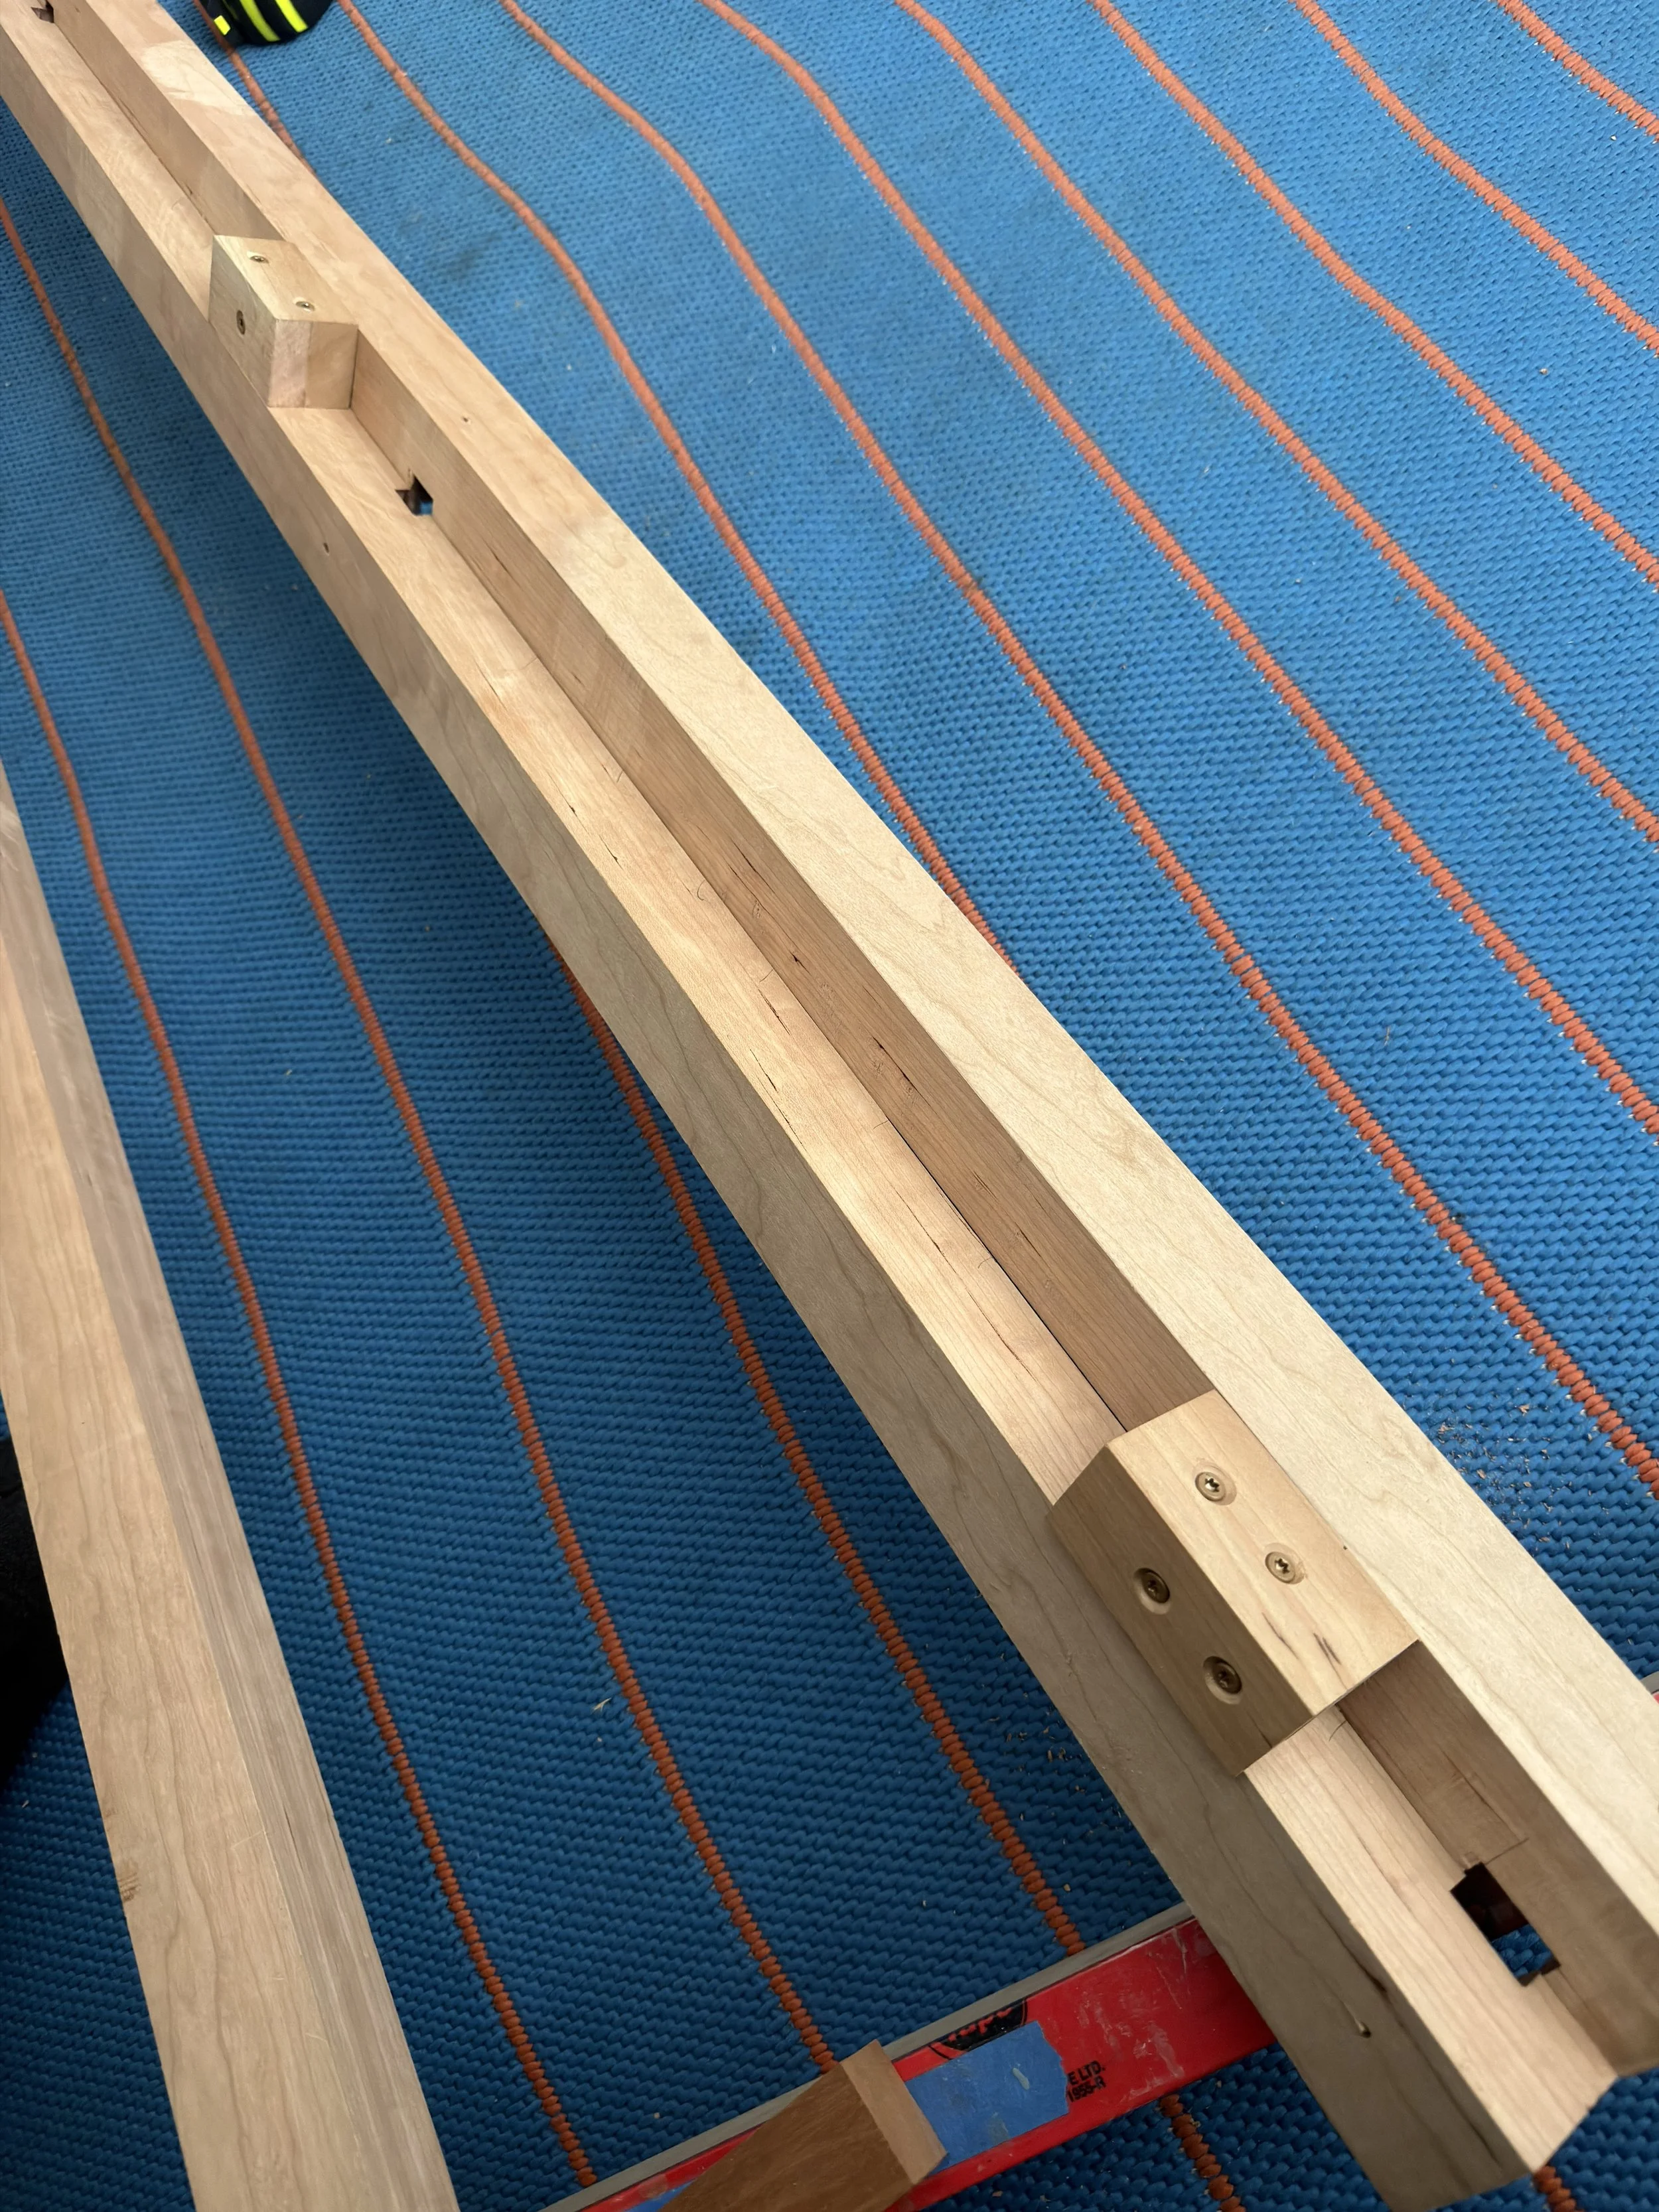
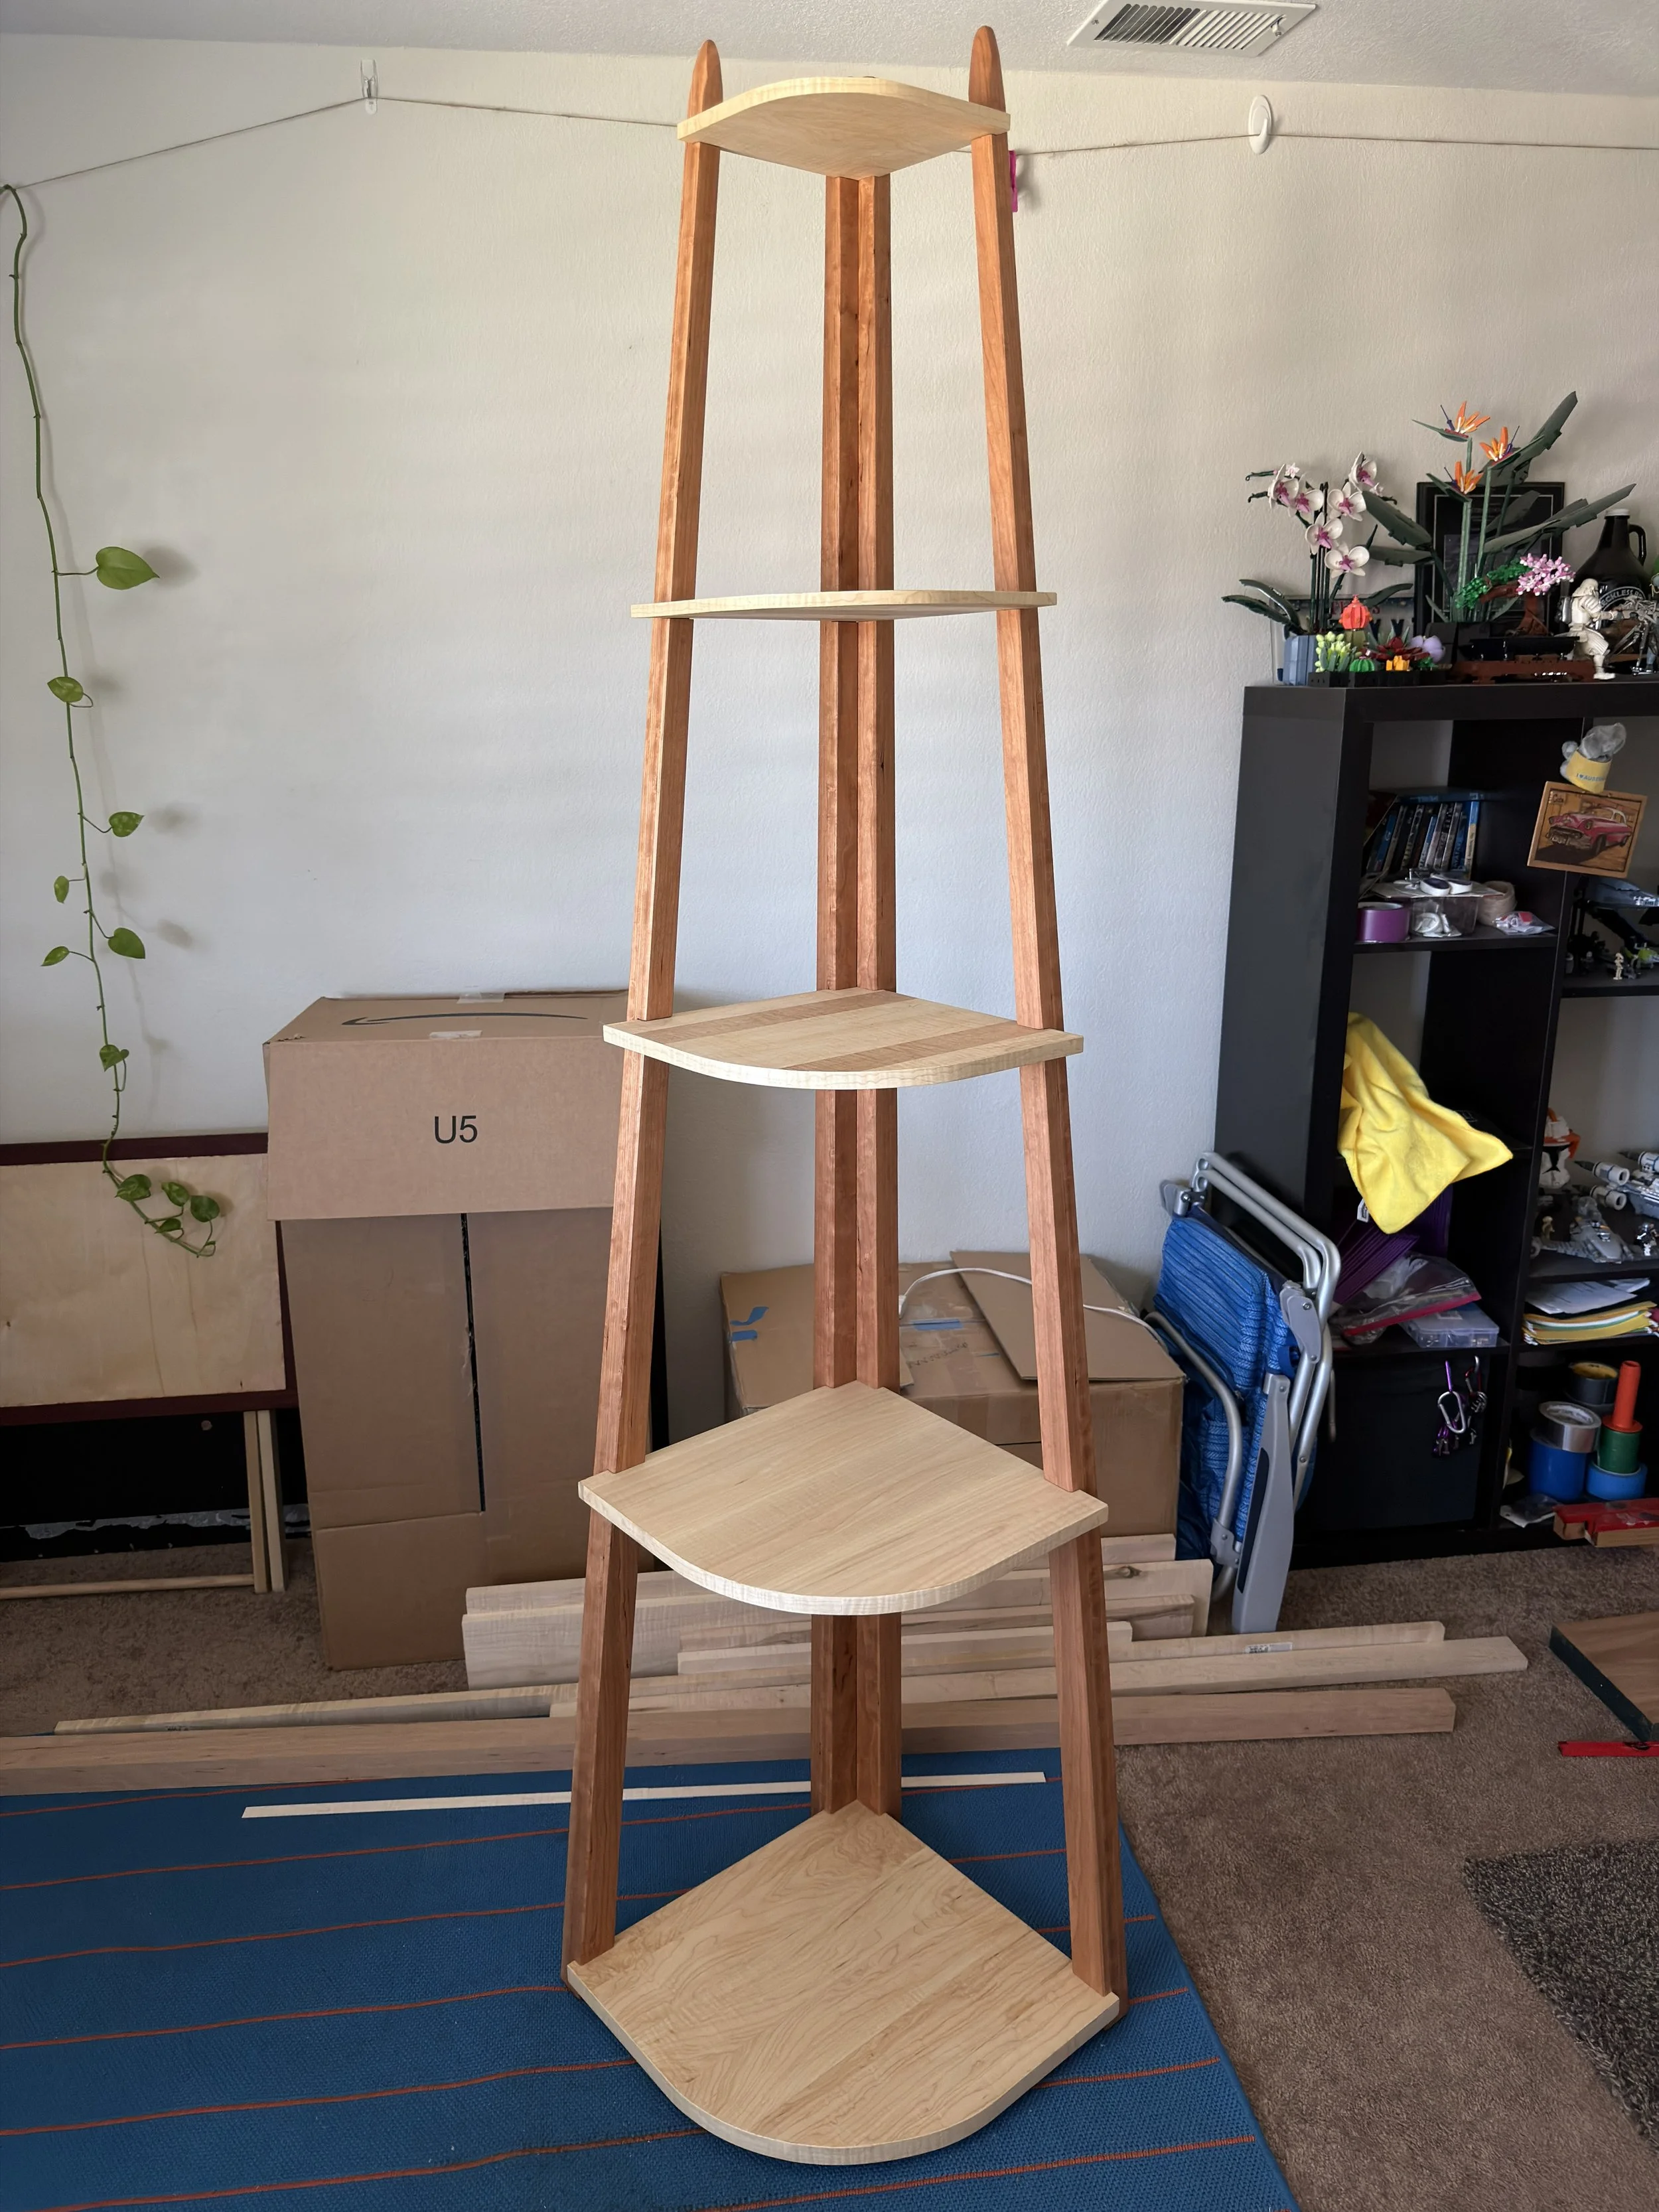
My design for the legs look very simple at first but were nonstop “what the hell did I get myself into” design wise. The first problem was what angle to cut those groove on the outer legs since those would be angled while the rear legs stand vertical. I got around this by placing the shelves on the leg pieces on the ground, balancing the shelves vertically and slowly adjusting the legs until things looked right and made marks where the shelves go. I then measured the spacings of the legs at their tips so I could replicate the same angles on the second pair of legs. The second issue was which way to taper each leg as they rose from the wider base, and how this would relate to how deep to carve the shelve grooves and to also made sure those grooves were parallel to the ground and not at some random angle. I got around this by making sure to cut the grooves before the taper. The third issue was how to connect the 2 rear legs together. I got around this by making some temporary blocks that holds the 2 legs at 90º from each other. They worked so well they became permanent.
The first time I had everything dry assembled and upright I got one of those “this feels just right” feelings even though it still had plenty of work left to do. The biggest thing left was turning one of the corners of the shelves into a large curve and then covering up the plywood edge with some more veneer strips. I actually used the strips to figure out the curves, bending them to pencil in the shape. Once those curves were cut and sanded smooth I once again used barely enough blue tape to clamp that thin strips down tight to the curve. With all the pieces now built all I was left with was sanding everything smooth and applying some finish. And of course placing it in its corner and adding my plants onto it.